Coloring tips: How to color Beach Lifesaver Ring coloring page well?
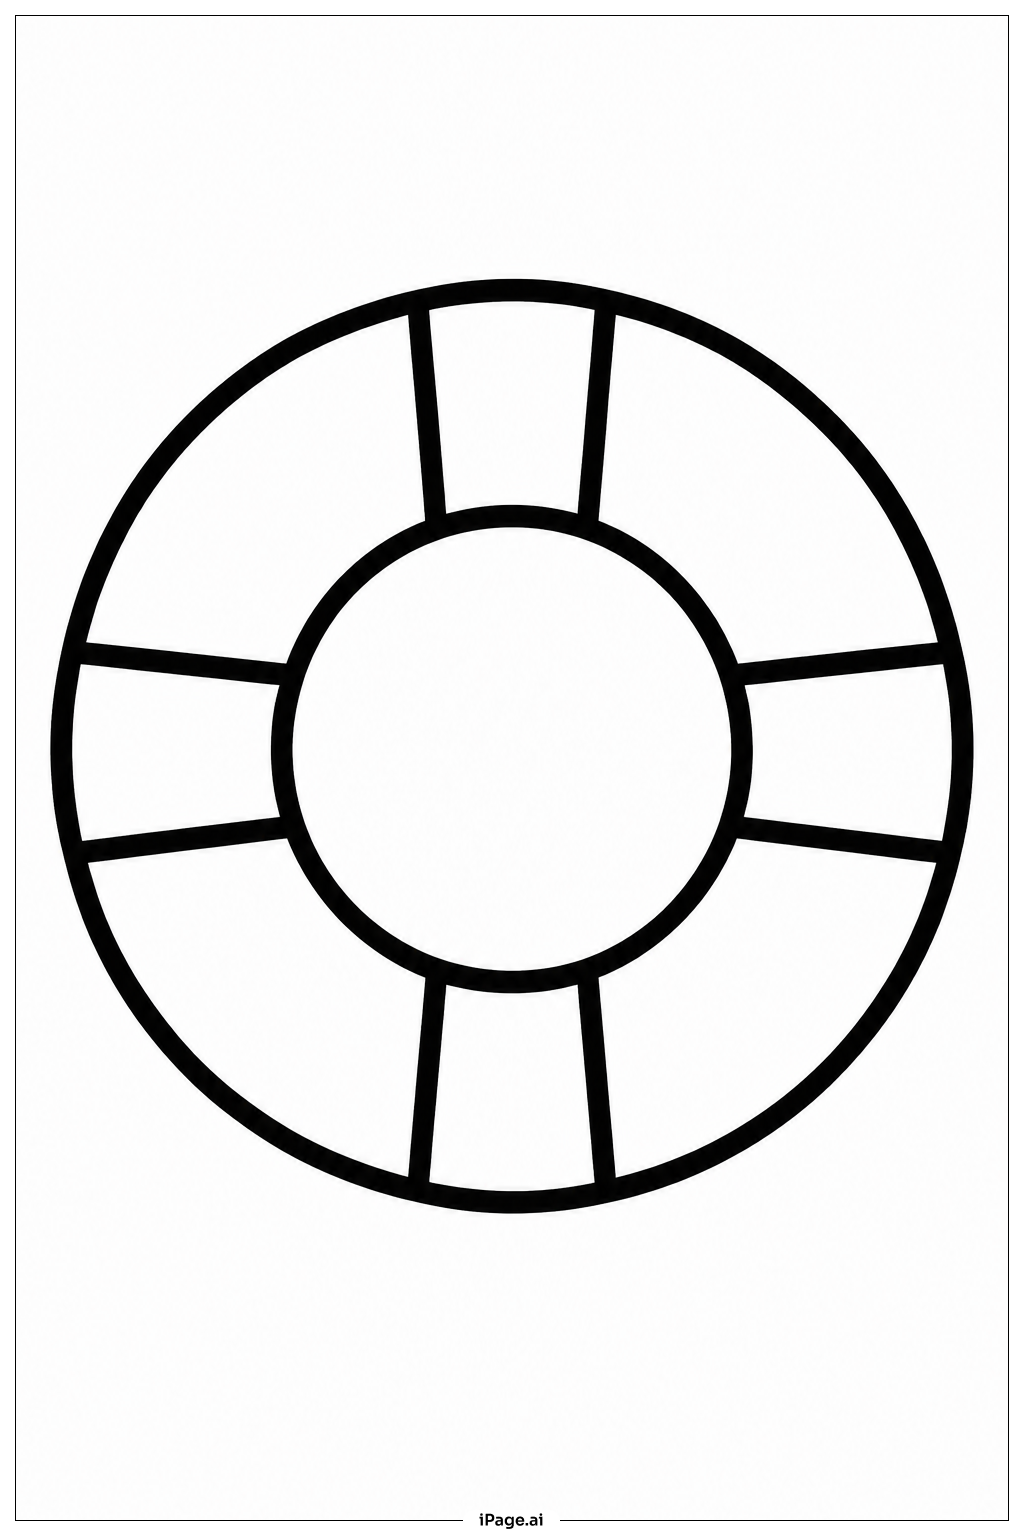
Start with the lifesaver ring itself. Color the alternating sections red and white — this is the most traditional look. You can also try orange and white for a brighter, more modern style. Use a darker red or orange on the edges of each section to add depth and make the ring look round. For the rope, try sandy yellow or light brown. Add small shadows along one side of the rope to make it look twisted and real. The background can be a soft sky blue for the water and a warm sandy beige for the shore. You can add a bright yellow sun in the corner to make the scene feel warm and cheerful. Keep your strokes smooth and even inside the large sections. For younger colorists, crayons or thick markers work great. Older kids or Adults may enjoy using colored pencils to blend and shade for a more realistic finish.
Coloring challenges: Which parts are difficult to color and need attention for Beach Lifesaver Ring coloring page?
• Alternating Section Boundaries: The lifesaver ring is divided into curved alternating sections. Keeping each section neatly filled without the color bleeding into the neighboring section can be tricky, especially along the curved inner and outer edges. Take your time and use a fine-tipped tool to outline each section before filling it in.
• Curved Surface Shading: The ring is circular and three-dimensional. Showing that curve through shading requires adding lighter tones in the center of each section and darker tones near the edges. For younger colorists, this concept of light and shadow on a curved surface can be difficult to apply evenly.
• Rope Details: The rope wrapped around the outer edge of the ring has a twisted, textured look. Coloring it to look realistic means using multiple shades of the same color and following the direction of the twist. Getting those thin, close-together lines to look consistent without smudging takes steady hands and patience.
• Background Depth: The background includes water and sand, two surfaces with very different textures and colors. Blending the water from deep blue near the horizon to lighter blue near the shore, while keeping the sandy area warm and grainy-looking, requires careful color transitions. Keeping the background from overpowering the main subject is also a challenge for beginners.
• Staying Inside Small Edge Areas: The inner circle of the ring and the narrow rope loops create tight, small spaces. Coloring precisely inside these small areas without going over the outlines demands a sharp pencil or a fine-tip marker, which can be challenging for younger children.
Benefits of coloring books: Advantages of drawing Beach Lifesaver Ring coloring page
Coloring this Beach Lifesaver Ring page offers a wonderful mix of fun and learning. For children, it builds fine motor skills as they work carefully inside the curved sections and around the rope details. Staying within the lines strengthens hand-eye coordination and focus, skills that help in writing and other school activities.
The image also introduces kids to an important water safety symbol. As they color, parents and teachers can talk about what a lifesaver ring is used for and why it is always red and white. This makes the activity both creative and educational.
For older kids and Adults, the challenge of shading the curved ring and blending the ocean background provides a satisfying artistic exercise. Working with color gradients and light direction builds real drawing skills that carry over into other art projects.
Coloring is also a great way to relax. The repetitive, focused motion of filling in each section is calming and helps reduce stress. It gives kids a screen-free activity that still feels rewarding when finished. The beach theme adds a cheerful, sunny mood that makes the whole experience feel like a mini vacation. Whether you are coloring solo or with friends and family, this page is a great creative outlet for all ages.