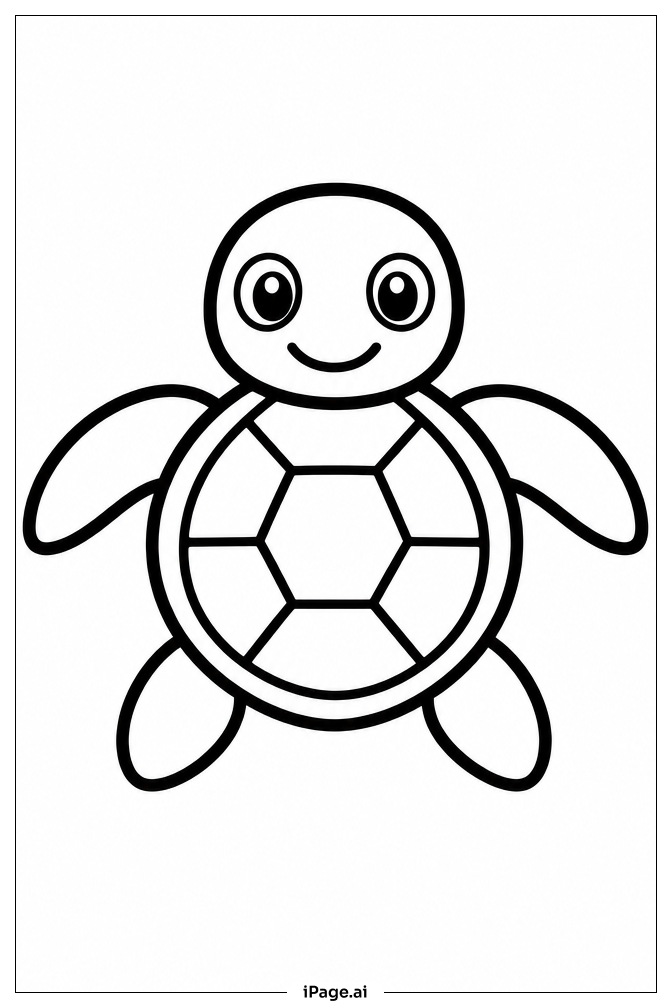
Coloring tips: How to color Sea Turtle Facing Front coloring page well?
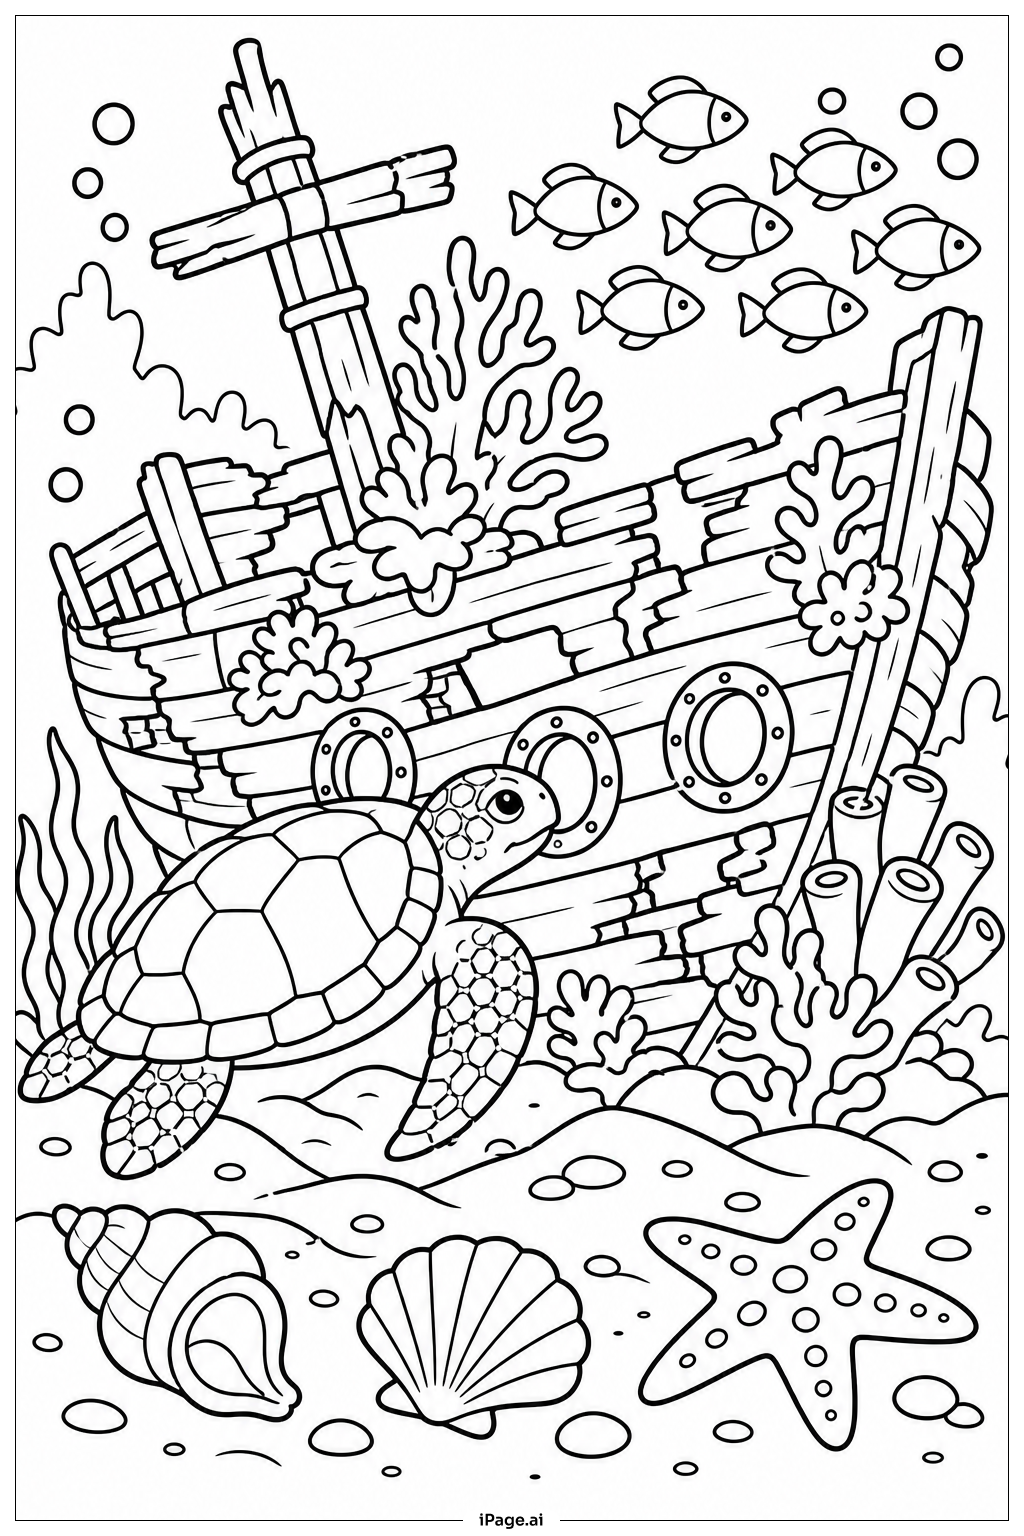
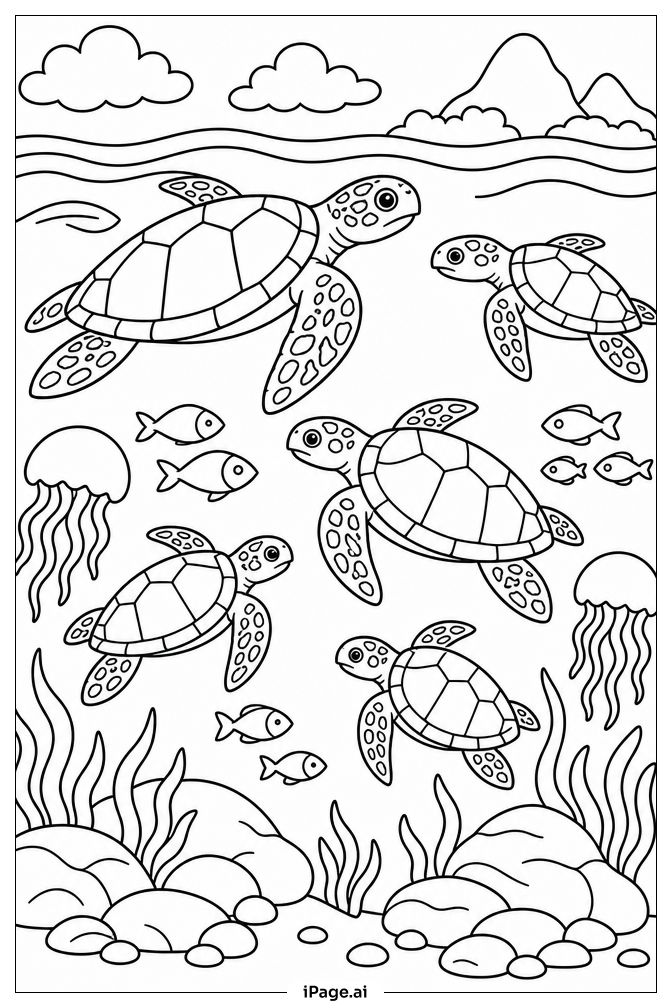
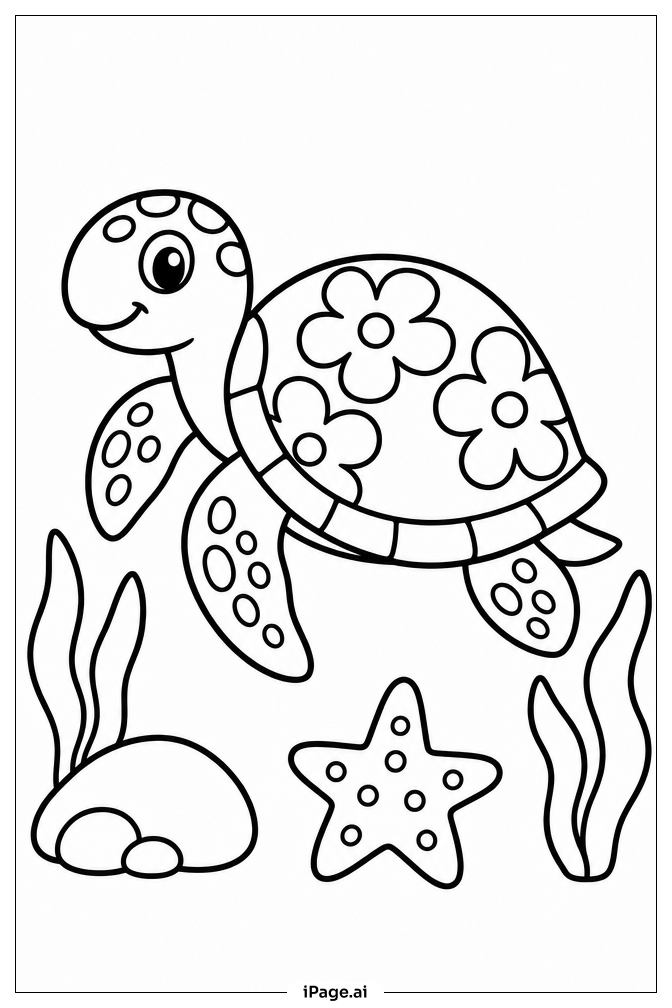
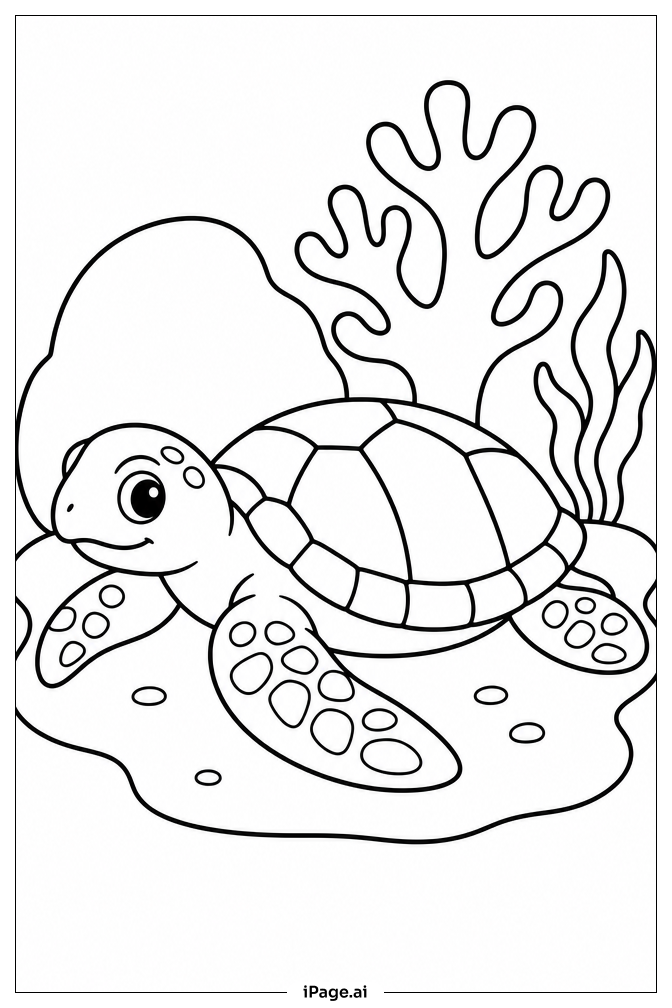
Start with the shell, which is the centerpiece of this image. Use warm tones like olive green, brown, or dark yellow for the large scutes, and a slightly lighter or darker shade for the borders between them. This contrast will make the shell pattern pop. For the skin on the head, neck, and flippers, try a mix of soft greens and grays, adding darker tones in the creases and scale edges to create depth. The eyes can be colored a warm amber or golden yellow with dark pupils to give the turtle a lively look. If you want a more creative touch, try a blue-green ocean-inspired palette across the whole image. Light blue or teal shading around the edges of the flippers can suggest the feeling of water. Keep lighter colors at the center and add darker tones toward the edges to give the turtle a rounded, three-dimensional look. This is a great image for experimenting with blending and layering colors.
Coloring challenges: Which parts are difficult to color and need attention for Sea Turtle Facing Front coloring page?
• Shell Pattern Complexity: The carapace is made up of many individual scutes, each bordered by distinct lines. Coloring each section neatly without going outside the borders takes patience and a steady hand. Using a fine-tipped colored pencil or marker will help you stay within each small section. Varying the shading slightly from one scute to the next adds a natural, realistic look.\n\n• Skin Texture and Scales: The turtle's head, neck, and flippers are covered in irregular, overlapping scales. These small shapes are tricky to color individually. One approach is to use a base color first, then add darker tones on top to define the edges of each scale. This layering technique takes time but creates a convincing textured effect.\n\n• Symmetry Across the Body: Because the turtle faces directly front, both sides of the image should ideally mirror each other. Keeping the colors on the left flipper consistent with the right flipper, and matching the shading on both sides of the shell, requires careful attention throughout the coloring process.\n\n• Creating Depth in a Front-Facing View: Without a side angle, it can be harder to suggest three-dimensional form. To make the turtle look rounded rather than flat, apply lighter colors near the center of the shell and head, and gradually darken toward the outer edges. This technique, called shading, helps give the image a sense of volume and life.\n\n• Eye Detail: The eyes are small but important focal points. Coloring them carefully, with a dark pupil, a colored iris, and a tiny white highlight dot, can bring the whole image to life. Working in such a small area requires a very sharp pencil or a fine-tip tool.
Benefits of coloring books: Advantages of drawing Sea Turtle Facing Front coloring page
Coloring this sea turtle image offers a wide range of benefits for kids and beginners alike. The intricate shell pattern and detailed scales give children a chance to practice fine motor skills, helping them build better hand control and pencil grip. Staying within the lines of each small section improves focus and concentration, skills that are useful in school and everyday life. The front-facing, symmetrical design also introduces the concept of balance and symmetry in a natural, intuitive way. Choosing colors for the shell, skin, and eyes encourages creative thinking and decision-making. Kids can follow realistic ocean colors or create a fantasy turtle in any palette they like, building confidence in their own artistic choices. The calm, repetitive nature of filling in the shell scutes one by one can also be soothing and relaxing, making this a great activity after a busy day. For older kids, practicing shading and blending techniques on the turtle's rounded body adds a satisfying challenge. Overall, this image combines creativity, patience, and learning in one fun and engaging activity that any child can enjoy.