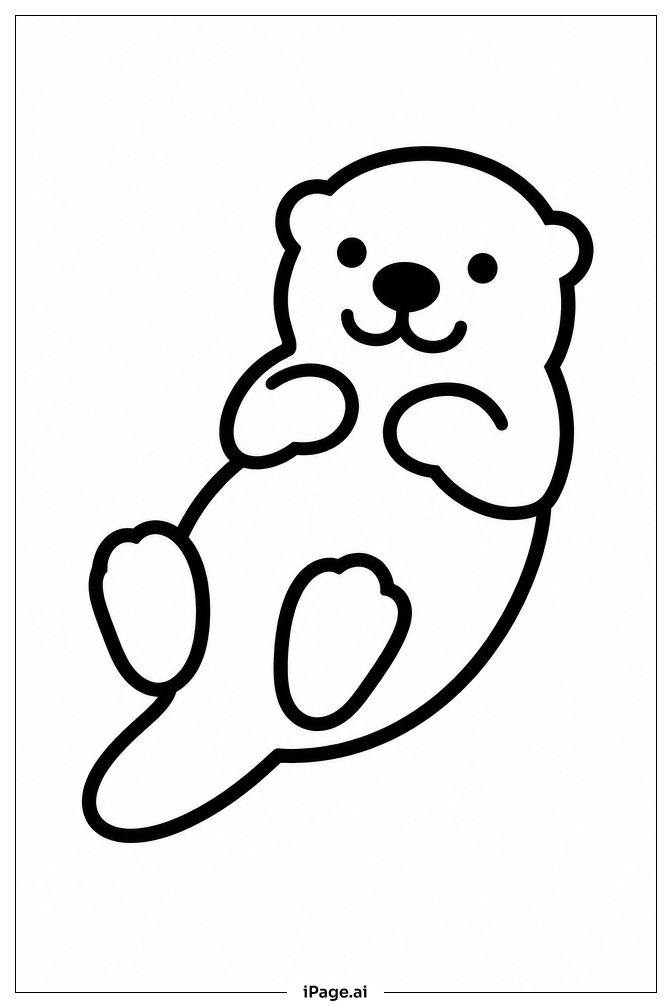
Coloring tips: How to color Sea Otter coloring page well?
Start with the otter's fur using warm brown tones. Use a lighter tan or cream color for the face, chest, and belly, where sea otters are naturally paler. Add a slightly darker brown for the tips of the fur to give it depth and texture. Use short, curved pencil strokes to follow the direction of the fur for a realistic look. For the eyes, use a deep dark brown or black, and leave a tiny white dot to make them look shiny and alive. Color the nose a dark gray or black. The object the otter is holding can be colored in sandy beige or grayish tones. For the water, use soft shades of blue and teal. Mix lighter blues near the otter and deeper blues further out. Add hints of green for the kelp. Keep the bubbles white or very pale blue for a fun, watery feel.
Coloring challenges: Which parts are difficult to color and need attention for Sea Otter coloring page?
Coloring this sea otter image comes with a few fun challenges to keep in mind:
• **Fur Texture:** Sea otters have incredibly dense, layered fur. Recreating this texture with colored pencils or crayons requires patience. You need to use short, overlapping strokes in the direction the fur grows. Blending two or three shades of brown together — light tan, medium brown, and dark walnut — helps make the fur look full and soft rather than flat.
• **Color Gradients on the Body:** The otter's belly and face are naturally much lighter than its back and sides. Smoothly transitioning from a pale cream or beige on the chest to a richer brown on the back is tricky. If the transition is too sudden, the otter can look patchy. Try layering colors gently and building up slowly.
• **Water and Reflections:** Coloring moving water realistically is one of the harder parts of this page. Ocean water is rarely just one shade of blue. You need to mix light blue, turquoise, and deeper navy, blending carefully where the waves meet. Adding very light streaks of white gives the water a shimmering look.
• **Small Details:** The otter's tiny paws, nose, and the food item on its belly are small areas that need careful, controlled coloring. Using a sharpened pencil or a fine-tip marker helps you stay within the lines and add small details without making a mess.
• **Kelp and Background Balance:** The kelp and bubbles in the background should not overpower the otter. Use muted greens and very soft blues so the otter remains the clear focal point of the whole image.
Benefits of coloring books: Advantages of drawing Sea Otter coloring page
Coloring this adorable sea otter page offers many wonderful benefits for kids and beginners alike.
**Creativity and Expression:** Choosing colors for the otter's fur, the sparkling water, and the ocean background encourages creative thinking. There is no single right answer — every choice makes the picture uniquely yours.
**Fine Motor Skills:** Carefully coloring the otter's detailed fur, small paws, and tiny face features strengthens hand muscles and improves pencil control. This is especially helpful for younger children who are still developing their grip and coordination.
**Focus and Patience:** Staying within the lines and blending colors smoothly builds concentration. Completing the whole page gives a great sense of achievement and teaches kids that good work takes time.
**Learning About Nature:** This page is a fun gateway to learning about real sea otters — how they float on their backs, use tools to crack open shells, and live in kelp forest habitats along the Pacific Ocean. Coloring can spark curiosity about marine wildlife and ocean conservation.
**Relaxation:** The calm, gentle scene of a floating otter on peaceful water has a soothing quality. Coloring it can help children and adults wind down, reduce stress, and enjoy a quiet, screen-free creative activity.