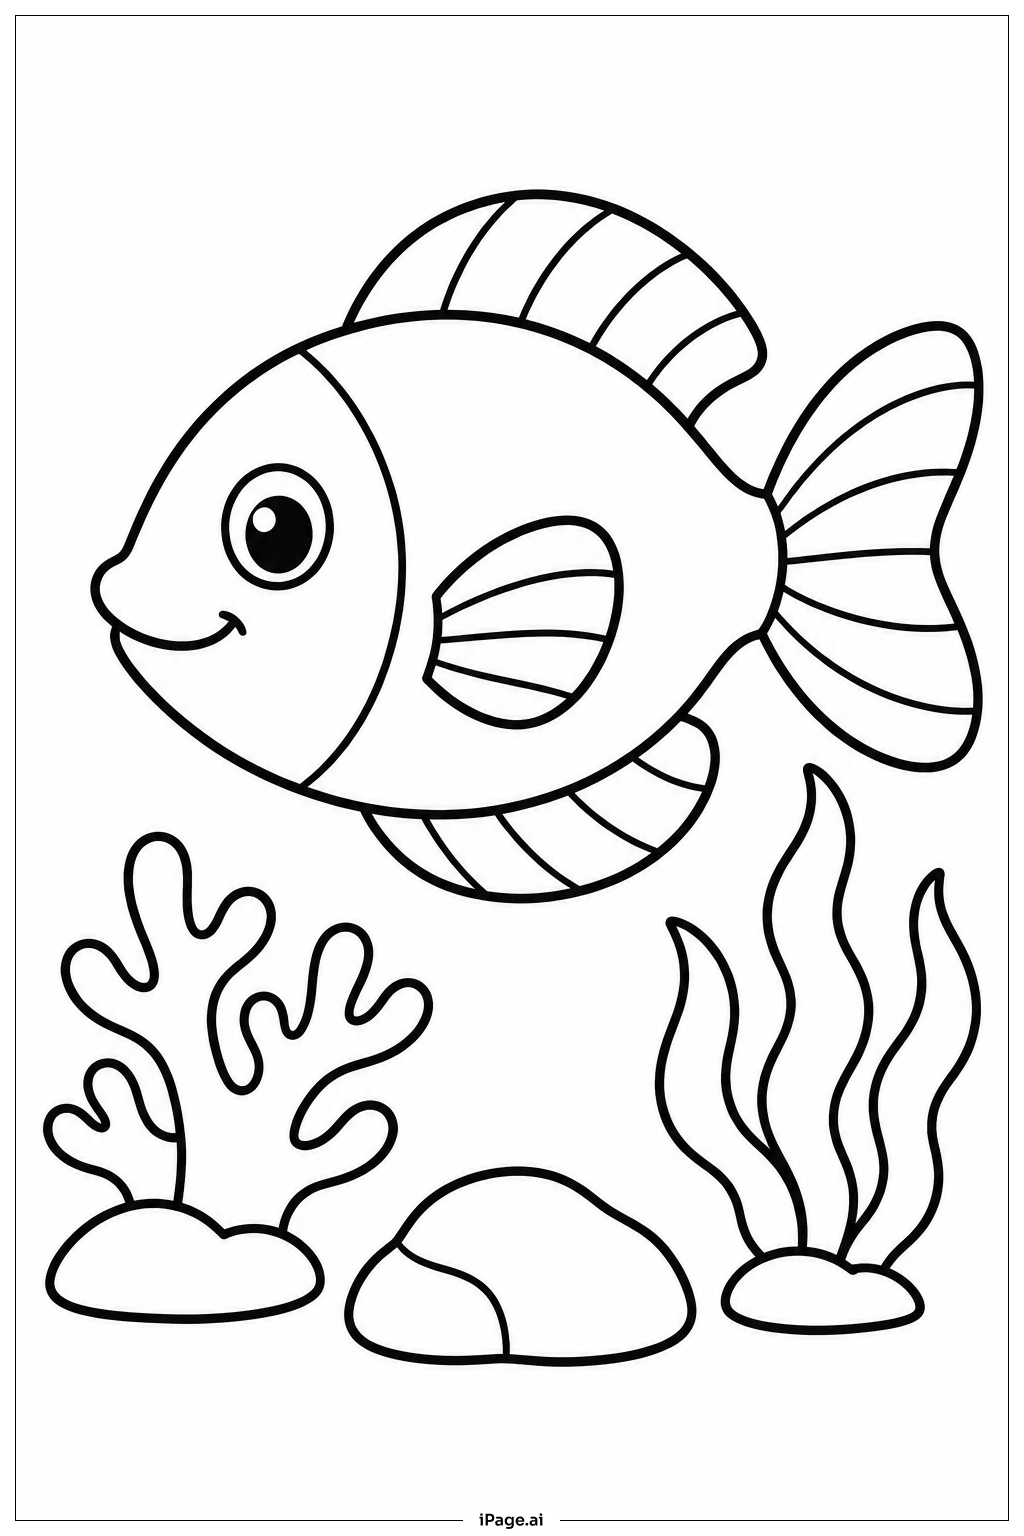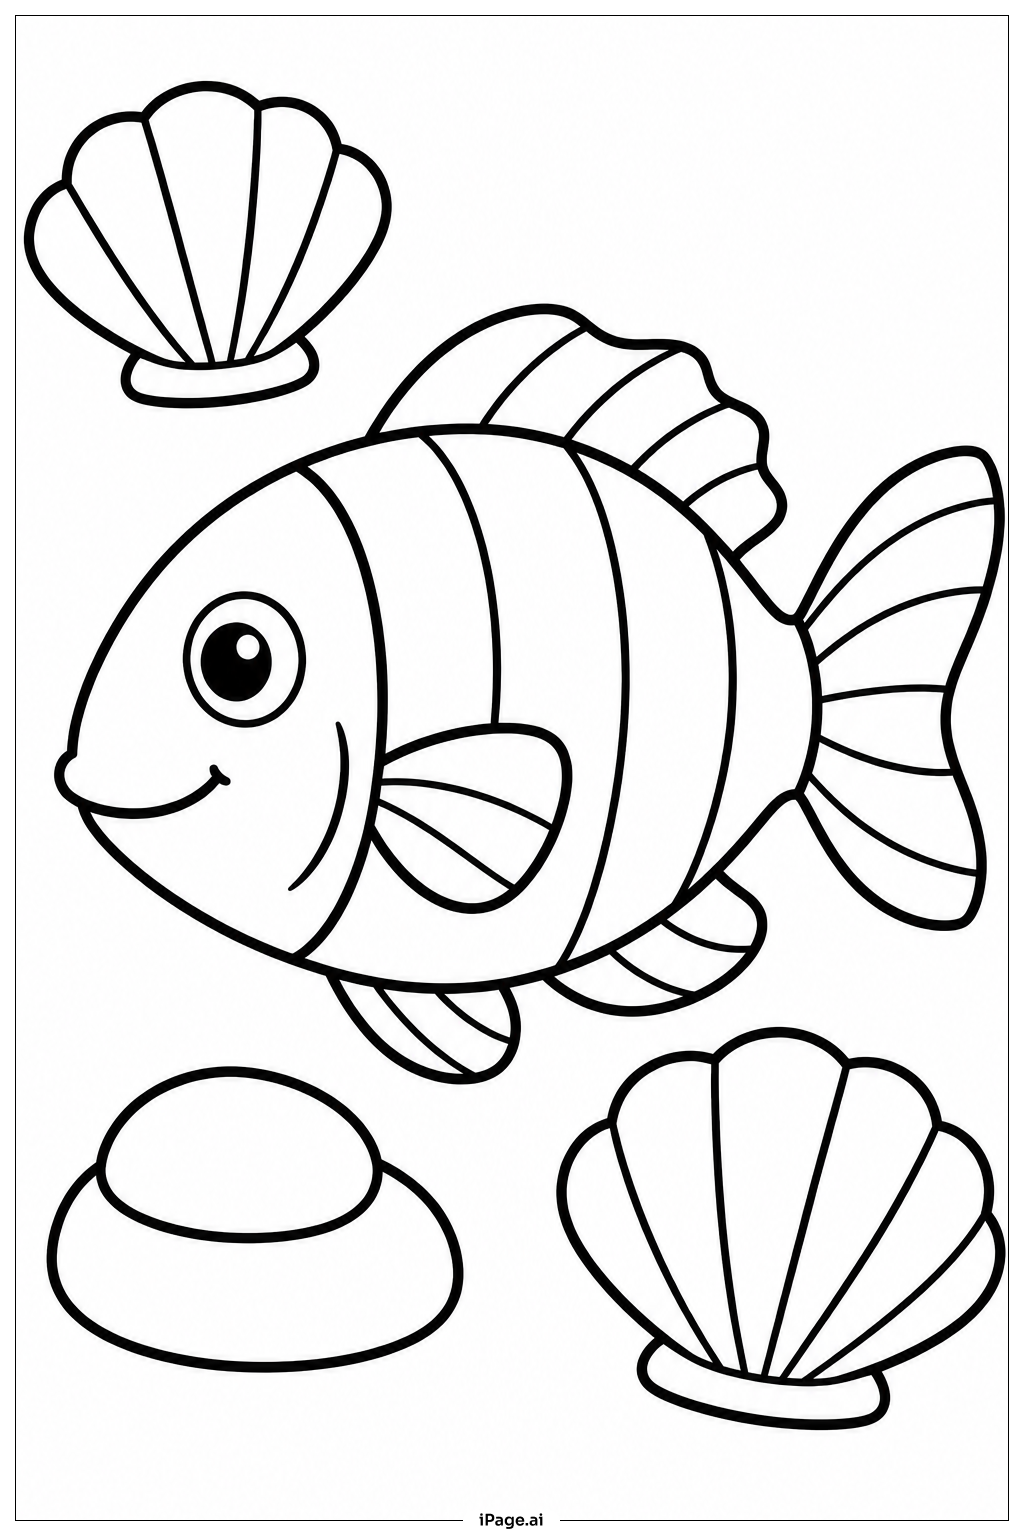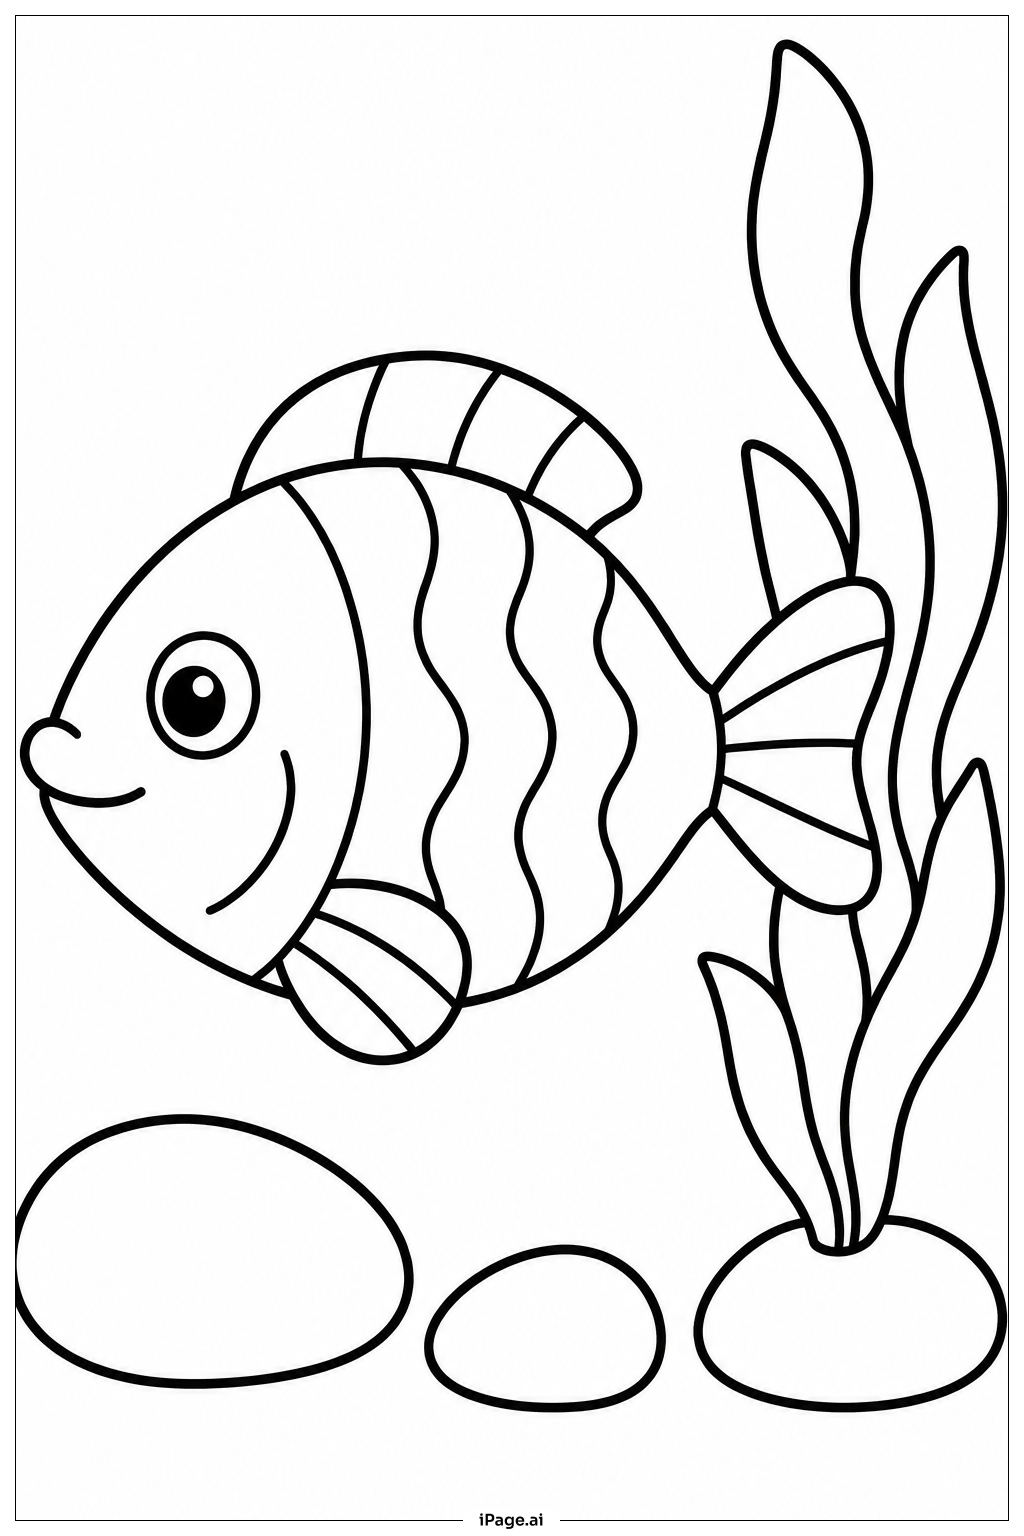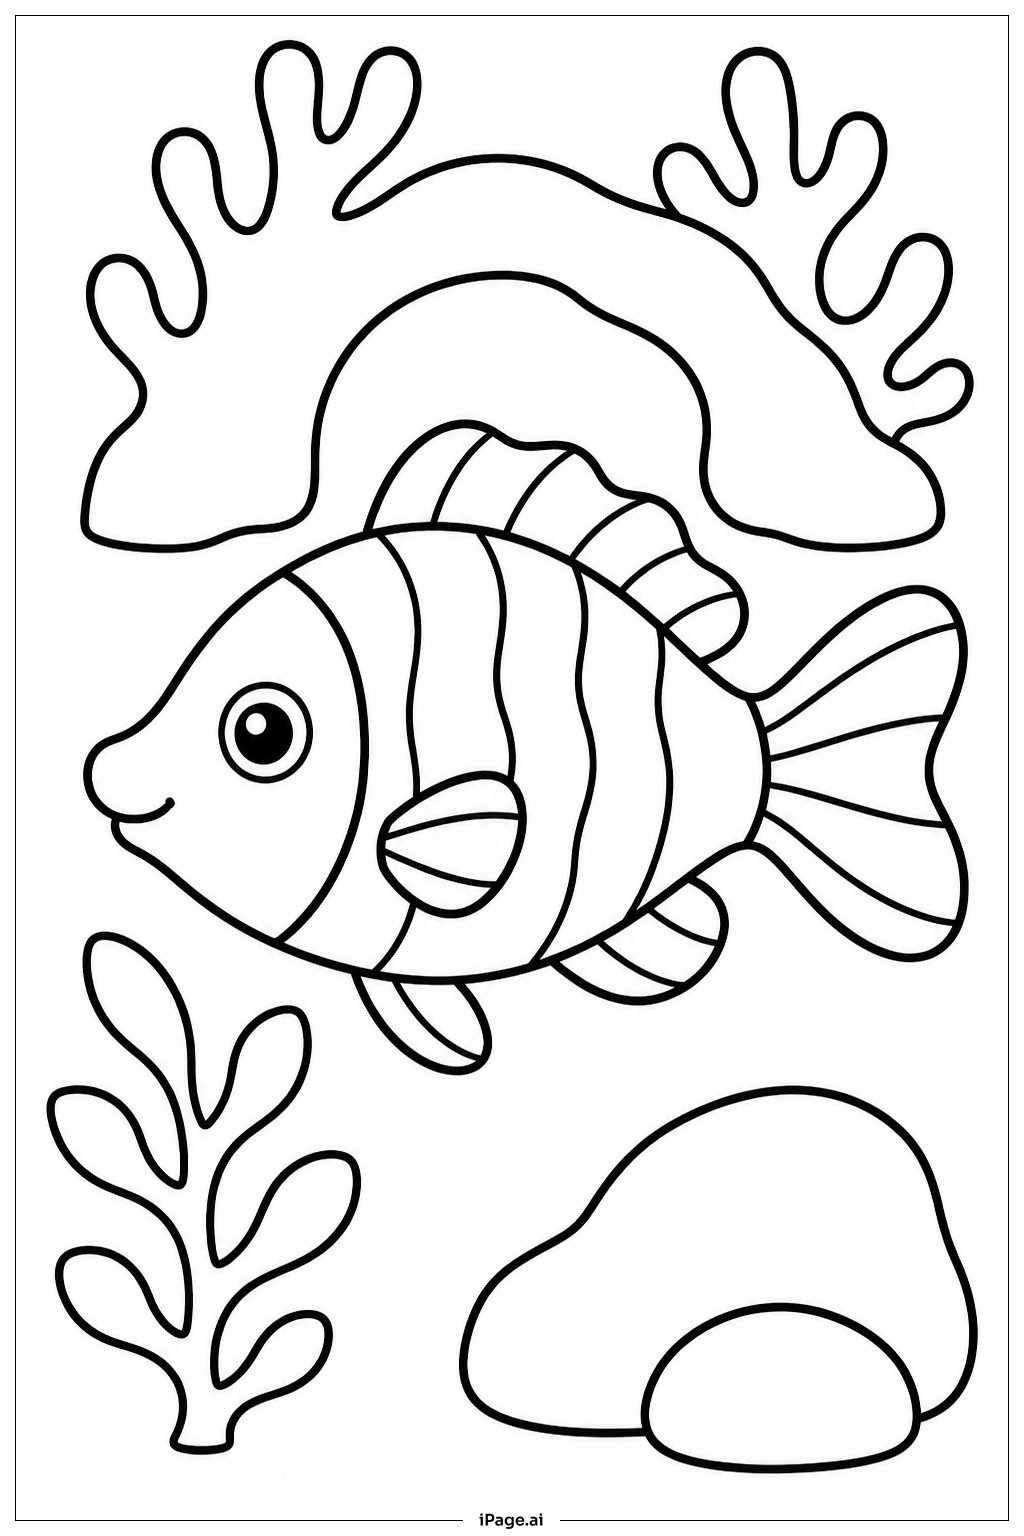
Coloring tips: How to color Fish Near Rock coloring page well?
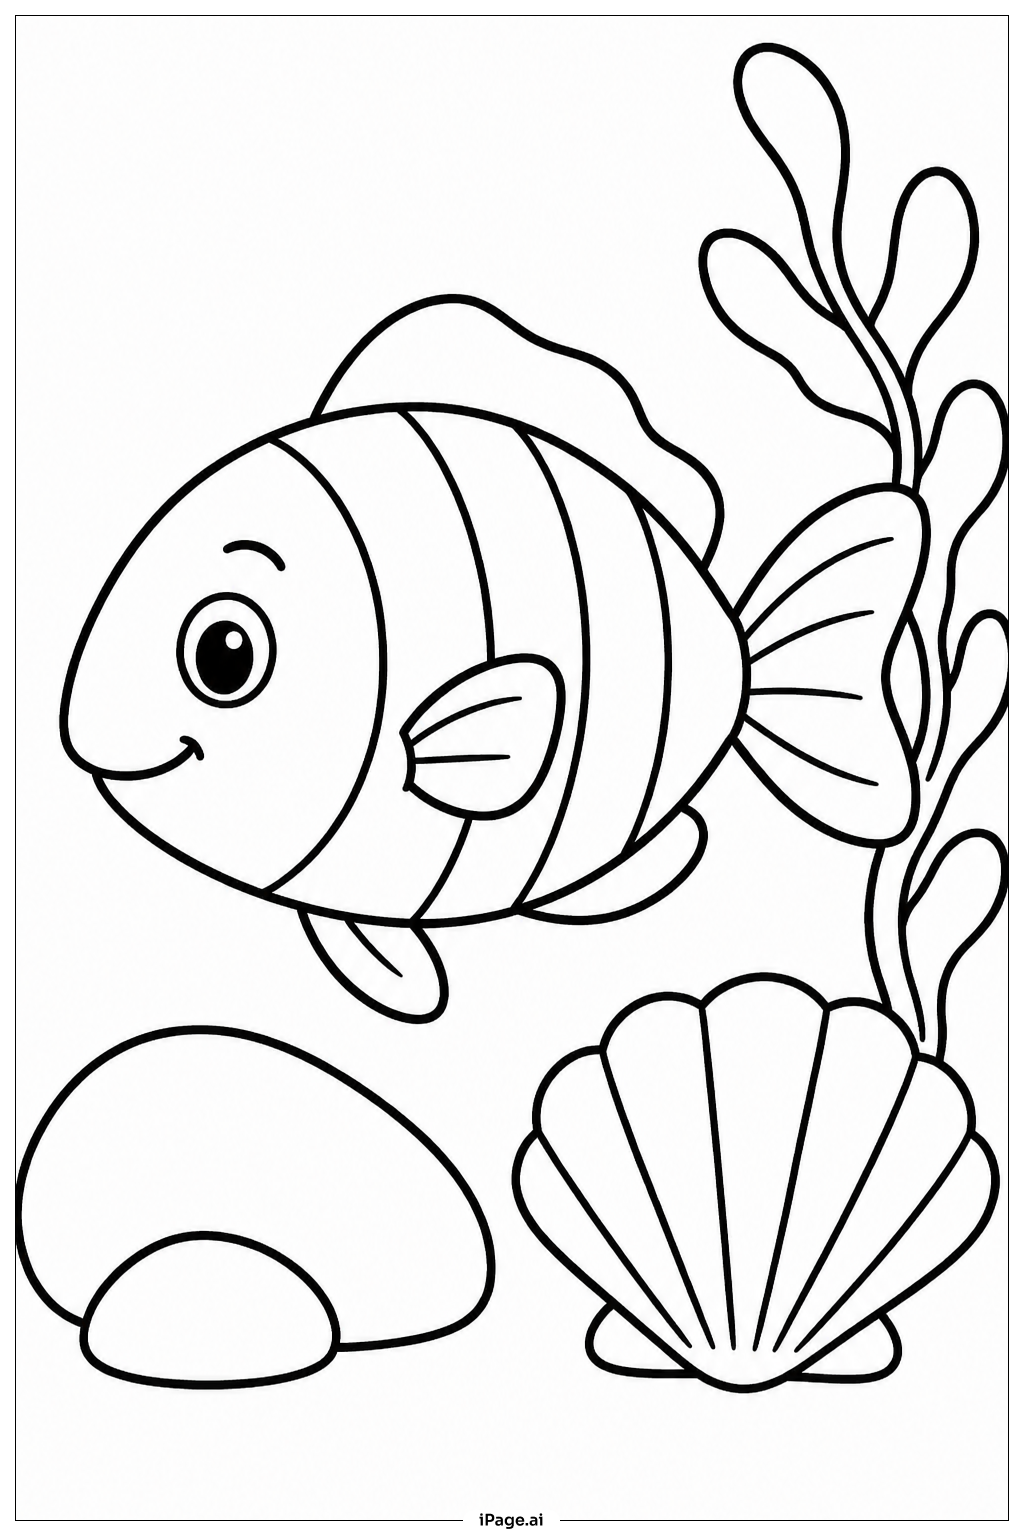
Start with the fish body using bright, cheerful colors like orange, yellow, or blue. These colors make the fish look lively and fun. Use a slightly darker shade of the same color along the edges of the body and fins to add depth. Color the scales one by one if you want extra detail, or simply fill the whole body with one color for a quicker look. For the eye, use black for the pupil and leave a tiny white dot to make it look shiny. The rock works well in shades of gray, brown, or tan. Add darker tones in the cracks and crevices to make the rock look realistic. Color the bubbles light blue or leave them white. For the water background, a soft blue or teal works great. You can blend two shades of blue to show the movement of water. Keep your strokes light and smooth for a calm, underwater feeling.
Coloring challenges: Which parts are difficult to color and need attention for Fish Near Rock coloring page?
• Fish Scale Details: The fish body is covered with many small, curved scale outlines. Coloring each scale individually takes patience and a steady hand. If the scales are very small, it can be hard to stay inside the lines with a regular crayon. A fine-tip colored pencil or marker works best here. Take your time and work in small sections to avoid mistakes.
• Rock Texture: The rock has many irregular lines, bumps, and cracks across its surface. Filling in all these small areas with different shades of gray or brown requires careful attention. If you use only one flat color, the rock will look dull and unnatural. Try using two or three shades and layering them to create a rough, realistic texture.
• Fin and Tail Edges: The fins and tail have thin, delicate outlines with fine inner lines showing their structure. These narrow spaces are tricky to color without going over the edges. Using a sharp pencil or a fine-tip marker gives you better control in these tight areas.
• Bubble Shading: The small bubbles floating around the fish look best when they have a slight gradient or are left mostly white with just a thin colored outline. Filling them in too heavily can make them look flat and lose their transparent, glassy effect. Light pressure and a pale blue or lavender works well.
• Background Water Effect: Creating a smooth, flowing water background without streaks or uneven patches can be challenging. Blending two shades of blue evenly across the background takes practice, especially with crayons or markers that do not blend as smoothly as colored pencils.
Benefits of coloring books: Advantages of drawing Fish Near Rock coloring page
Coloring this Fish Near Rock scene offers many wonderful benefits for children and beginners alike. First, it helps build fine motor skills. Carefully coloring the small fish scales and the detailed rock texture trains the hands and fingers to move with precision and control. This is great practice for writing and other detailed tasks. Second, it encourages creativity. Choosing colors for the fish, rock, and water lets kids express their own imagination. There is no single right answer, so every child can make a unique piece of art. Third, it teaches patience and focus. The detailed areas of this image require slow, careful work, helping children practice sitting still and concentrating on one task at a time. Fourth, it introduces kids to the natural world. Coloring an underwater scene sparks curiosity about ocean life, fish species, and how rocks and water look in nature. It can be a starting point for learning about marine biology in a fun, hands-on way. Finally, finishing the page gives a real sense of accomplishment and boosts confidence, making kids feel proud of what they have created.