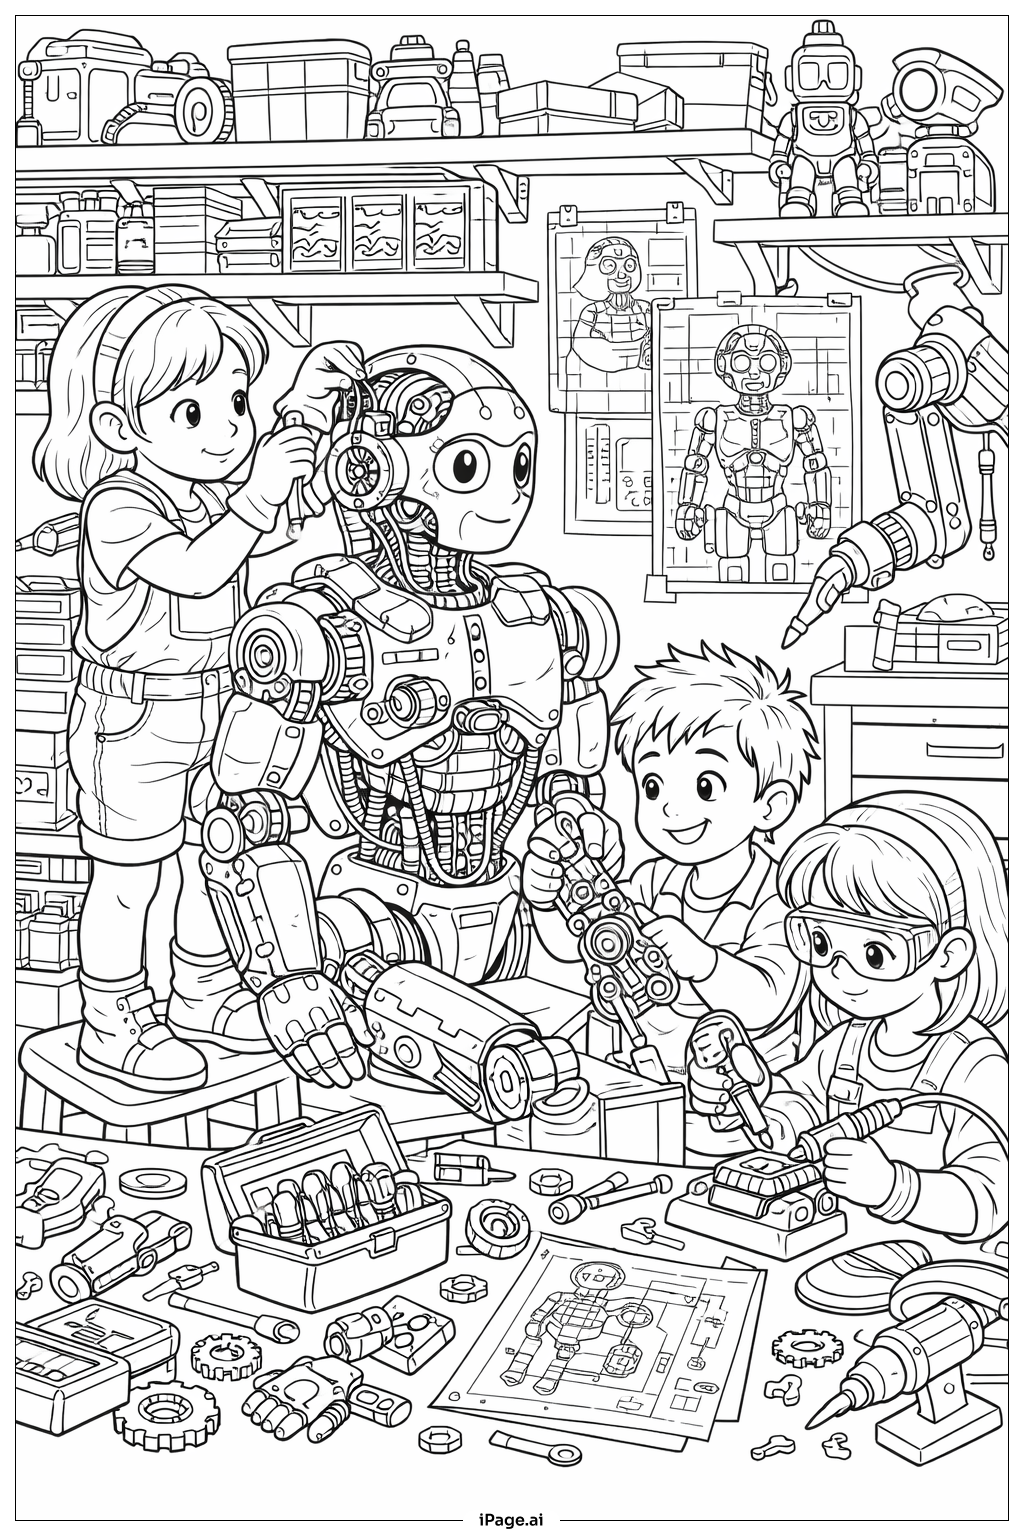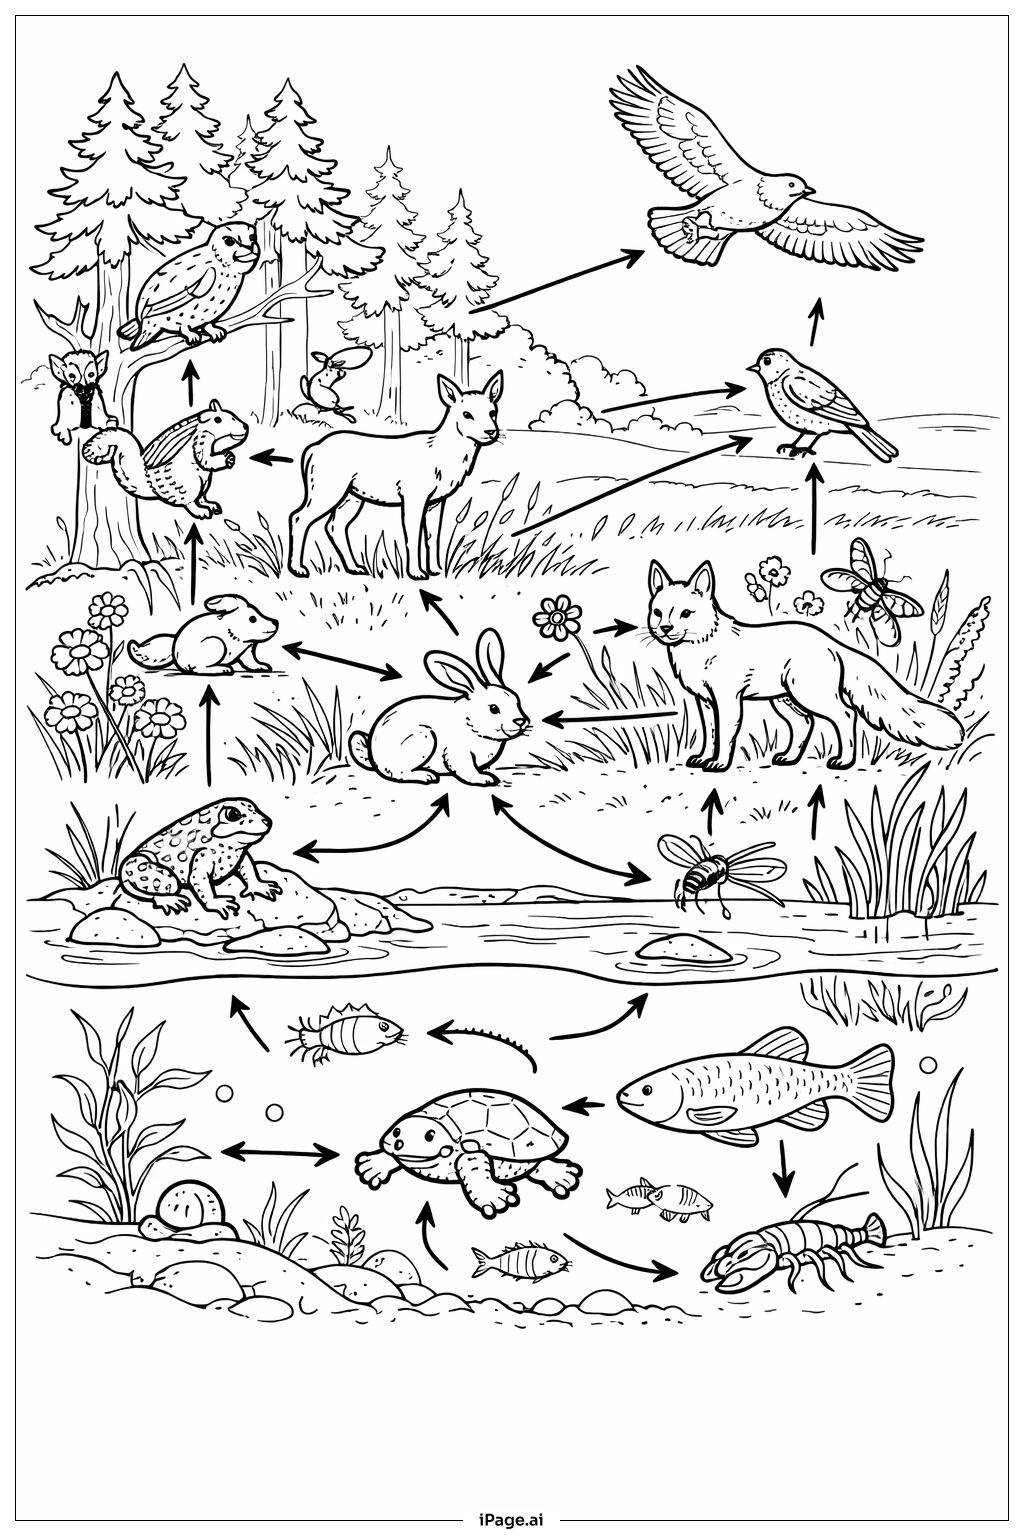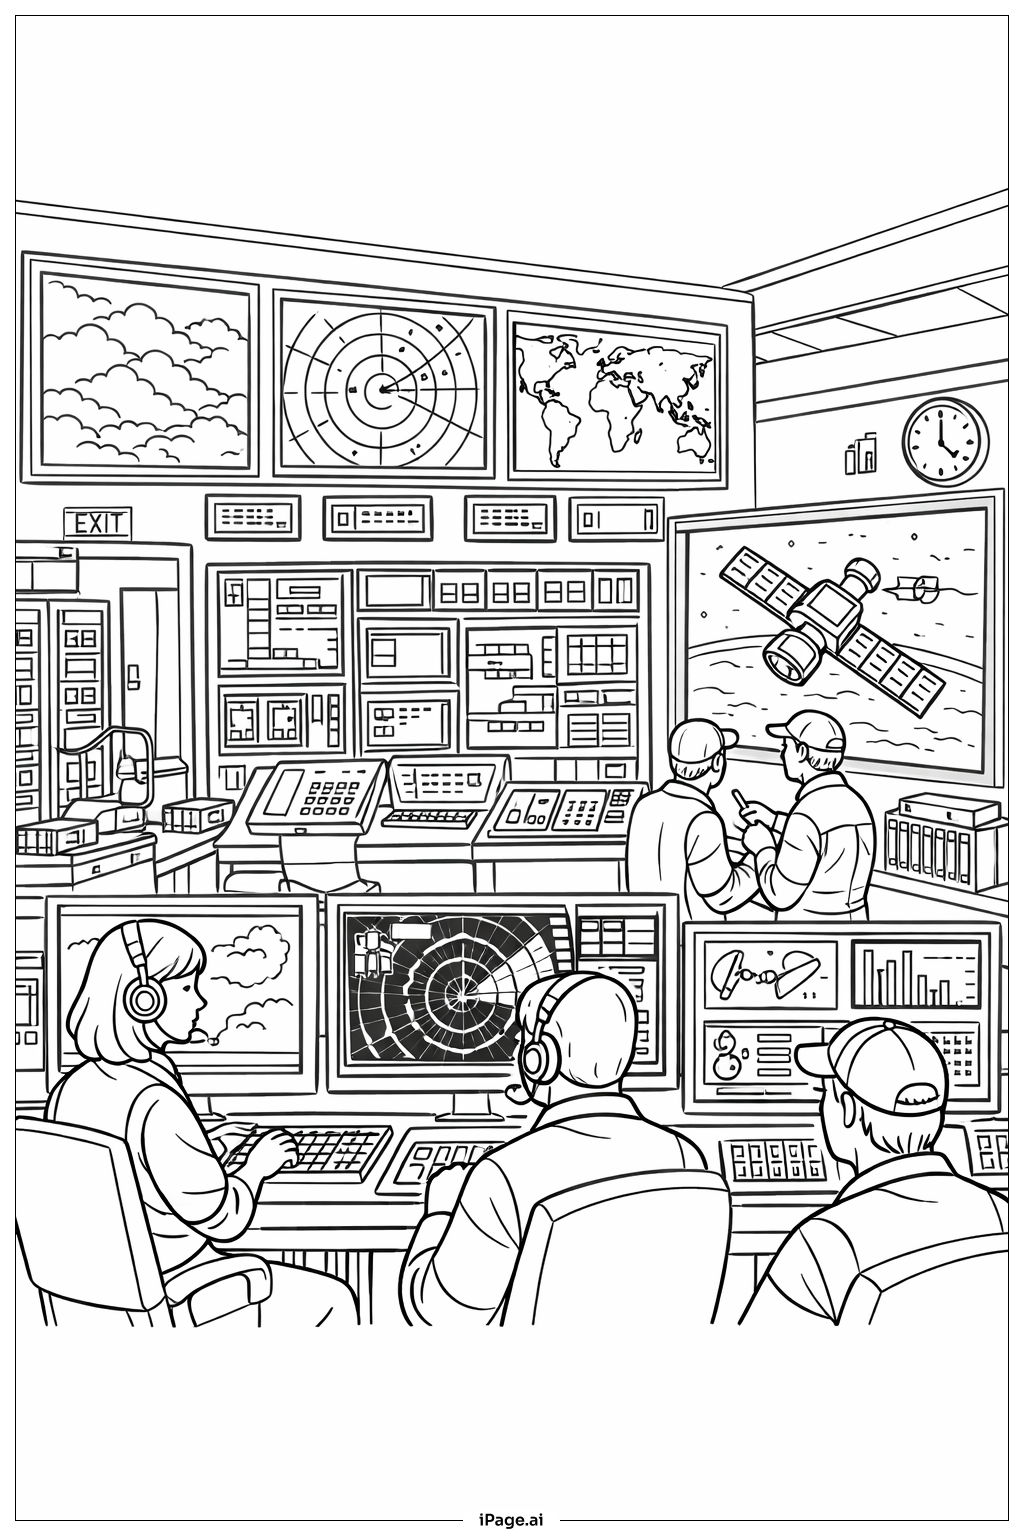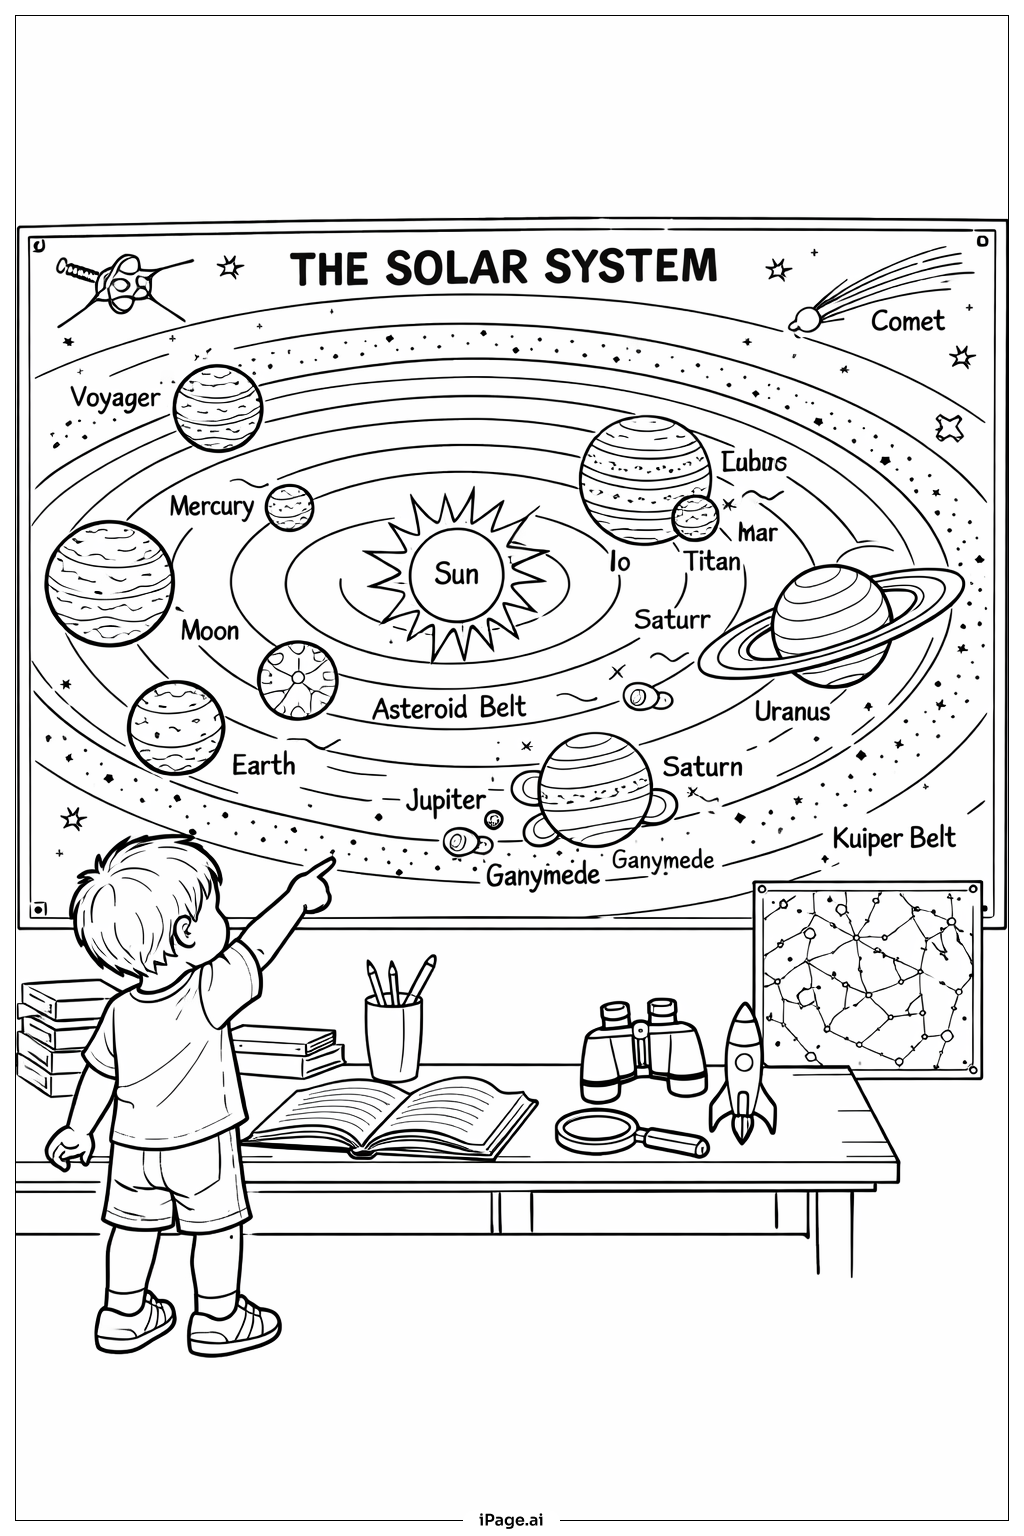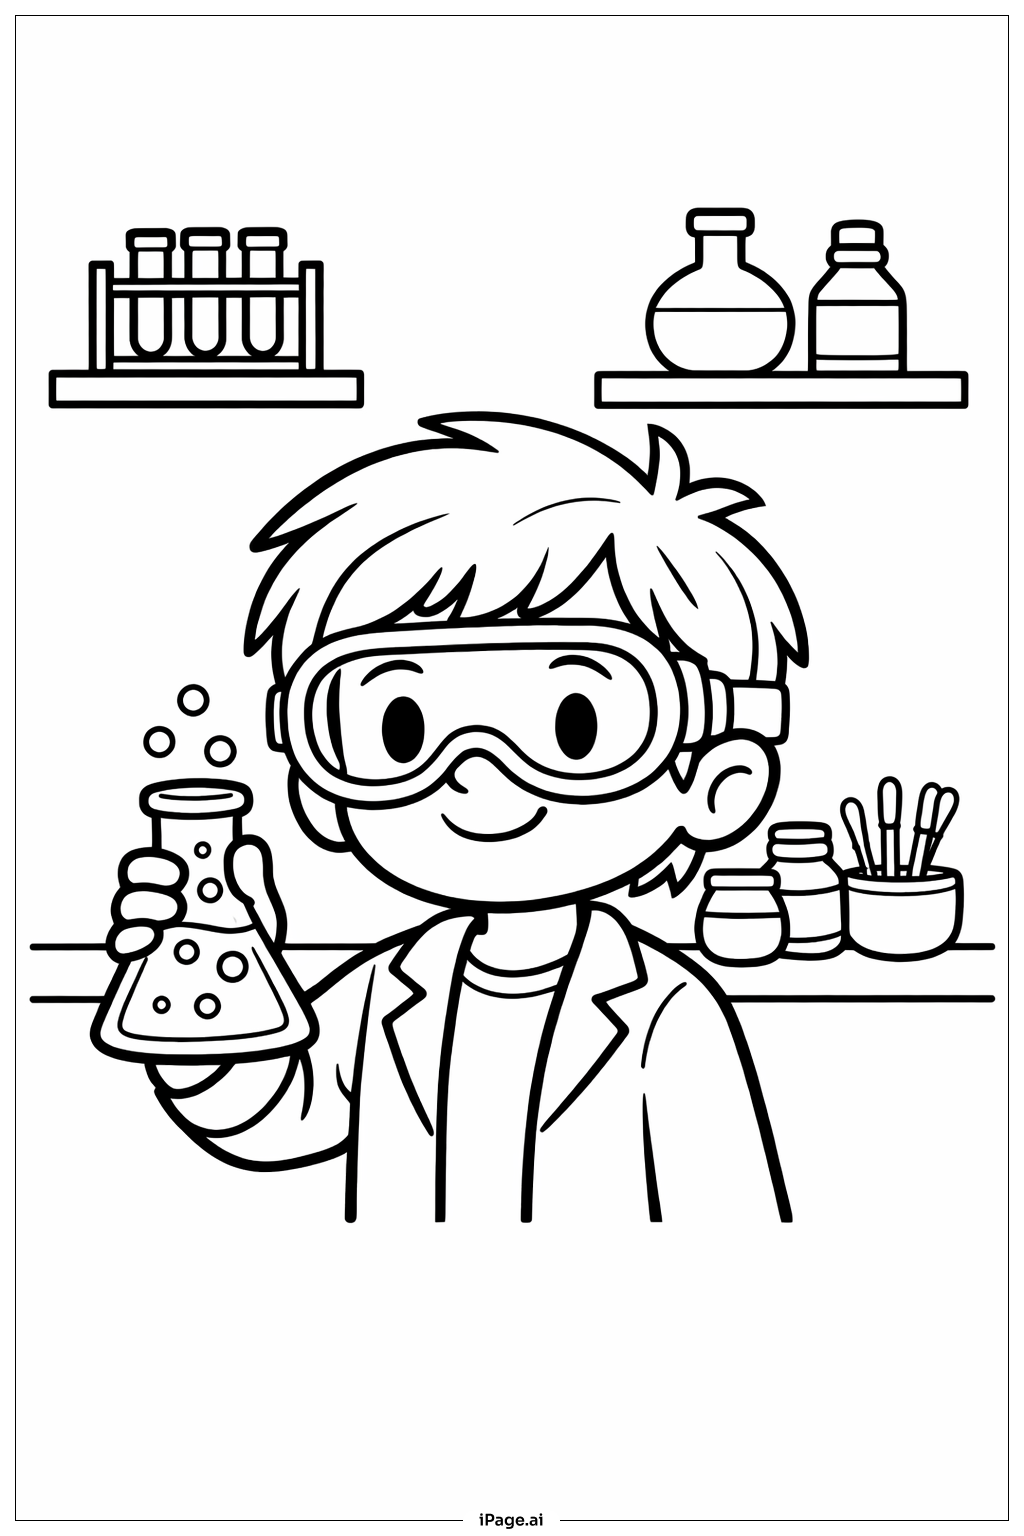
Coloring tips: How to color Young Scientist in the Lab coloring page well?
Start with the young scientist by choosing a skin tone for the face and hands. Color the lab coat white or light blue, and make the safety goggles bright yellow, orange, or clear with colored frames. For the test tubes and beakers, use vibrant colors like green, purple, blue, and pink to show different chemicals and solutions. The microscope can be silver, gray, or black with metallic accents. Add warmth to the laboratory by coloring the workbench brown or tan. Use rainbow colors for the bubbles and sparkles to create a sense of magic and excitement. The background walls could be light blue, cream, or soft yellow. Labels on bottles can feature various bright colors. Consider using colored pencils or markers to create gradients in the liquid-filled containers, making them look realistic and dimensional.
Coloring challenges: Which parts are difficult to color and need attention for Young Scientist in the Lab coloring page?
• Fine Detail Work: The laboratory equipment contains many small elements like test tube openings, microscope lenses, and tiny bottles on shelves that require careful coloring within narrow boundaries. Young colorists may find it challenging to stay within these small spaces without accidentally going over the lines, requiring patience and a steady hand.
• Multiple Overlapping Objects: The workbench scene includes numerous items placed at different depths and angles, with some objects partially hidden behind others. Distinguishing where one item ends and another begins can be confusing, especially when deciding which areas belong to which object and what colors to assign to create visual separation.
• Transparent and Reflective Surfaces: Beakers, test tubes, and goggles are made of glass or plastic, which are transparent materials. Coloring these items to look realistic while still showing the liquid inside or the eyes behind the goggles requires understanding how to use lighter pressure, leave white highlights, or blend colors to suggest transparency and shine.
• Creating Liquid Effects: The bubbling solutions inside the scientific containers need special attention to look fluid and realistic. Young artists must think about how to show liquid levels, create bubble circles of various sizes, and perhaps add color variations within the same container to suggest chemical reactions or layering effects.
• Maintaining Visual Balance: With so many different elements competing for attention, choosing a harmonious color scheme that makes the young scientist the focal point while keeping the equipment visually interesting requires thoughtful planning and color coordination throughout the entire page.
Benefits of coloring books: Advantages of drawing Young Scientist in the Lab coloring page
Coloring this science laboratory scene offers wonderful educational value while developing important skills. It introduces children to scientific equipment and laboratory safety concepts in a fun, approachable way, sparking curiosity about STEM fields. The detailed nature of the image strengthens fine motor skills and hand-eye coordination as children carefully color within the lines of small objects. It encourages color recognition and decision-making as young artists choose appropriate colors for different materials like glass, metal, wood, and liquids. The scene also promotes focus and concentration, as completing the many elements requires sustained attention. Additionally, this coloring page can inspire conversations about science experiments, safety procedures, and career possibilities, helping children see themselves as future scientists. The creative process of selecting colors for the bubbling experiments allows for imagination and artistic expression while reinforcing the exciting and colorful nature of scientific discovery.