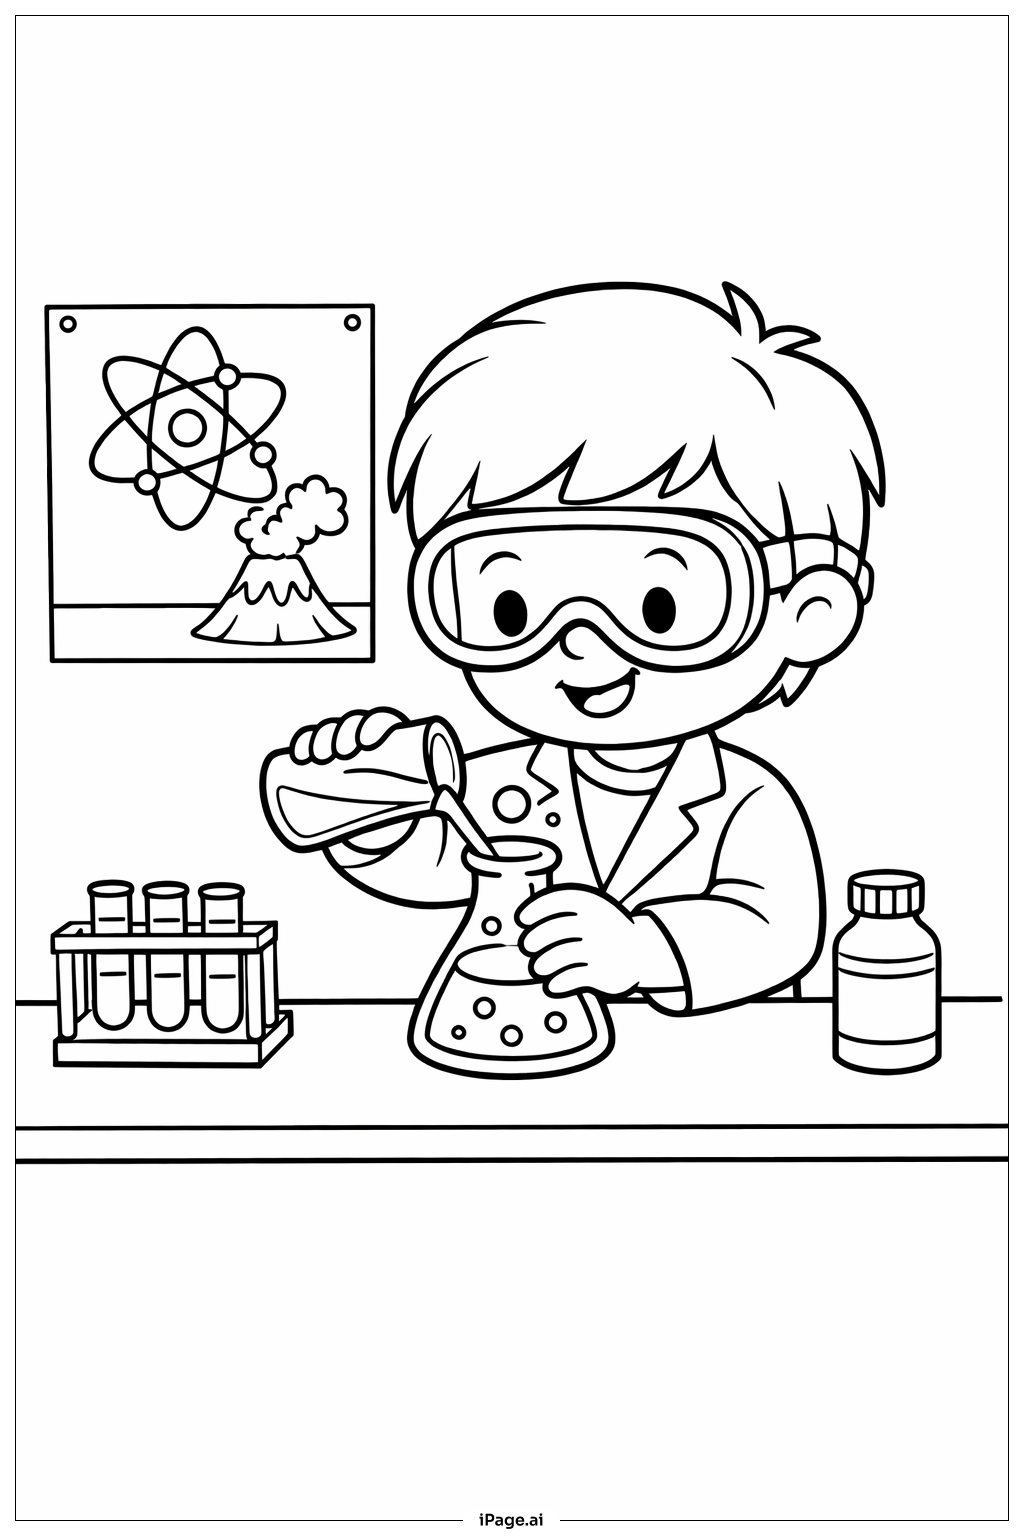
Coloring tips: How to color Science Classroom Experiment coloring page well?
Start with the student's clothes. Use bright, cheerful colors like blue or yellow for the shirt and dark blue or gray for pants. Add a white lab coat on top to give a scientist look. Color the beakers and test tubes in shades of green, purple, and orange to show different liquids. Make the bubbling liquid look exciting by using light blue or lime green. Use brown or tan for the wooden lab table. Color the chalkboard dark green or black, and make the writing look white or pale yellow. Keep the shelves light gray or beige. Use warm, bright tones on the background walls to make the scene feel cheerful and welcoming. Let kids choose their own fun colors for the liquid reactions to spark creativity.
Coloring challenges: Which parts are difficult to color and need attention for Science Classroom Experiment coloring page?
• Small Lab Equipment Details: The image contains many small items on the lab table, such as test tubes, beakers, and droppers. These tiny objects have narrow spaces between them that can be hard to color without going outside the lines. Young colorists should use thin-tipped colored pencils or fine markers to carefully fill in each piece of equipment without blending the colors together.
• Liquid and Bubble Effects: Showing the look of bubbling or flowing liquid inside containers can be tricky. The shapes of the bubbles are small and round, making it hard to color each one separately. Using lighter shades inside the liquid and slightly darker shades near the edges can help show depth and movement without making the colors look flat or muddy.
• Background Clutter and Layering: The shelves and chalkboard in the background are filled with bottles, books, and diagrams. These overlapping objects create complex layers that are challenging to color without confusing which item is in front. Coloring each layer one at a time, starting from the background and moving forward, helps keep the image looking organized and clear.
• Student Figure Proportions: The student figure includes small facial features and clothing details. Getting the skin tone right while also coloring the hair, eyes, and clothes without smudging nearby areas takes patience and steady hands. Younger children may find it helpful to use larger crayons for the body and switch to finer tools for the face.
• Chalkboard Writing and Diagrams: The equations and diagrams on the chalkboard are drawn in thin lines and small print. Coloring around these details without covering them requires careful control. Using a white or very light yellow pencil to highlight the writing helps it stand out against a dark chalkboard background.
Benefits of coloring books: Advantages of drawing Science Classroom Experiment coloring page
Coloring this Science Classroom Experiment page offers a wide range of benefits for children. First, it builds fine motor skills. Carefully coloring small items like test tubes and beakers helps strengthen hand muscles and improve pencil control. These skills are important for writing and other everyday tasks. Second, it encourages curiosity about science. As kids color lab equipment and experiment scenes, they naturally start to wonder what scientists do and how experiments work. This sparks an early love of learning and exploration. Third, it supports focus and concentration. Staying within the lines and choosing colors for different objects requires attention and patience, helping children practice staying on task. Fourth, it boosts creativity. There are no rules about what color a liquid should be. Kids can use their imagination to make the experiment as colorful and exciting as they like. Fifth, it can be a calming activity. The quiet, focused nature of coloring helps children relax and unwind, reducing stress and anxiety. Finally, it makes science feel fun and approachable. By connecting art with science themes, this page helps children see that learning can be joyful and hands-on.