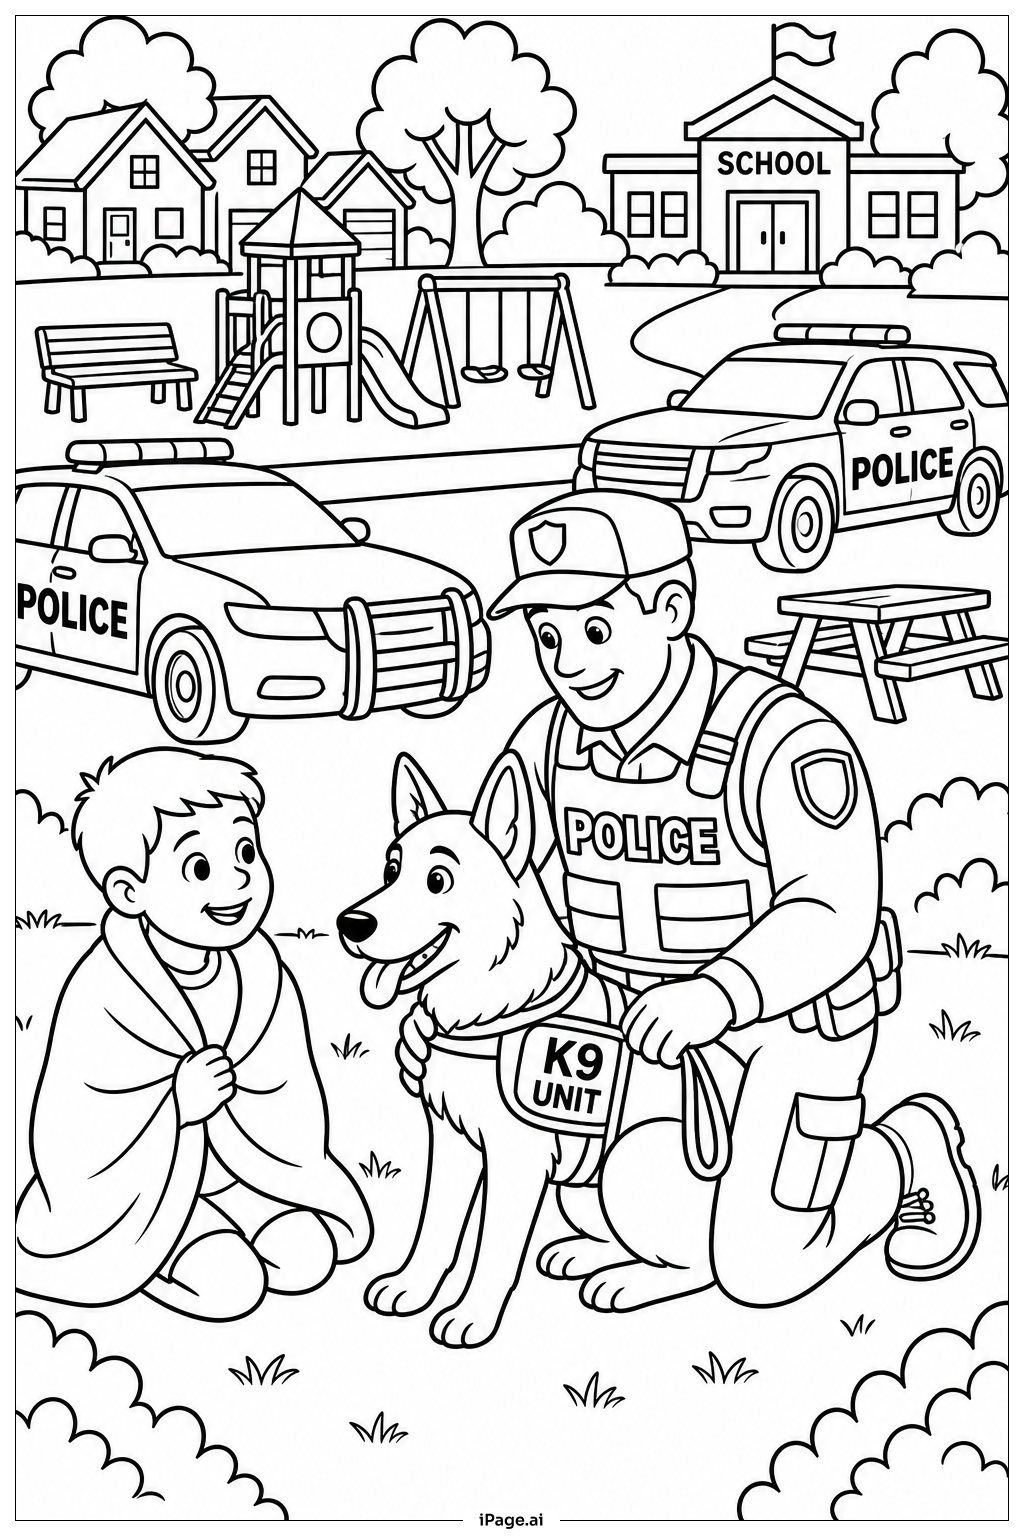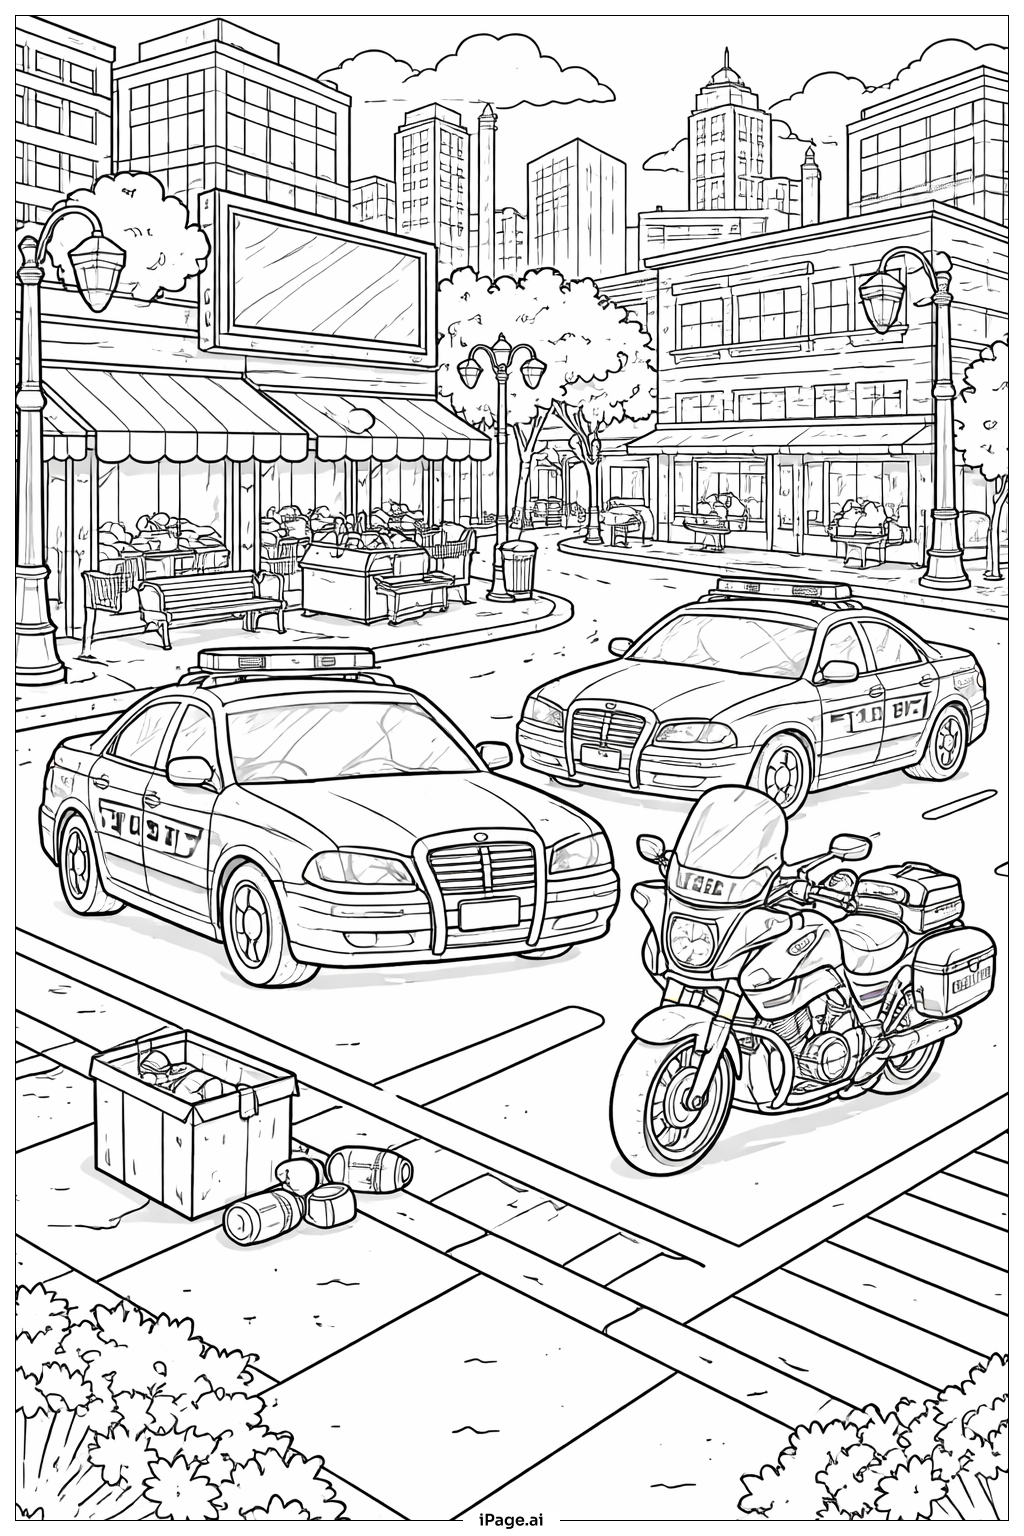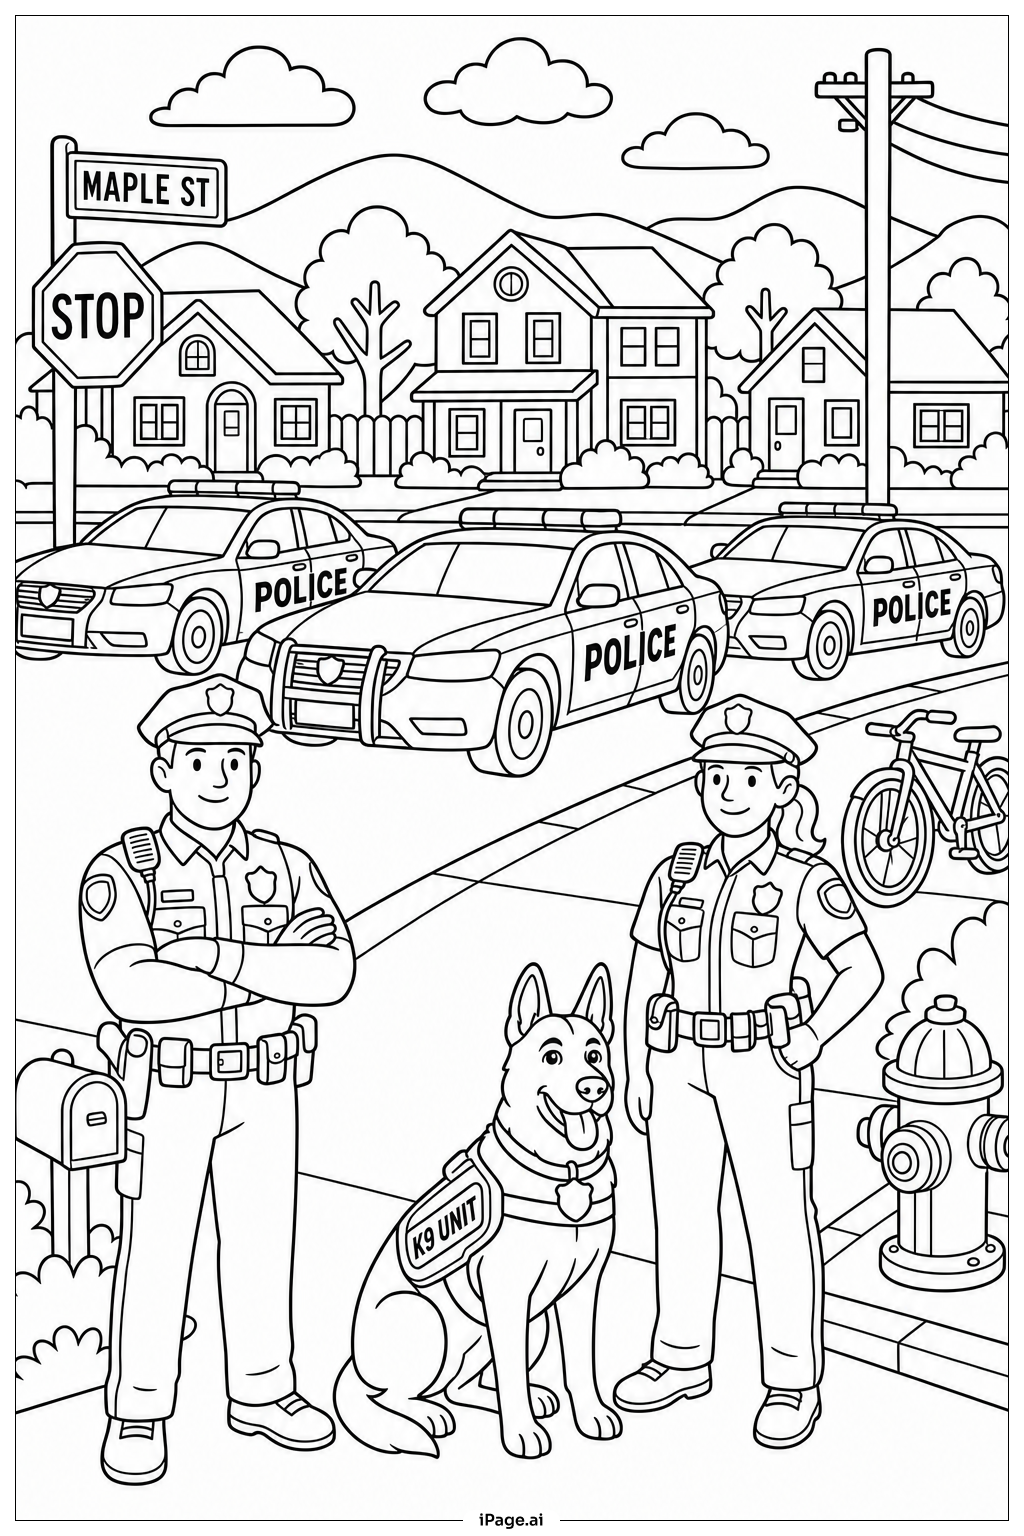
Coloring tips: How to color Police Car With Window coloring page well?
Start with the main body of the police car. Use dark navy blue or black and white for the classic two-tone police car look. You can also try a bright blue with white doors for a fun, modern style. Color the roof-mounted light bar red and blue to match real police lights. Use gray or silver for the bumpers, grille, and hubcaps. The windows can be colored light blue or pale gray to give a glass effect. Add a yellow star badge on the door for extra detail. Use black for the tires and outline areas. Try shading the car body lightly to make it look three-dimensional. Kids can also get creative and color the car in any colors they like. There are no strict rules — have fun and make it your own!
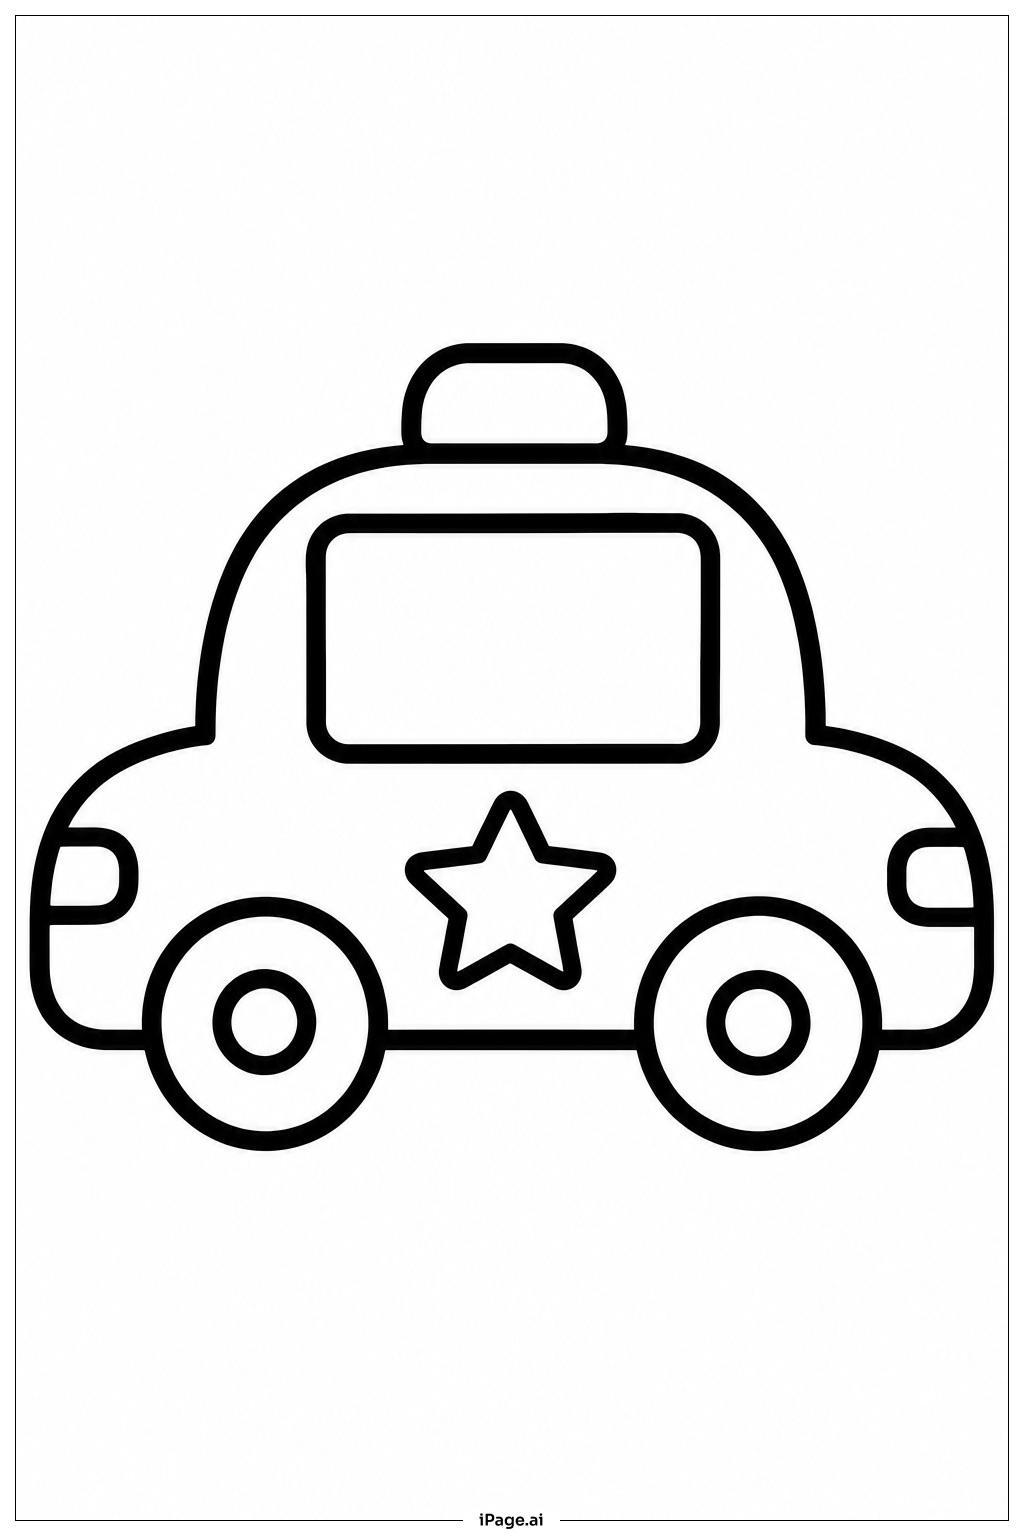
Coloring challenges: Which parts are difficult to color and need attention for Police Car With Window coloring page?
• Window Detailing: The windows are a key feature of this image and can be tricky to color. The goal is to make them look like real glass. Using a light, even layer of pale blue or gray works best. Pressing too hard will make the windows look too dark and solid, losing the transparent glass effect. Take your time and apply color gently in smooth strokes.
• Light Bar Accuracy: The roof-mounted siren light bar has small, separate sections for red and blue lights. These sections are close together and require a steady hand to color neatly. Using thin markers or sharpened colored pencils will help keep the colors from bleeding into each other.
• Two-Tone Body Design: Traditional police cars use a two-tone color scheme, usually black and white or blue and white. Keeping the color boundary clean and straight along the door line takes patience. A ruler or light pencil guideline before coloring can help maintain a sharp, even divide between the two colors.
• Small Mechanical Details: The hubcaps, grille, and headlight sections are small and closely packed. Coloring inside these tiny areas without going outside the lines is a real challenge, especially for younger children. Fine-tipped tools like gel pens or thin markers are ideal for these sections.
• Shading and Depth: Adding shading to the car body to give it a realistic, three-dimensional look requires some skill. Children and beginners may find it hard to blend colors smoothly. Starting with a base color and layering a slightly darker shade on the lower edges of the car body can create a simple but effective depth effect.
Benefits of coloring books: Advantages of drawing Police Car With Window coloring page
Coloring this Police Car With Window page offers many great benefits for children and young learners. First, it helps improve fine motor skills. Carefully filling in small areas like the windows, hubcaps, and light bar trains the hand muscles and builds better pencil control. This skill is important for writing and drawing. Second, it boosts focus and concentration. Staying inside the lines and choosing the right colors for each part of the car requires attention and patience, helping kids practice staying focused on a task. Third, it sparks creativity. While real police cars follow a set color scheme, children are free to reimagine the car in any colors they choose, encouraging imaginative thinking. Fourth, it builds color recognition and awareness. Learning which colors represent police vehicles helps children connect art with the real world around them. Fifth, it provides a calm and relaxing activity. Coloring is a great way for kids to unwind after a busy day at school. It reduces stress and gives a sense of accomplishment when the page is complete. Overall, this coloring page is both fun and educational.