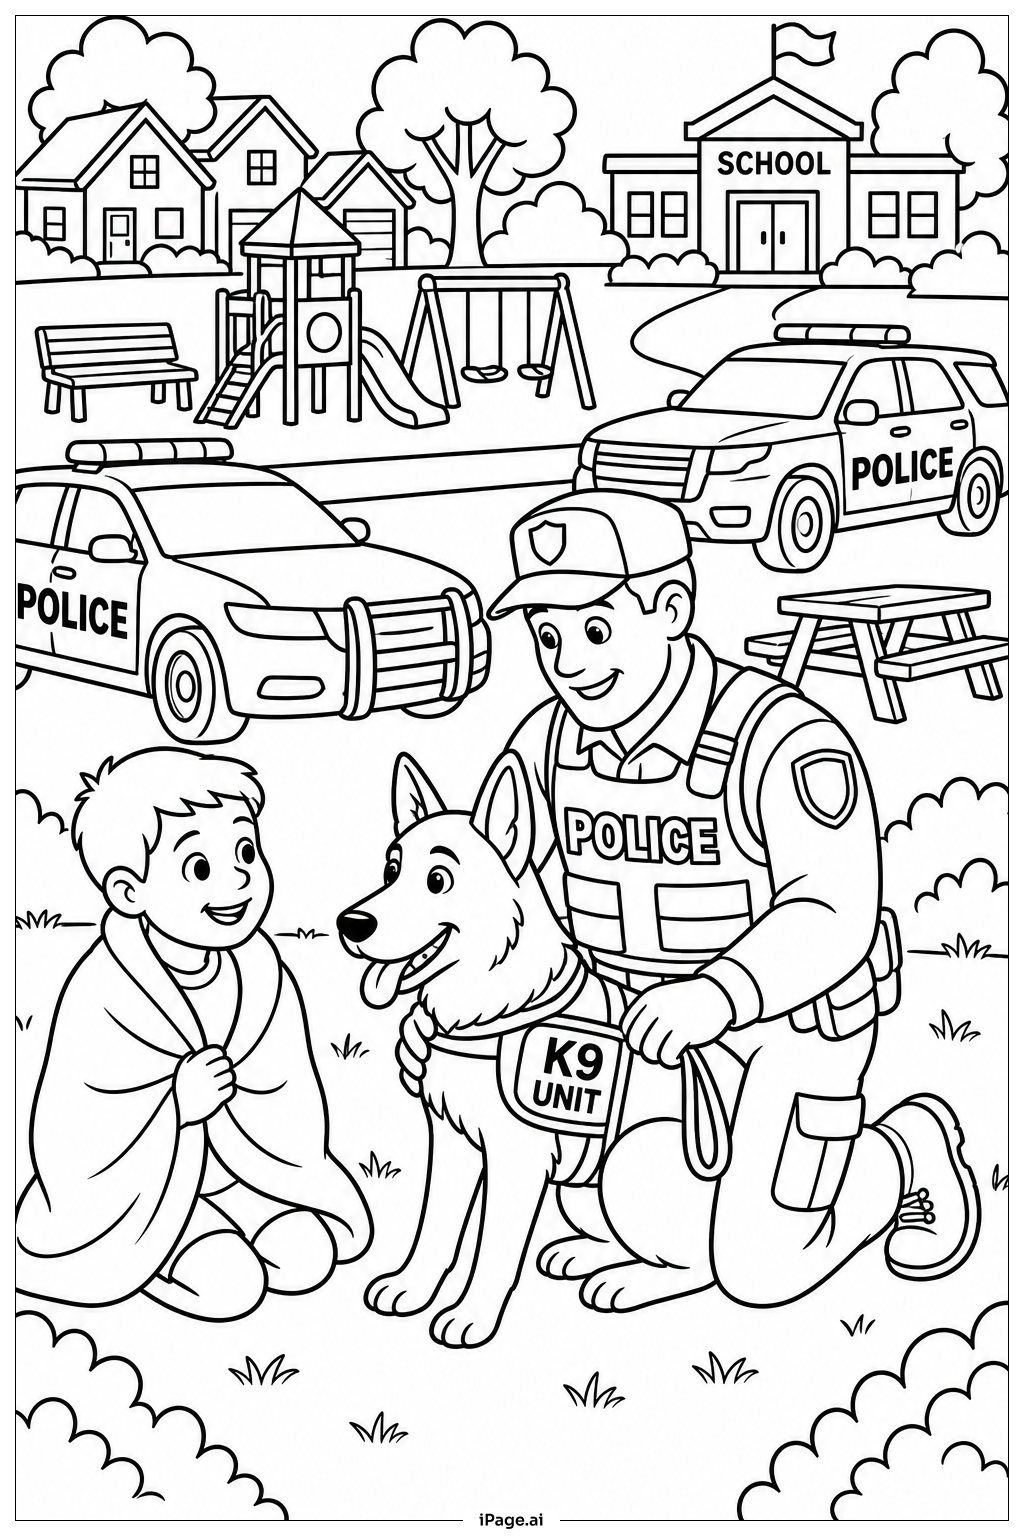
Coloring tips: How to color Police Car Near Bus Stop coloring page well?
Start with the police car's body. Use a classic black and white pattern, or try a bold blue and white look for a modern feel. Color the light bar on top with red and blue to show the flashing emergency lights. Use yellow or silver for the star badge on the door. Paint the bumpers gray or chrome silver. Give the tires a dark gray or black color, and use light gray or silver for the rims. For the bus stop sign, use bright yellow or green with bold black letters. Color the signpost a simple gray or dark brown. Use light beige or tan for the sidewalk, and a warm gray for the road. You can add a light blue sky in the background to make the scene feel lively. Feel free to add your own creative touches, like colorful details on the windows or fun patterns on the curb. There is no wrong way to color — just enjoy the process!
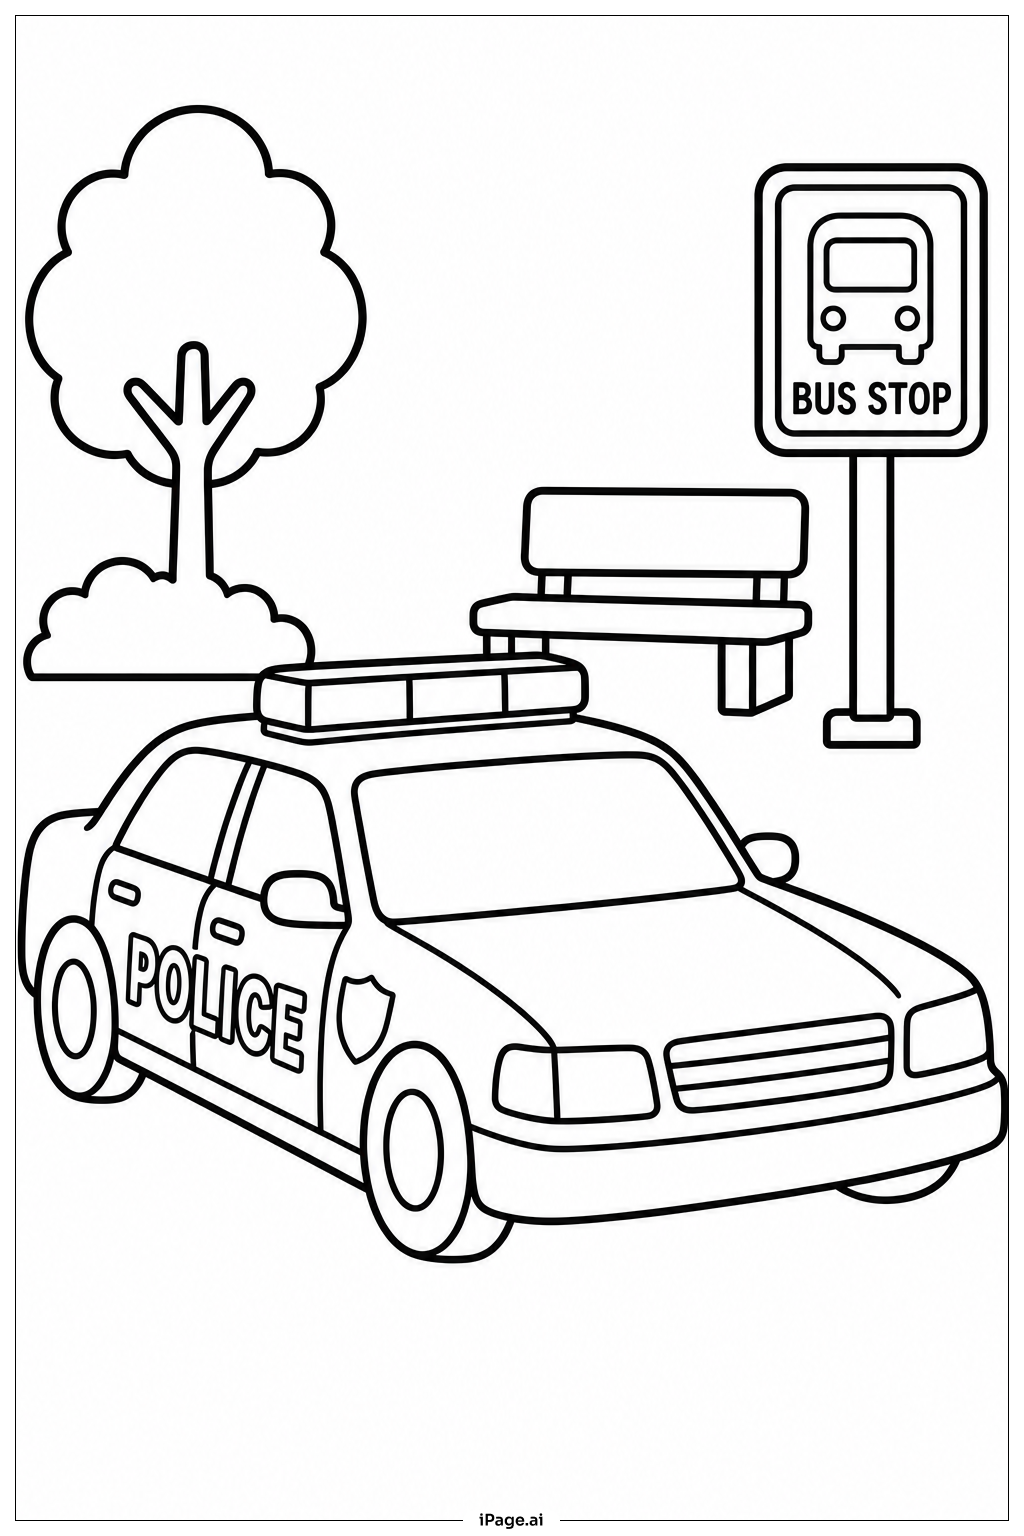
Coloring challenges: Which parts are difficult to color and need attention for Police Car Near Bus Stop coloring page?
• Light Bar Details: The light bar on top of the police car has small, closely spaced sections representing individual lights. Coloring each section neatly with red and blue without smudging or overlapping the colors onto the car roof can be tricky. A fine-tipped marker or colored pencil works best here.
• Black and White Car Body Pattern: The traditional police car uses a two-tone black and white design. Keeping a clean, straight boundary between the two color areas along the side of the car requires a steady hand and careful attention to the outlines. Take your time and follow the lines closely.
• Small Badge and Lettering: The star badge on the car door and any text details are small and enclosed within tight outlines. Filling these tiny areas with the right colors without going outside the lines is one of the hardest parts of this image. Using a sharp pencil tip or a fine-point pen gives you the best control.
• Wheel and Rim Details: The wheels contain layered details including the outer tire, the rim spokes, and the hubcap center. Each layer needs a different color to look realistic. Working from the outside in — tires first, then rims, then center — helps keep the areas clean and distinct.
• Bus Stop Sign and Post: The bus stop sign is a small but important element in the scene. Its compact size makes it difficult to add color without accidentally coloring outside the sign's border. Using a pointed tool and light pressure will help you stay within the lines and keep the sign looking sharp.
Benefits of coloring books: Advantages of drawing Police Car Near Bus Stop coloring page
Coloring this Police Car Near Bus Stop image offers a wonderful range of benefits for kids and beginners alike. First, it helps build fine motor skills. Staying inside the detailed outlines of the car, wheels, and sign strengthens hand control and pencil grip, which supports everyday writing and drawing tasks. Second, it encourages color recognition and creativity. Choosing the right shades for the police car, light bar, and bus stop sign helps children learn how colors work together in real-life scenes. Third, it sparks an interest in community helpers. As children color the police car, they naturally think about the role of police officers in keeping neighborhoods safe, turning a simple art activity into a gentle lesson about the world around them. Fourth, it promotes focus and patience. The image contains many small details that require careful attention, helping children practice sitting still and concentrating on a task from start to finish. Finally, completing the coloring page gives a real sense of achievement. Seeing a finished, colorful scene is a confidence boost that encourages kids to keep creating and exploring their artistic abilities.