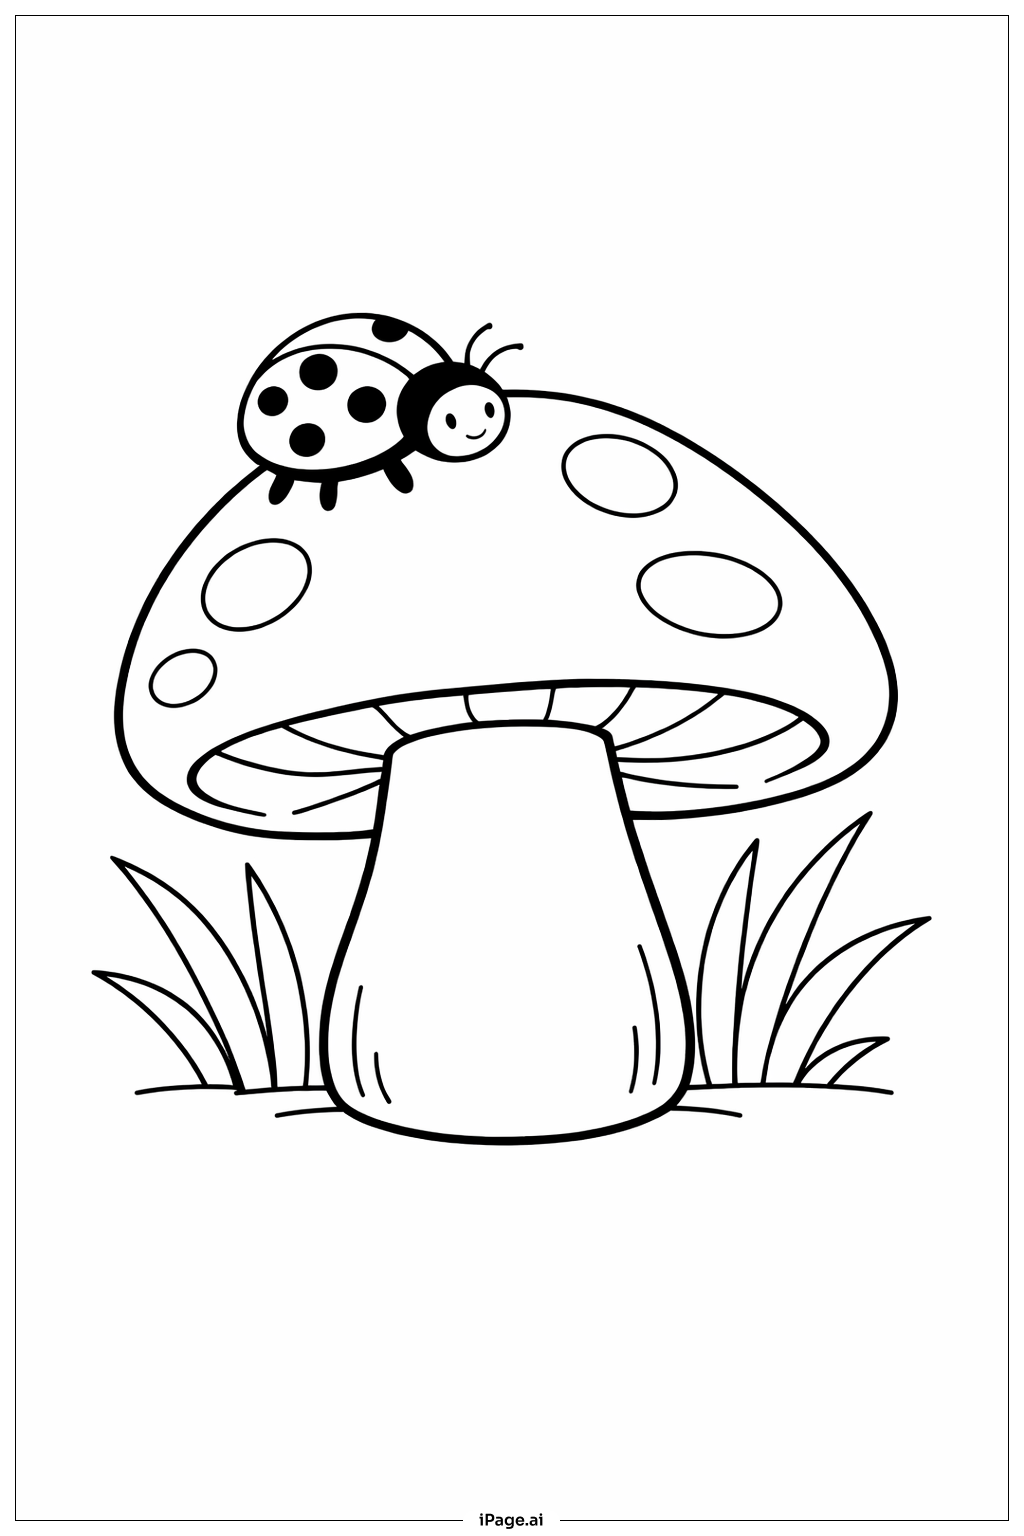
Coloring tips: How to color Mushroom With Ladybug coloring page well?
Start with the mushroom cap and use a classic red or bright orange to make it pop. You can also try purple or yellow for a more magical, fantasy feel. Color the spots on the cap white or cream to keep them looking natural. For the stem, use shades of tan, beige, or light brown. Add a little darker brown along the edges to give it a rounded, three-dimensional look. The ladybug looks best in bright red with small black dots. Color its head black to match the classic look. For the grass and leaves at the base, use different shades of green to add variety and life. Light green works great for the tips, while darker green fills in the base. If you want to add a background, soft blues, purples, or a warm golden yellow can make the whole scene feel like a magical forest moment. Have fun mixing and blending colors to make your mushroom world unique!
Coloring challenges: Which parts are difficult to color and need attention for Mushroom With Ladybug coloring page?
• Mushroom Cap Spots: The cap is covered with multiple small circular spots spread across a curved surface. Staying neatly inside each spot without overlapping the surrounding cap color can be tricky, especially near the edges of the cap where the spots get smaller. Take your time and use a fine-tipped coloring tool for the spots.
• Ladybug Details: The ladybug is small and sits on top of the mushroom cap. Its tiny body has even smaller dots on it, which makes precise coloring a real challenge. Filling in the dots without smearing color onto the wing area or the mushroom cap requires a sharp pencil or a fine marker. A steady hand is important here.
• Stem Shading and Texture: The mushroom stem has subtle line details that suggest a curved, three-dimensional shape. To make the stem look round and full, you need to apply lighter color in the center and gradually deepen the shade toward the edges. This kind of gradual shading can be difficult for younger colorists who are still learning blending techniques.
• Grass and Leaf Base: The base of the mushroom is surrounded by overlapping grass blades and small leaves. Because these elements are close together and layered, it can be hard to color each one individually without accidentally filling in a neighboring blade. Using multiple shades of green helps separate each element visually.
• Balancing the Overall Color Palette: With so many different elements in the scene, mushroom cap, spots, stem, ladybug, and grass, keeping the colors balanced so no single area feels too heavy or dull takes careful planning and a thoughtful choice of colors before you begin.
Benefits of coloring books: Advantages of drawing Mushroom With Ladybug coloring page
Coloring this Mushroom With Ladybug page offers a wide range of benefits for children and beginners alike. First, it helps build fine motor skills. Carefully coloring inside the small spots on the mushroom cap and the tiny dots on the ladybug trains hand control and precision, which are important skills for writing and drawing. Second, it encourages creativity. Choosing colors for a fantasy mushroom scene lets kids experiment freely. There is no single right answer, so children feel confident exploring different color combinations. Third, it introduces basic color theory in a fun, low-pressure way. Mixing shades of green for the grass or adding depth to the stem teaches young colorists how light and shadow work. Fourth, spending focused time on a detailed image like this is a great way to practice patience and concentration. Completing each section step by step builds a healthy sense of persistence. Finally, finishing the page gives a real sense of accomplishment, boosting confidence and encouraging a love for art. Whether you are coloring alone or with friends, this sweet nature scene makes the whole experience calming, joyful, and rewarding.