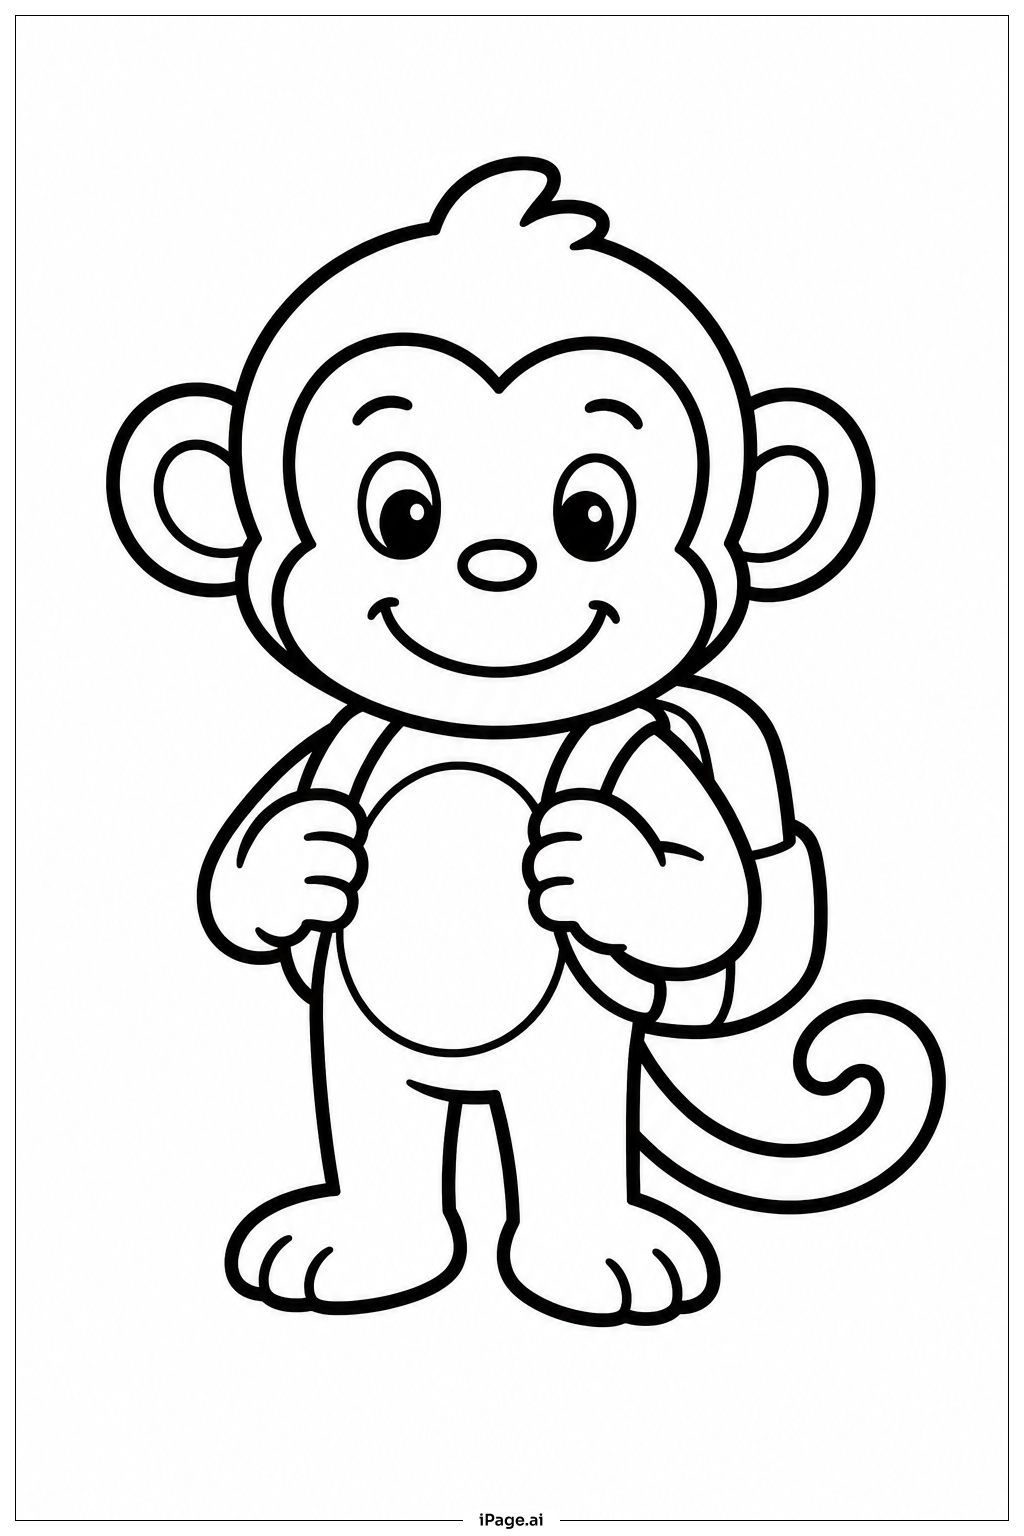
Coloring tips: How to color Monkey With Backpack coloring page well?
Start by coloring the monkey's body with warm shades like light brown, tan, or golden yellow. Use a slightly darker brown for the face, hands, feet, and ears to add contrast and depth. The monkey's belly and inner ears can be a softer peach or cream tone. For the backpack, let your imagination run wild — try bright red, blue, green, or purple to make it pop. You can add patterns like stripes or polka dots to make the backpack look extra fun and personal. Use a deeper shade of the same color for the backpack's straps and pockets to create a sense of dimension. The monkey's eyes can be dark brown or black, with a small white highlight dot to make them look shiny and alive. Finish with a simple background — a sunny sky, green trees, or a forest trail — to complete the adventure scene. Kids can use crayons, colored pencils, or markers for this image.
Coloring challenges: Which parts are difficult to color and need attention for Monkey With Backpack coloring page?
• Monkey Fur Texture: Capturing the natural look of monkey fur can be tricky. Instead of using a flat, single color, try layering two or three shades of brown. Apply light strokes in the direction the fur would naturally grow. This technique adds realism and depth to the body without making it look too flat or dull.
• Facial Details: The monkey's face is one of the most expressive parts of the image. The small area around the eyes, nose, and mouth requires careful and precise coloring. Use a fine-tipped tool to stay within the lines. Apply lighter tones first, then build up darker shades gradually to define the facial features clearly.
• Backpack Compartments and Straps: The backpack has multiple small sections, including pockets, zippers, and straps. These areas are close together and require steady hands to color each part separately without bleeding into neighboring sections. Using different shades or colors for each compartment can help distinguish them and make the backpack look more realistic and detailed.
• Color Transitions Between Body Parts: Where the monkey's lighter belly meets the darker arms and legs, smooth color blending is needed. Abrupt color changes can look unnatural. Try using a transitional shade in between, or gently blend the two colors together at the border to achieve a smooth and natural gradient effect.
• Proportional Shading: Adding shading to round body parts like the head, limbs, and tail helps make the figure look three-dimensional. Deciding where the light source comes from and applying consistent shading throughout the entire image can be challenging, especially for younger colorists who are still developing their technique.
Benefits of coloring books: Advantages of drawing Monkey With Backpack coloring page
Coloring this Monkey With Backpack image offers a wide range of benefits for children and even adults. First, it helps develop fine motor skills. Staying within the lines and handling coloring tools strengthens hand muscles and improves coordination, which is essential for writing and other daily tasks. Second, it encourages creativity and self-expression. Choosing colors for the monkey's fur and backpack allows colorists to make unique artistic choices and explore their imagination freely. Third, it supports focus and concentration. Working through detailed sections like the face and backpack requires attention and patience, helping to build better focus habits over time. Fourth, it introduces storytelling and imaginative thinking. The adventure-ready monkey with its backpack naturally sparks curiosity — children may invent stories about where the monkey is going, what is inside the bag, and who it might meet along the way. Fifth, coloring is a calming and mindful activity. It reduces stress and provides a healthy creative outlet, helping both kids and adults relax and unwind. Overall, this image makes coloring both educational and enjoyable.