Coloring tips: How to color Fruit Tree Branch Fruit coloring page well?
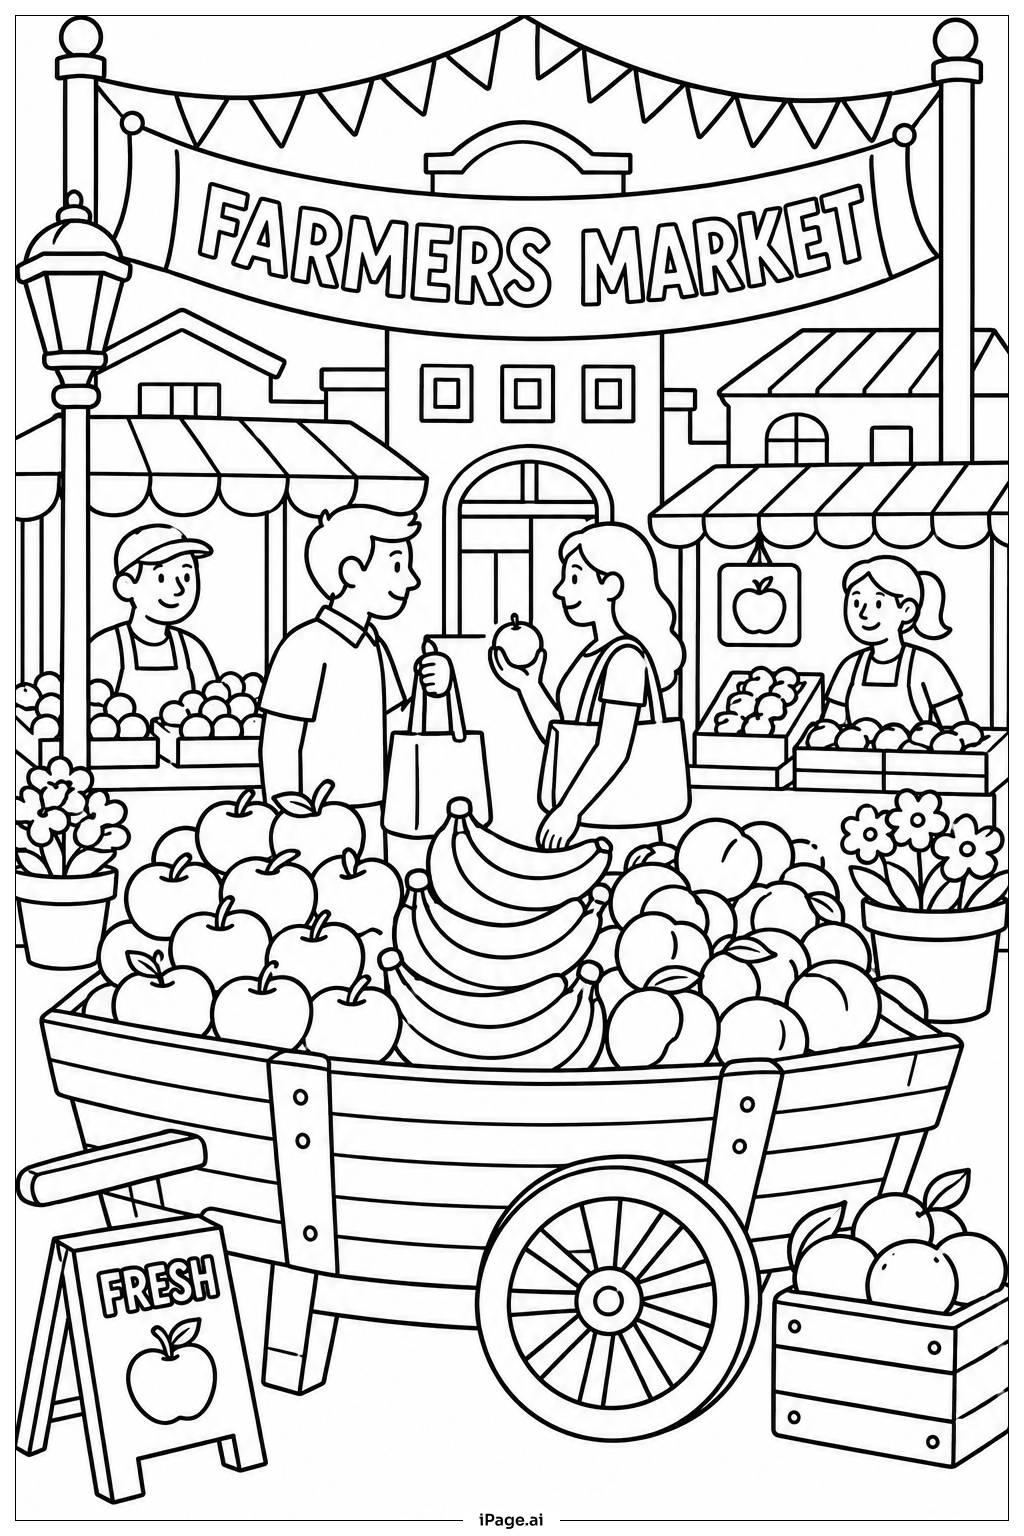
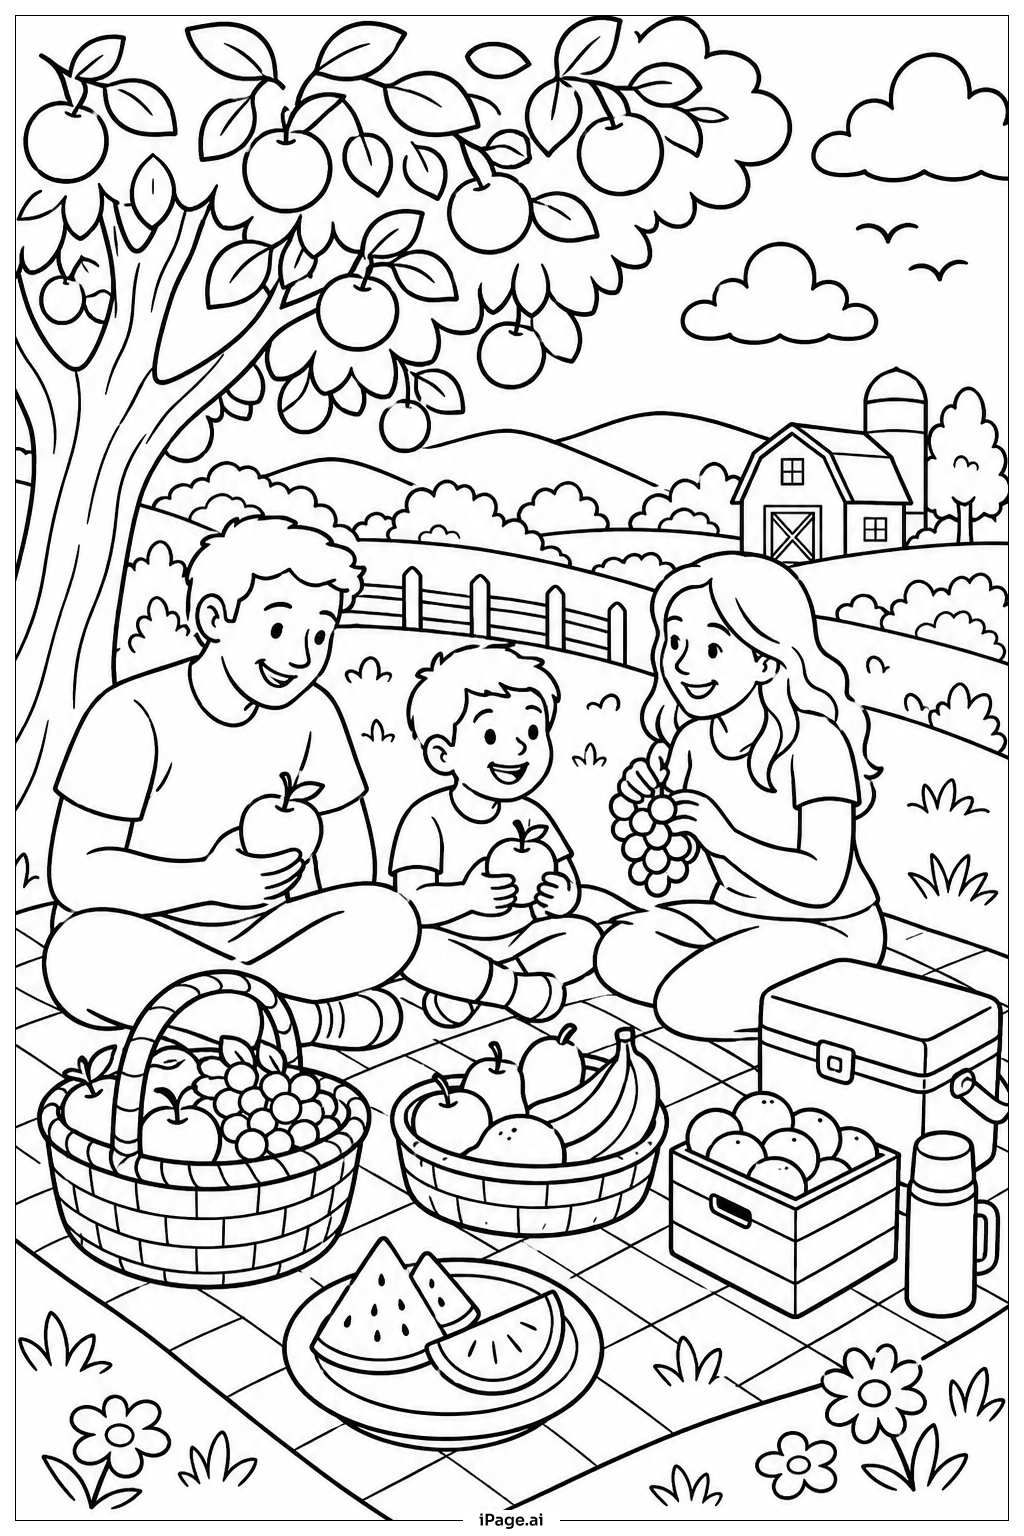
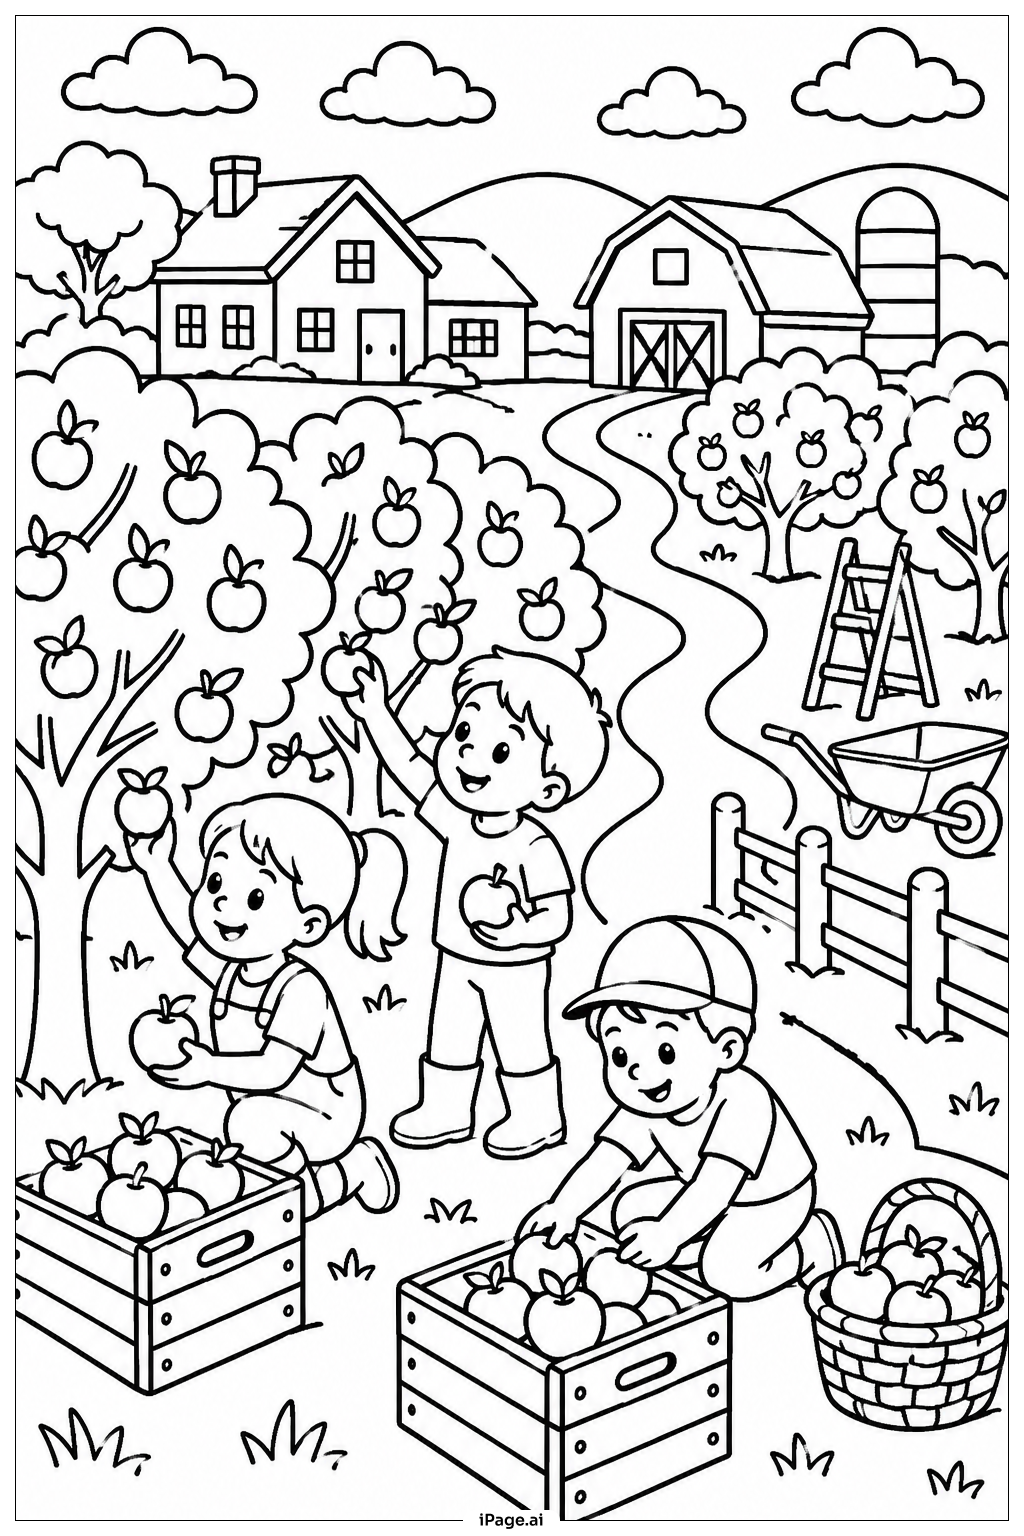
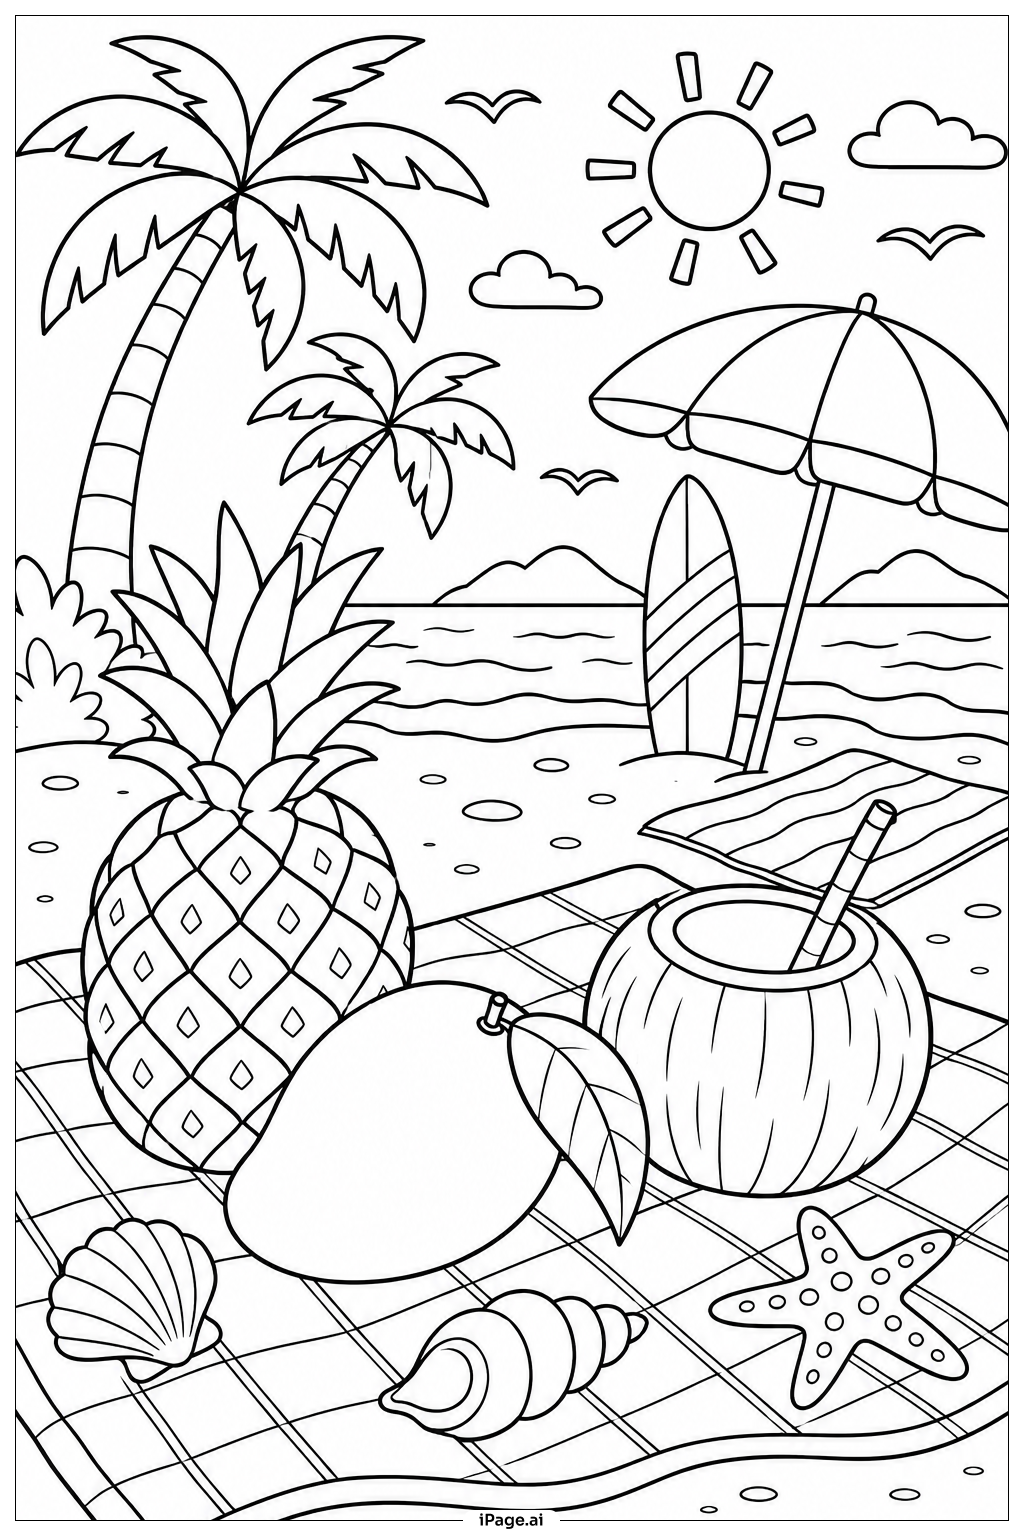
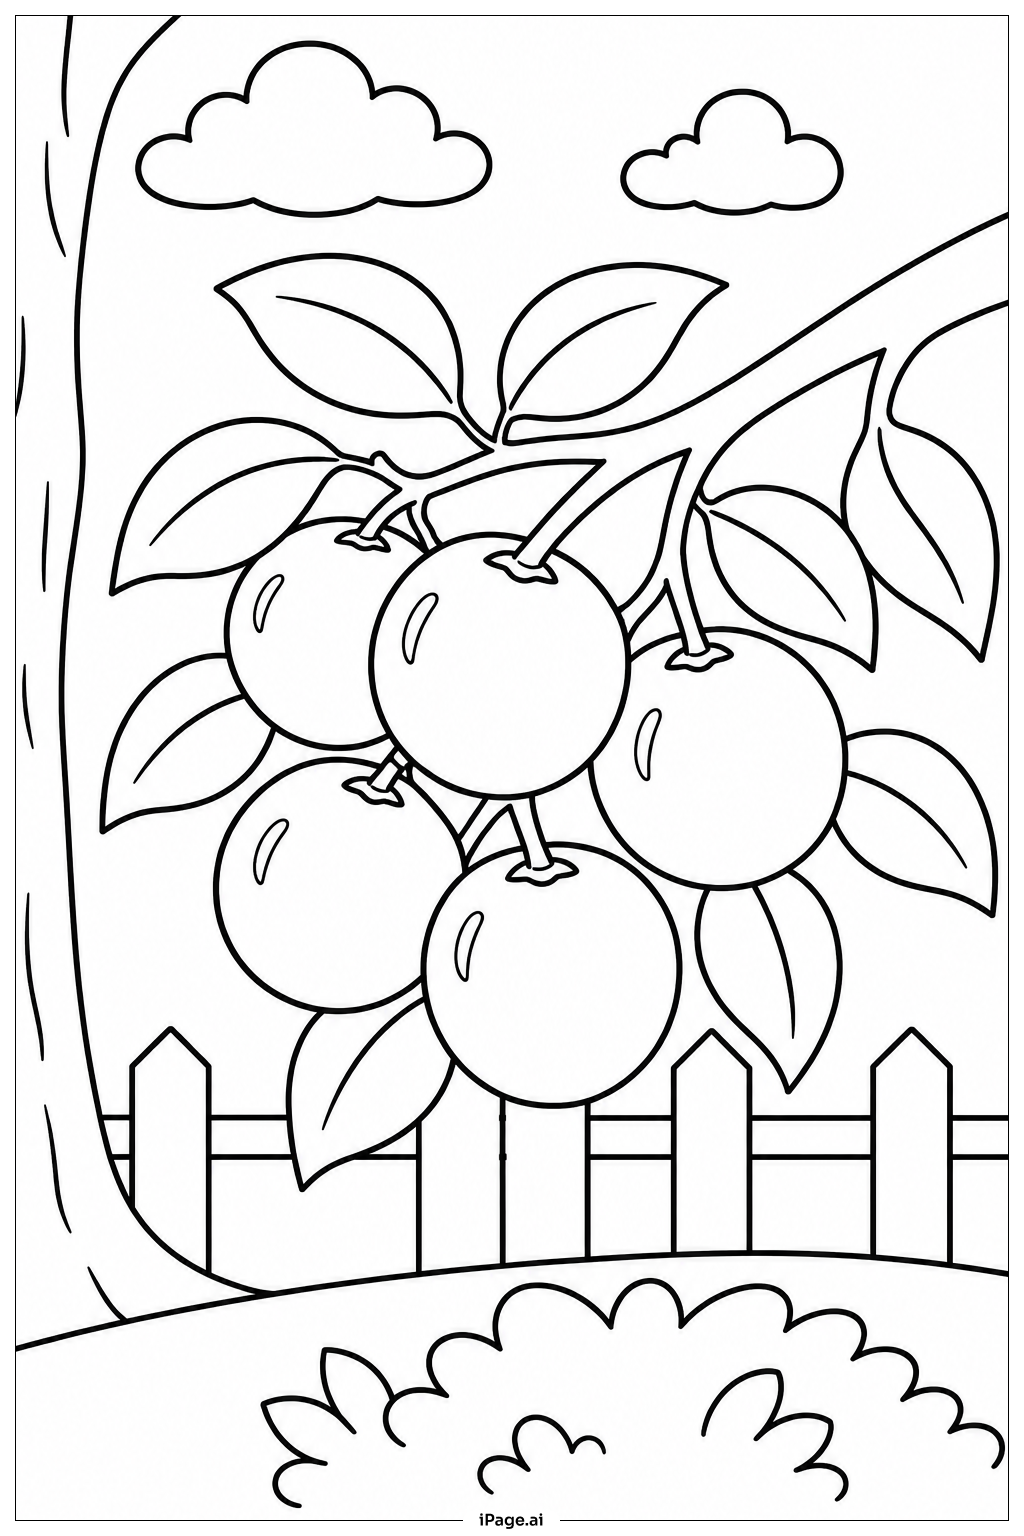
Start by coloring the fruits first — try classic red or deep crimson for apples, or go creative with golden yellow, bright orange, or even purple tones. Add a small circle of lighter color or white near the top of each fruit to show a shiny highlight. For the leaves, use different shades of green — bright lime green for younger leaves and deeper forest green for older, fuller ones. Mix in a touch of yellow-green to keep things lively. Color the branch and twigs in warm browns and tans, adding darker streaks along the sides to show depth and texture. Use a darker brown for the bark lines and knots. If you want a seasonal feel, try coloring some leaves in orange, red, or yellow for an autumn look. Take your time with the leaf veins — a slightly lighter or darker shade than the base leaf color works beautifully. There are no wrong color choices here, so have fun and make it your own!
Coloring challenges: Which parts are difficult to color and need attention for Fruit Tree Branch Fruit coloring page?
• Fruit Shading and Highlights: Getting the fruits to look round and three-dimensional is one of the biggest challenges. You need to leave a small bright spot near the top of each fruit and gradually darken the color toward the bottom and sides. Blending smoothly from light to dark without harsh lines takes patience and practice, especially for younger colorists.
• Leaf Vein Details: Each leaf has a network of fine veins running from the central midrib out to the edges. Coloring around these thin lines without covering them up requires a very light hand and a sharp, thin tool. If the veins get filled in, the leaf loses its natural, textured look.
• Layering Multiple Shades of Green: The scene has many leaves, and making each one look slightly different from the next keeps the image from looking flat and repetitive. Switching between two or three green tones — and knowing when to use each one — can feel tricky, especially when leaves overlap and create natural shadows.
• Branch and Bark Texture: The woody branch needs more than a single flat brown. Adding streaks, knots, and shadow lines along the bark gives it a realistic, rough texture. Deciding where the light hits the branch and where shadows fall requires careful observation and steady coloring strokes.
• Managing Overlapping Elements: In several spots, leaves overlap each other and the branch. Keeping adjacent areas in clearly distinct tones so each element reads separately — without the image looking muddy — demands thoughtful color planning before you begin.
Benefits of coloring books: Advantages of drawing Fruit Tree Branch Fruit coloring page
Coloring this fruit tree branch page offers a wonderful range of benefits for kids and beginners alike. Working through the many fruits and leaves helps build fine motor skills and hand control, especially when carefully staying within outlines and adding small details like leaf veins and fruit highlights.
The image naturally teaches color theory in a fun, hands-on way. Exploring how different shades of green, red, and brown work together helps young colorists understand contrast, shading, and how colors can create a sense of depth and light.
Because the scene is rooted in the real natural world, it sparks curiosity about trees, fruit, and how plants grow. It can open up conversations about seasons, harvests, and where food comes from, making it a great companion to science or nature lessons.
The repetitive, rhythmic motion of coloring leaves and fruits one by one is genuinely calming. It encourages focus and patience, helping kids practice sitting with a task until it is complete — a skill that carries over into school and daily life.
Finally, finishing a lush, colorful fruit tree scene gives a strong sense of accomplishment. Seeing a vibrant, finished page is a real confidence boost, and it encourages kids to keep creating and expressing themselves through art.