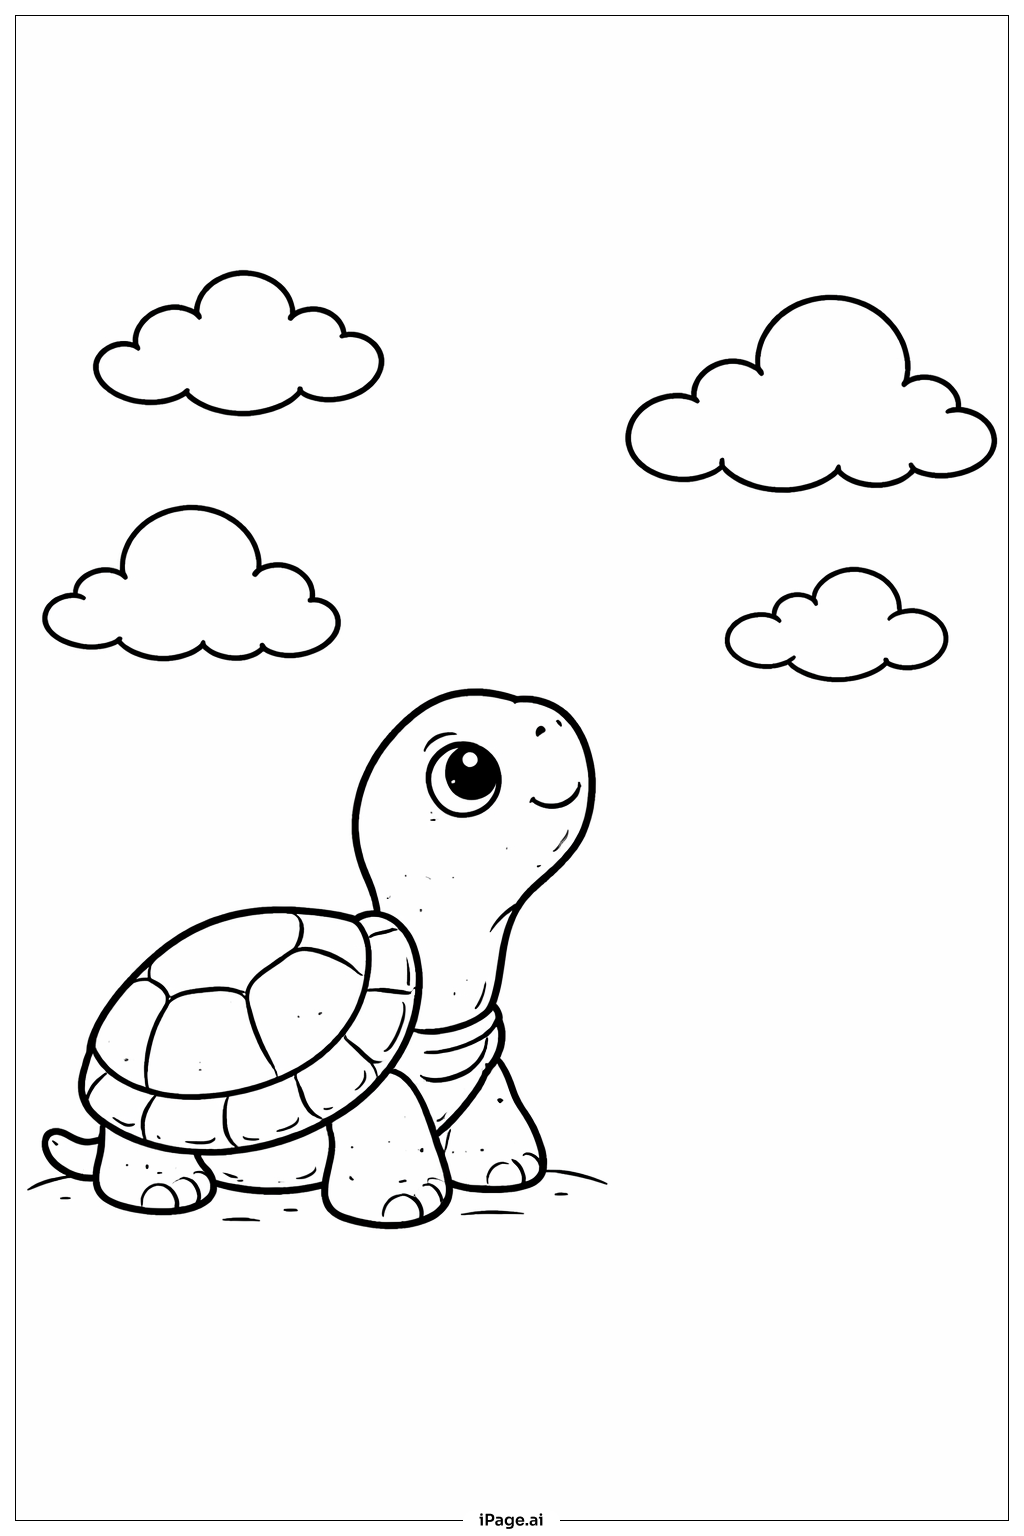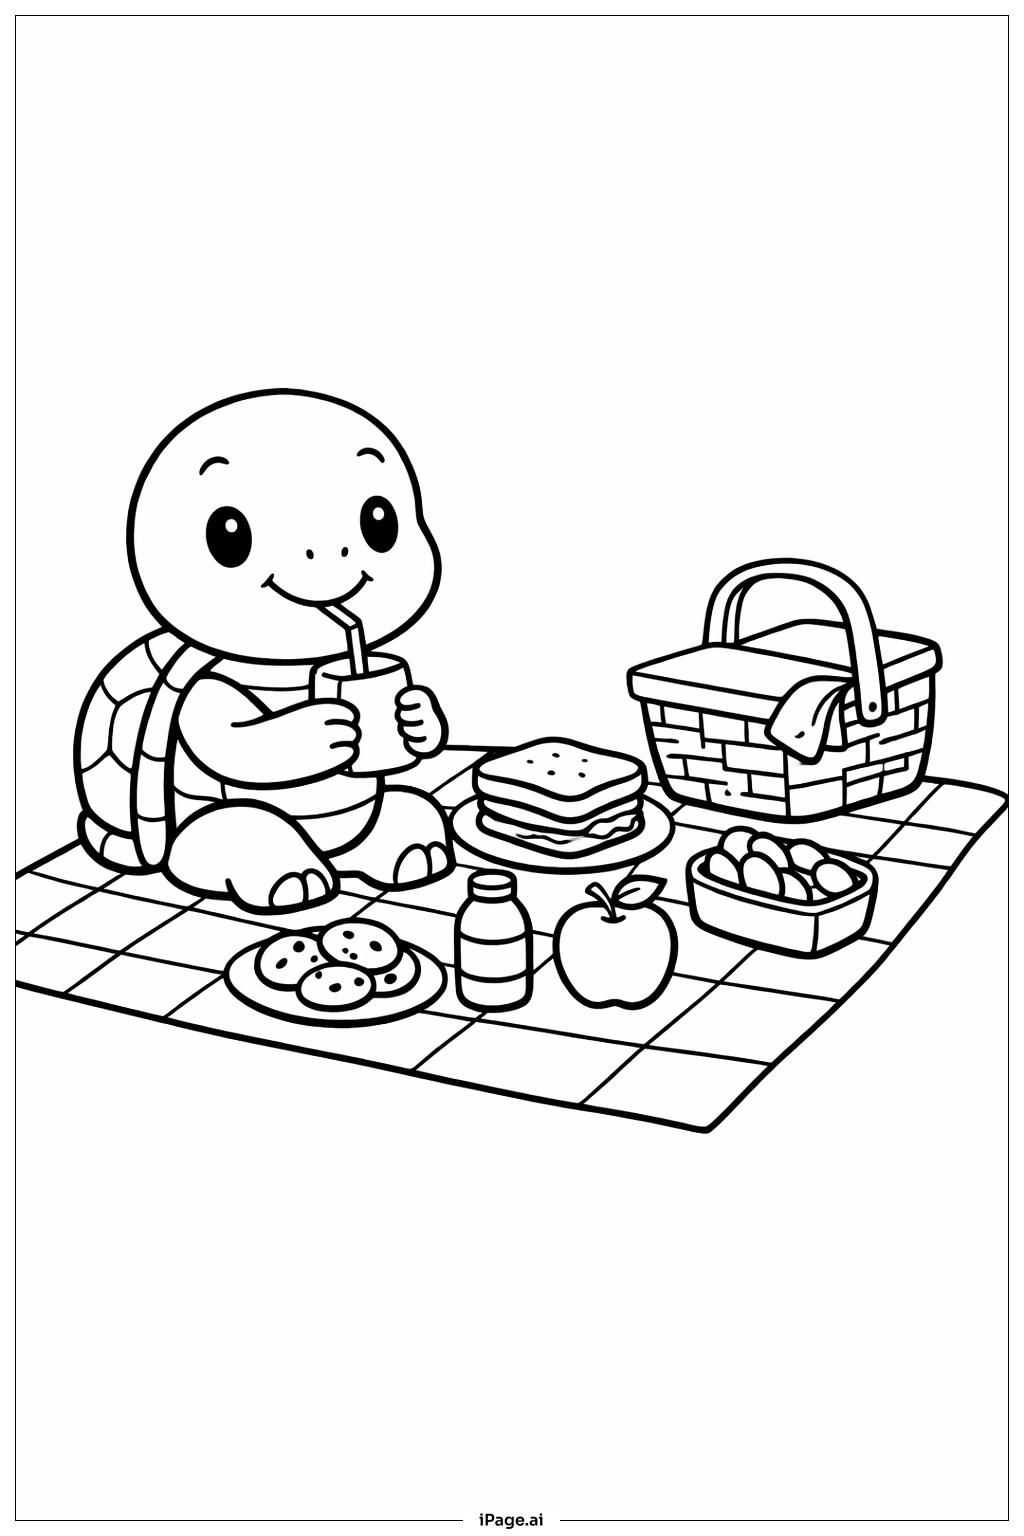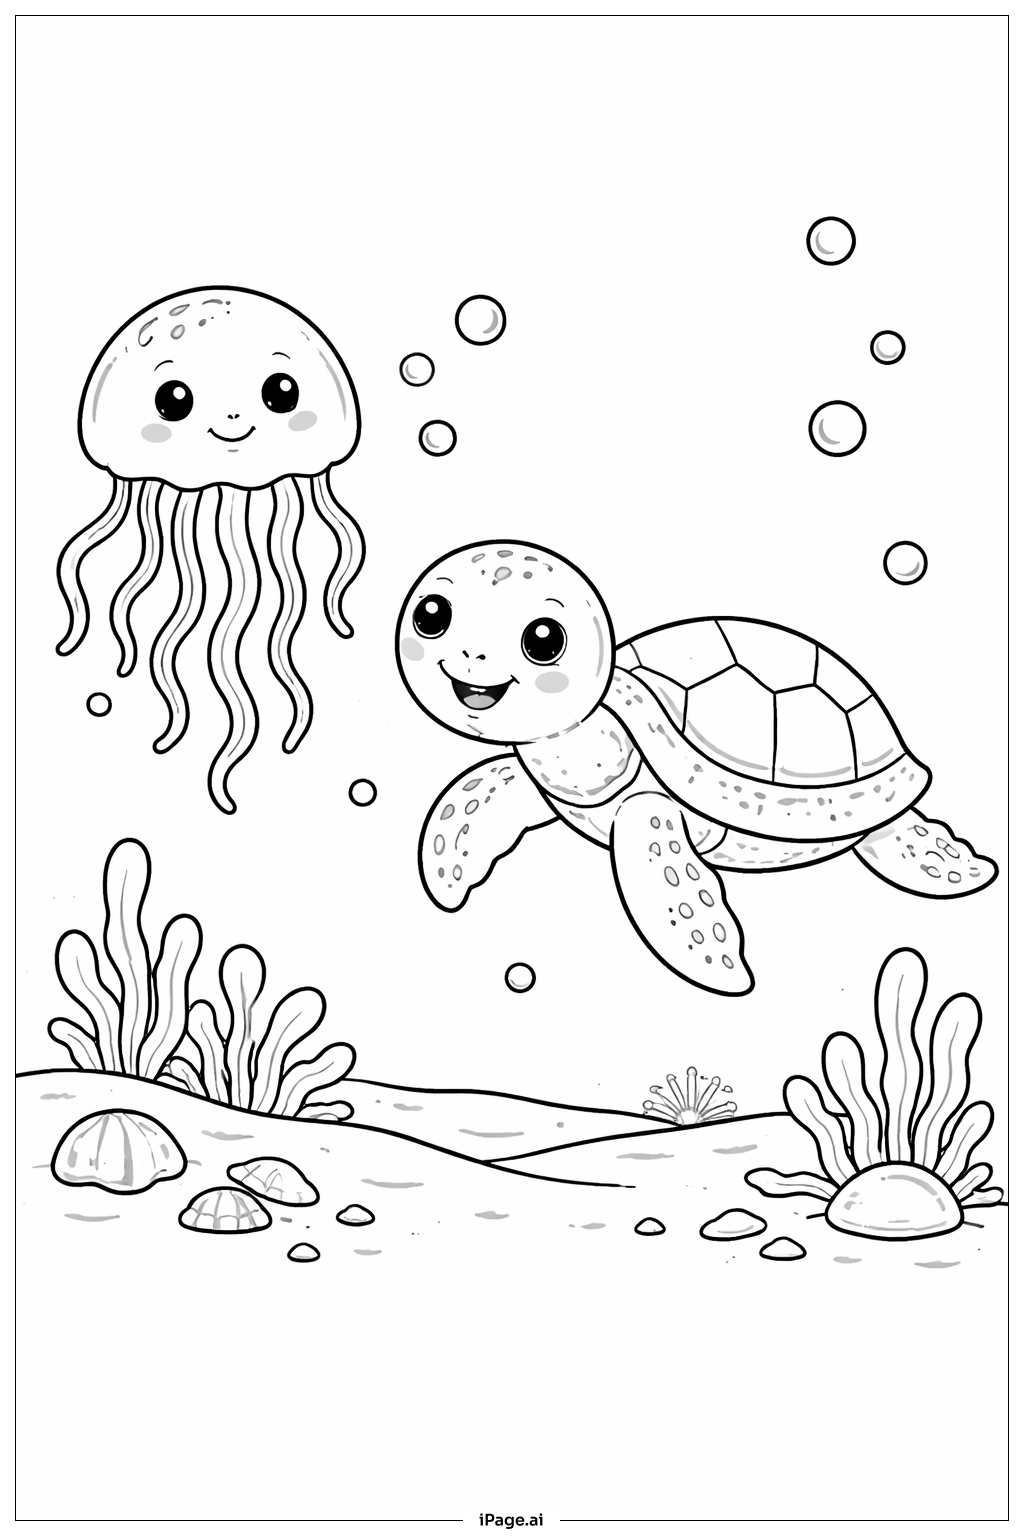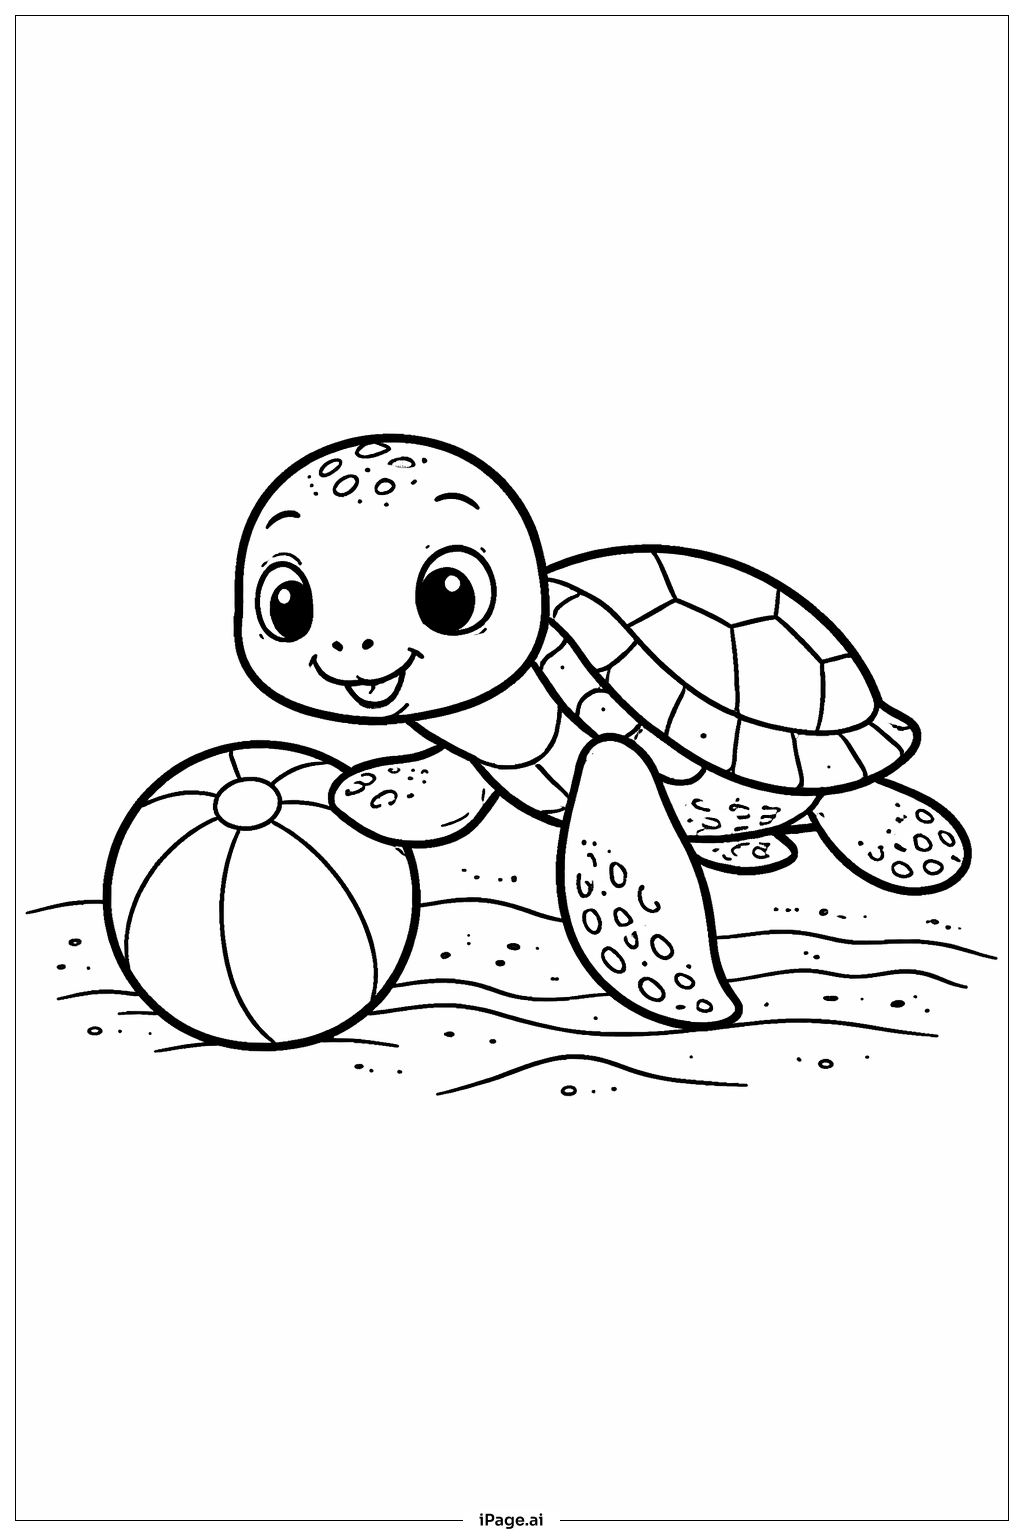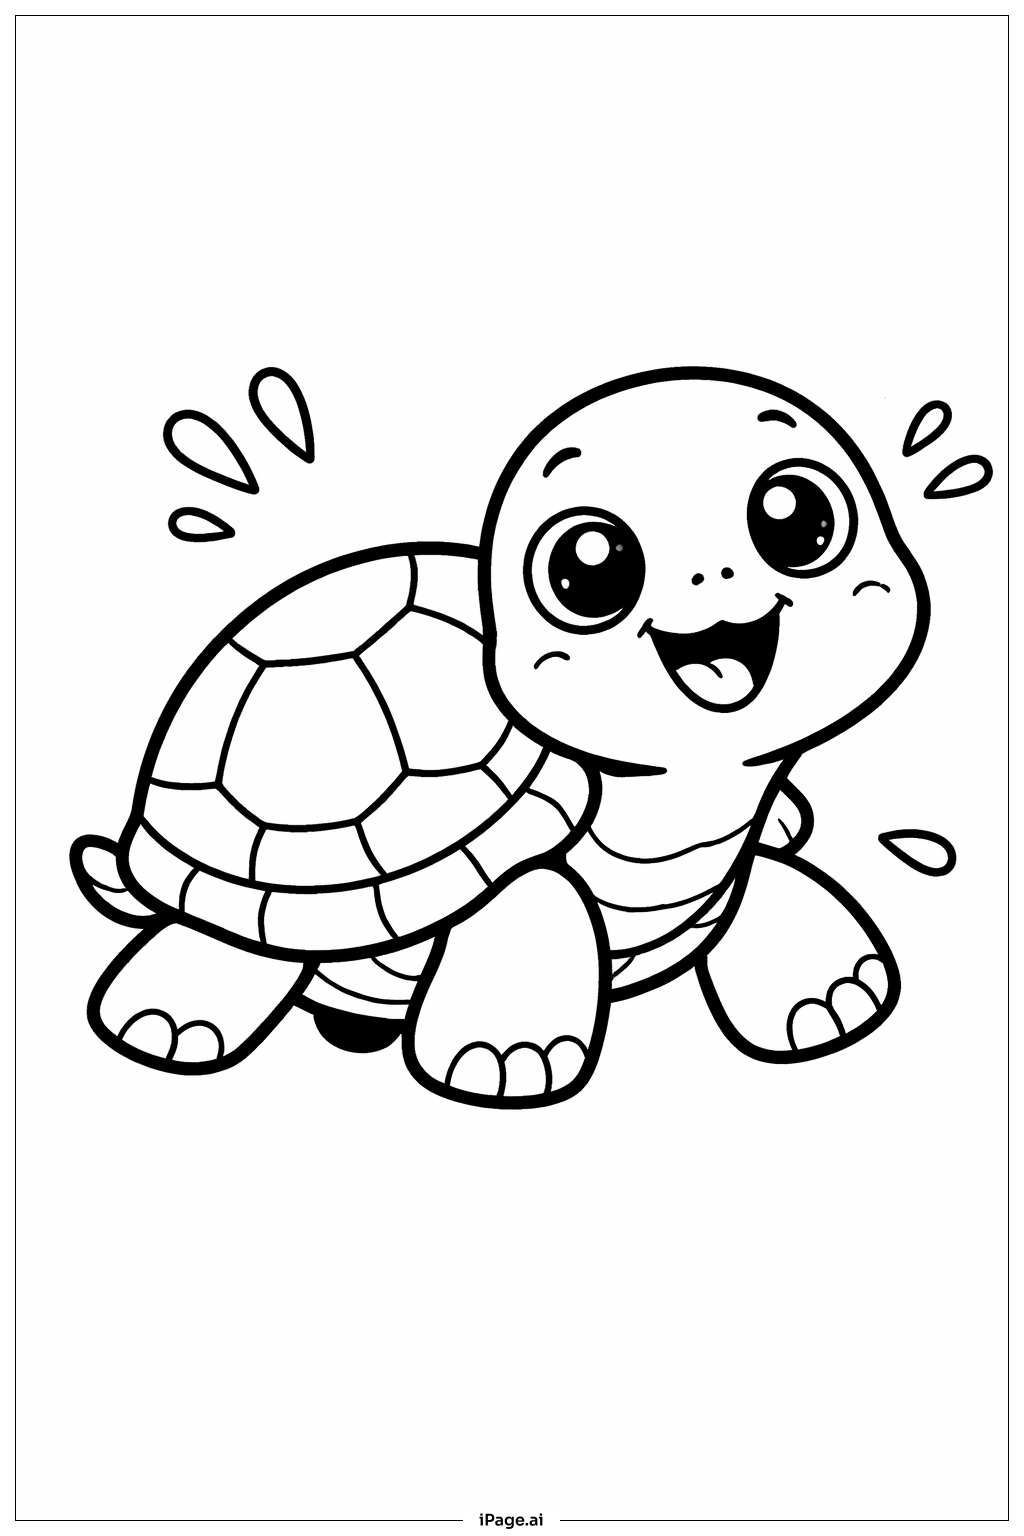
Coloring tips: How to color Happy Turtle Splash coloring page well?
Start with the turtle's skin. Use bright greens like lime or emerald for a lively look. You can add a slightly darker green on the edges to create depth. For the shell, try a mix of olive green and brown for the raised plates, and a lighter tan or yellow for the flat areas between them. This contrast makes the shell look textured and real. Color the water in shades of blue and aqua. Use lighter blue near the surface and deeper blue further down. The water splashes and droplets can be pale blue or even white to look like they are sparkling in the sunlight. Add a sunny yellow or orange background to give the scene a warm, cheerful summer feel. The turtle's eyes can be bright black with a tiny white dot for shine. Keep your colors happy and bold to match the turtle's joyful mood.
Coloring challenges: Which parts are difficult to color and need attention for Happy Turtle Splash coloring page?
• Shell Pattern Complexity: The turtle's shell is divided into many hexagonal and pentagonal sections. Each plate needs to be colored individually to make the shell look realistic and dimensional. Staying within the small, curved lines takes patience and a fine-tipped pencil or marker. Younger colorists may find this section the most time-consuming part of the whole image.
• Water Texture and Movement: Capturing the look of splashing water is tricky. The water includes ripples, droplets, and wave edges all at once. To make it look natural, you need to blend at least two or three shades of blue smoothly together. Flat, single-color water can look dull, so layering light and dark tones in the right areas is a real skill to practice.
• Tiny Droplets and Bubbles: Scattered around the turtle are many small water droplets and bubbles. These tiny shapes are hard to fill neatly because they are so small. Pressing too hard can cause colors to bleed outside the lines. Using the very tip of a colored pencil or a fine-point marker works best here. Leaving some droplets white or very light can create a sparkling effect.
• Blending Skin Tones: The turtle's flippers, neck, and head need smooth color transitions to look lively rather than flat. Blending two or more greens together without harsh lines requires a gentle touch and some layering technique. This is a good challenge for kids who want to improve their shading skills.
Benefits of coloring books: Advantages of drawing Happy Turtle Splash coloring page
Coloring this Happy Turtle Splash image offers a range of wonderful benefits for children and young artists. First, it builds fine motor skills. Carefully coloring inside the turtle's shell sections and around the small water droplets trains hand muscles and improves pencil control, which also helps with handwriting. Second, it encourages creativity. Choosing colors for the water, the shell, and the background lets kids express their own ideas and personality. There is no single right answer, which builds confidence in creative decisions. Third, it teaches focus and patience. The detailed shell pattern and splashing water require concentration. Sitting with a task and seeing it through to the end is a valuable habit that helps in school and everyday life. Fourth, it introduces basic color theory in a fun, hands-on way. Kids naturally start to notice how light and dark shades work together when they try to make water look wet or a shell look round. Finally, the cheerful subject matter, a happy turtle playing in the water, makes the whole activity feel joyful and relaxing. It is a great way to unwind, reduce stress, and simply have fun with color.