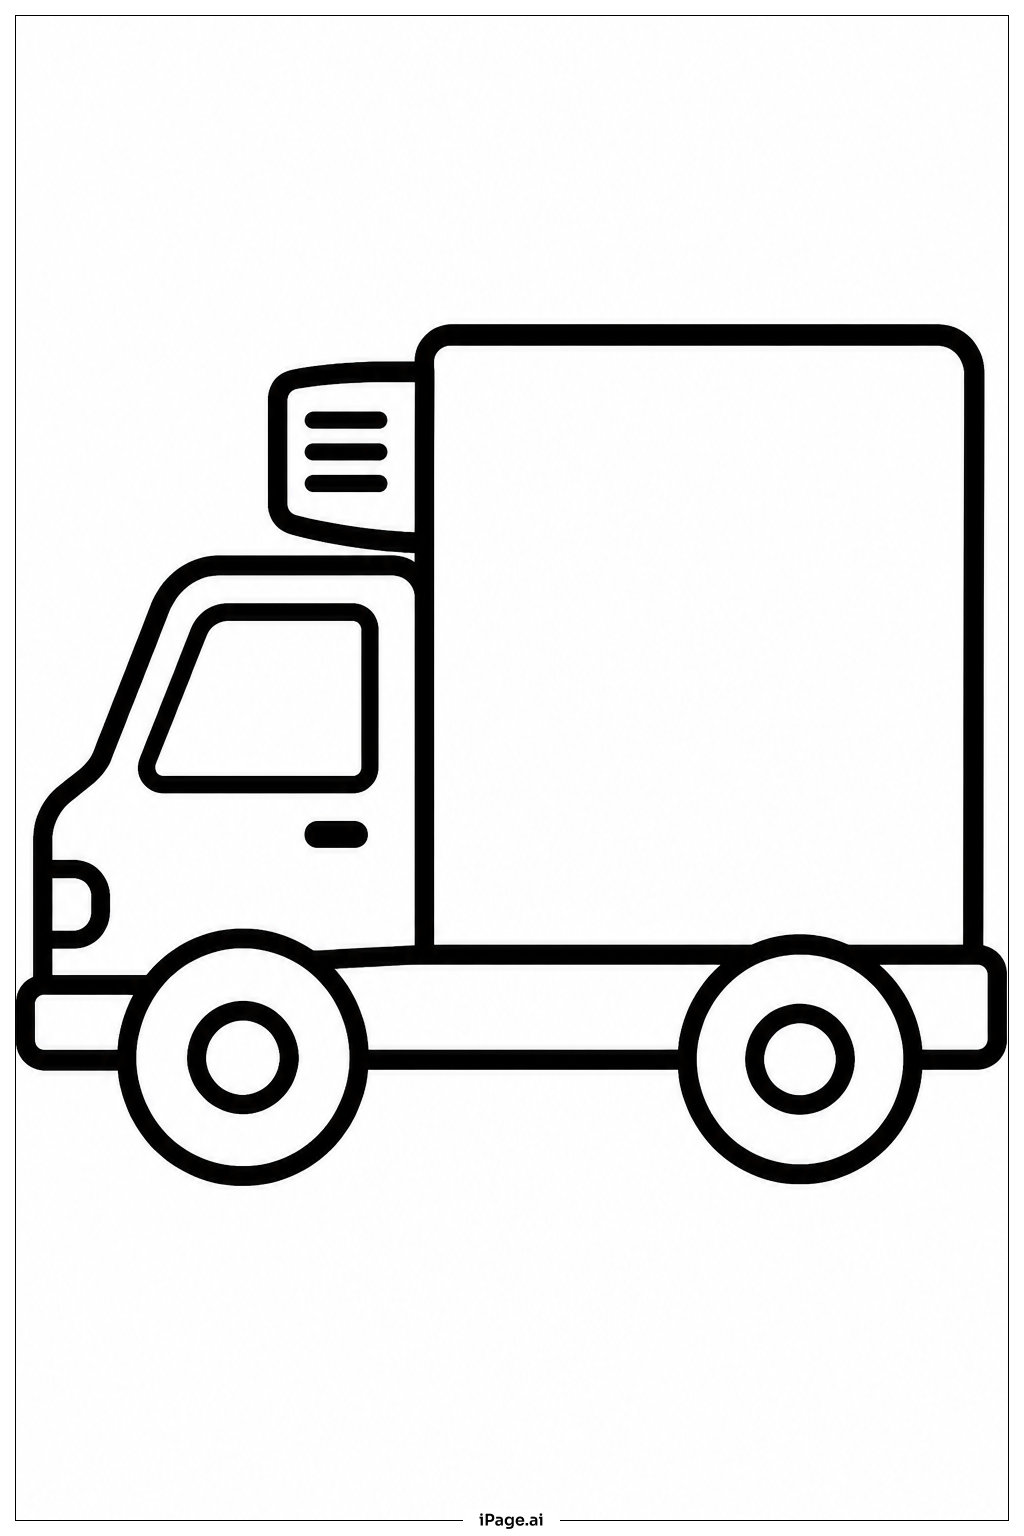
Coloring tips: How to color Refrigerated Truck coloring page well?
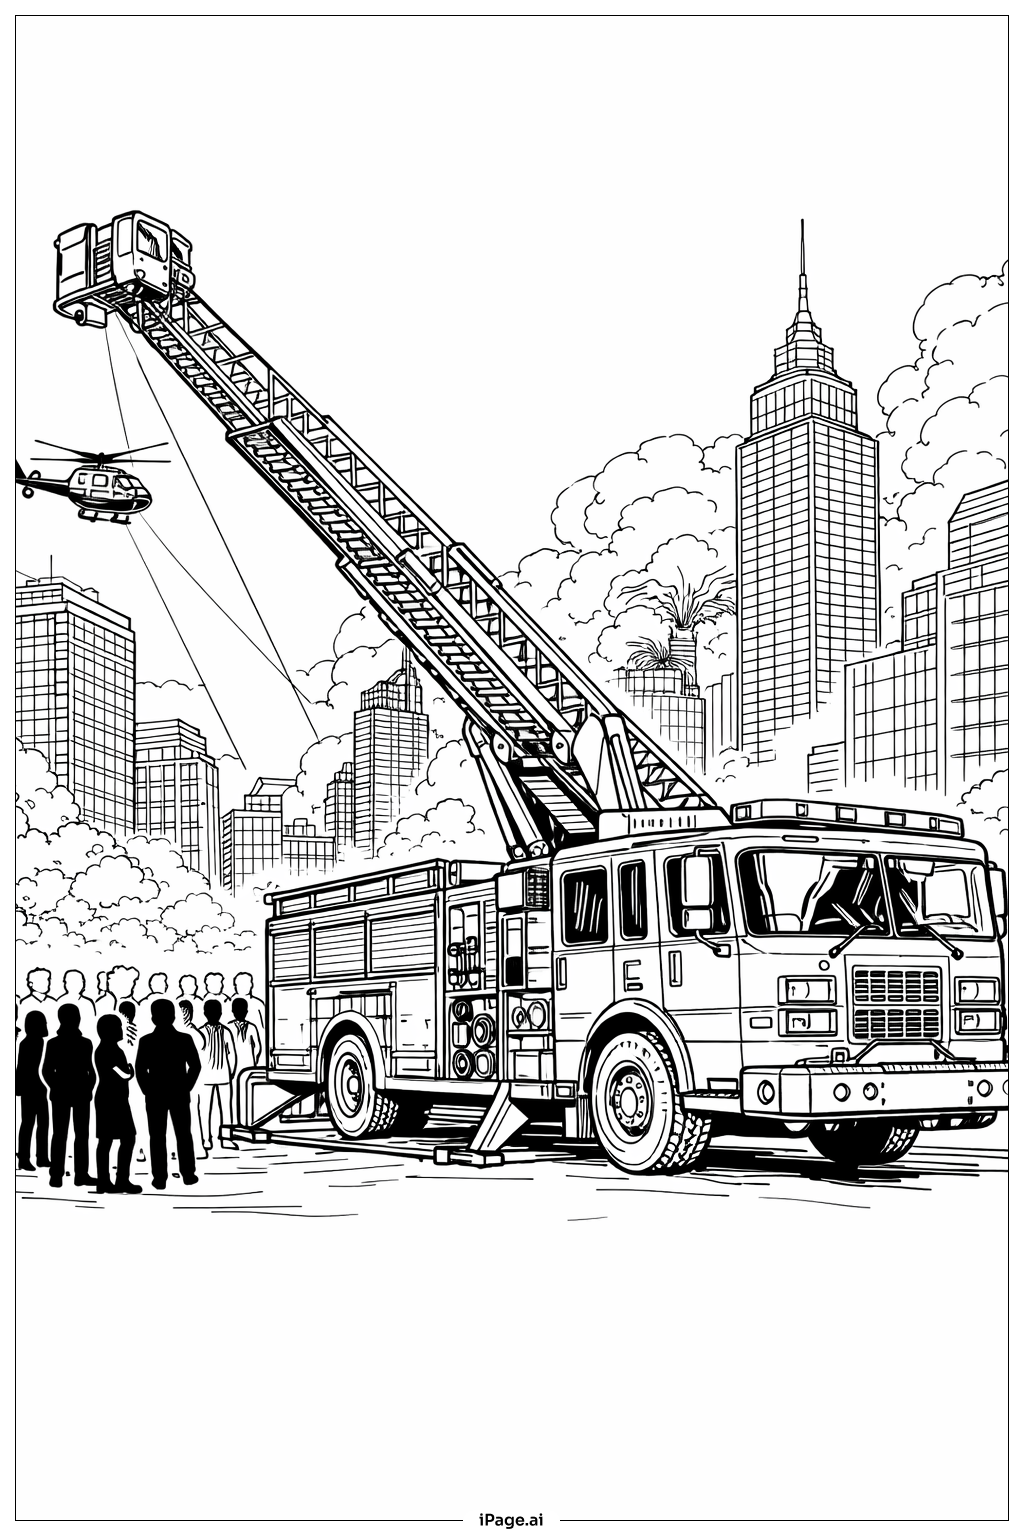
Start with the truck cab. Use a bright color like red, blue, or yellow to make it stand out. You can add a second color for the bumper and side mirrors. For the cargo trailer, try a clean white or light silver to show that it keeps things cold inside. Add a thin stripe of a bold color along the trailer's side for a fun look. Color the wheels dark gray or black, and use a lighter gray or silver for the rims. The windows and windshield can be light blue to look like glass. Use a darker shade for shadows under the truck and along panel lines to give the image more depth. Don't forget small details like door handles and vents. Use dark gray or brown for those. Try to keep your coloring neat and stay inside the lines. Use colored pencils or crayons for smooth, even coverage. Have fun mixing colors to make your refrigerated truck look real and exciting!
Coloring challenges: Which parts are difficult to color and need attention for Refrigerated Truck coloring page?
• Staying Inside the Lines on the Trailer: The cargo trailer has large, flat surfaces with long, straight edges. It can be hard to color right up to the border without going over. Take your time and use the tip of your pencil or crayon carefully along each edge before filling in the middle.
• Coloring the Small Details: The truck has many tiny parts, such as door handles, vents, air exhaust pipes, and panel seams. These small areas are tricky to color neatly. Use a sharp colored pencil or a fine-tip marker to fill them in without smearing color onto the surrounding areas.
• Making the Wheels Look Round and Realistic: The wheels have circular rims and thick tires. Coloring a round shape evenly is challenging. Try coloring in small, circular strokes that follow the curve of the wheel. Use two shades of gray or black to show the difference between the tire and the rim.
• Adding Depth and Shadow: A flat coloring can look dull. Showing depth on a big vehicle like this truck takes skill. Try using a slightly darker shade of your chosen color along the bottom edges and corners of the trailer and cab. This gives the truck a three-dimensional look and makes it feel more lifelike.
• Keeping Colors Consistent Across Large Areas: The trailer is a big surface, and keeping the color even without streaks or patches is hard, especially with crayons. Use smooth, back-and-forth strokes and apply light pressure first, then build up the color gradually for a clean, even finish.
Benefits of coloring books: Advantages of drawing Refrigerated Truck coloring page
Coloring this refrigerated truck page brings many great benefits for kids and beginners. First, it helps build focus and patience. A big truck with many parts takes time to color, and finishing it feels very rewarding. Second, it improves fine motor skills. Carefully coloring around small details like vents, handles, and wheel rims trains the hand and fingers to move with control and precision. Third, it sparks creativity. Kids can choose any colors they like and design their own unique truck. This encourages imaginative thinking and self-expression. Fourth, it teaches color awareness. Deciding which parts of the truck should be light or dark helps children understand how colors and shading work together. Fifth, it introduces kids to the world of transportation and how refrigerated trucks work to keep food and medicine cold during delivery. This makes the activity both fun and educational. Coloring is also a calm, screen-free activity that helps reduce stress and improve mood. Whether done alone or with friends and family, coloring this truck page is a wonderful way to spend creative time and develop important skills.