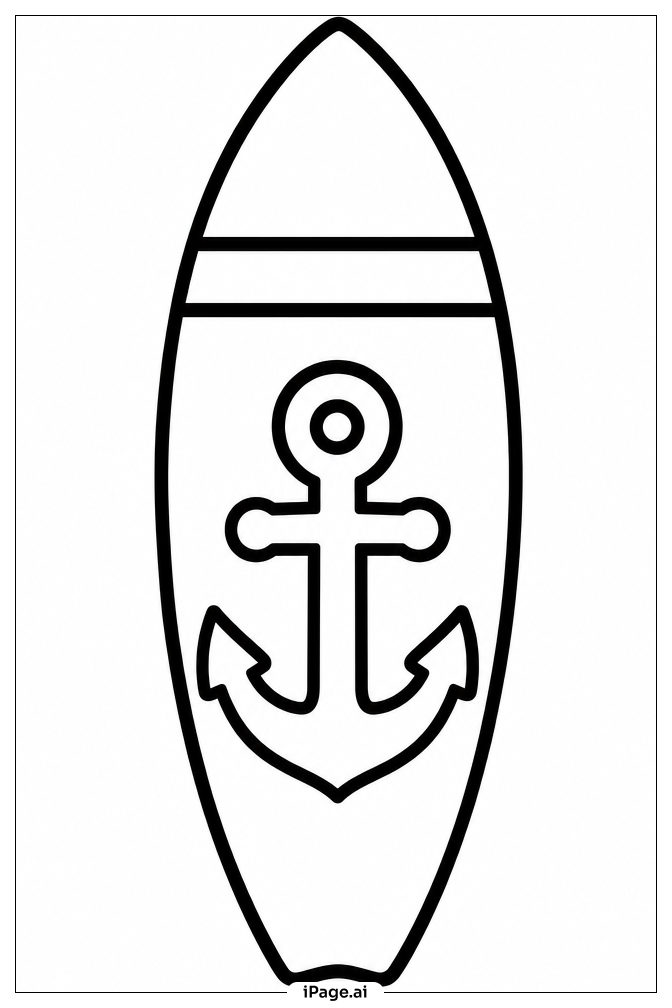
Coloring tips: How to color Anchor Surfboard coloring page well?
Start by choosing your favorite ocean colors — deep blues, teals, and aquamarines work great for the surfboard's main body. You can make the board look glossy by adding a lighter shade along one edge as a highlight. For the anchor, try a classic metallic look using silver or dark gray. You could also go bold and paint it gold or bright red to make it pop. Use a contrasting color for the decorative border lines, like orange or yellow, so they stand out against the board. For the wave swirls and patterns, mix light and dark shades of the same color to create depth. Don't be afraid to experiment — surfers love bright, colorful boards! Try a sunset gradient of pink, orange, and purple, or go with a cool underwater theme using greens and blues. Have fun and make it your own!
Coloring challenges: Which parts are difficult to color and need attention for Anchor Surfboard coloring page?
Coloring this Anchor Surfboard image comes with a few fun challenges to keep you on your toes:
• **Staying inside the small details of the anchor:** The anchor design includes thin lines, small rings, and curved flukes. These tiny areas require a sharp colored pencil or a fine-tipped marker to fill in neatly without going outside the lines. Younger colorists may need extra patience here.
• **Balancing colors between the anchor and the board:** The anchor sits on top of the surfboard, so choosing colors that contrast well is important. If you use a similar color for both, the anchor can get lost in the background. Planning your color scheme before you start will help a lot.
• **Coloring the decorative patterns evenly:** The wave swirls and geometric accents that fill the board's surface are repetitive and close together. Keeping consistent pressure and color tone throughout these sections takes focus and a steady hand.
• **Creating depth and dimension:** A flat surfboard can look two-dimensional if all areas are colored with the same intensity. Shading the edges slightly darker and leaving the center lighter gives the board a realistic, rounded look — but this blending technique can be tricky for beginners.
• **Choosing a cohesive color palette:** With so many design elements on one board, it's easy for the colors to clash. Picking two or three main colors and sticking to them throughout the image helps create a polished, professional-looking result.
Benefits of coloring books: Advantages of drawing Anchor Surfboard coloring page
Coloring this Anchor Surfboard page offers a wonderful mix of fun and learning for kids and teens alike.
**Builds focus and patience:** Working through the small details of the anchor and the decorative patterns helps children practice sitting still and concentrating — skills that carry over into school and daily life.
**Sparks creativity:** Choosing colors for the surfboard is an open-ended creative challenge. Kids get to imagine their very own custom surf design, which builds confidence in their artistic decisions.
**Improves fine motor skills:** Carefully coloring inside the thin anchor lines and swirling patterns strengthens hand-eye coordination and the precise muscle control needed for writing and drawing.
**Introduces nautical and surf culture:** The anchor and surfboard imagery gives kids a fun, visual way to learn about the ocean, seafaring history, and surf culture — turning coloring time into a gentle learning experience.
**Promotes relaxation and stress relief:** Focusing on colors and patterns is calming. Even for older kids and teens, taking a break to color can reduce anxiety and provide a healthy creative outlet.
Grab your colored pencils or markers and ride the creative wave!