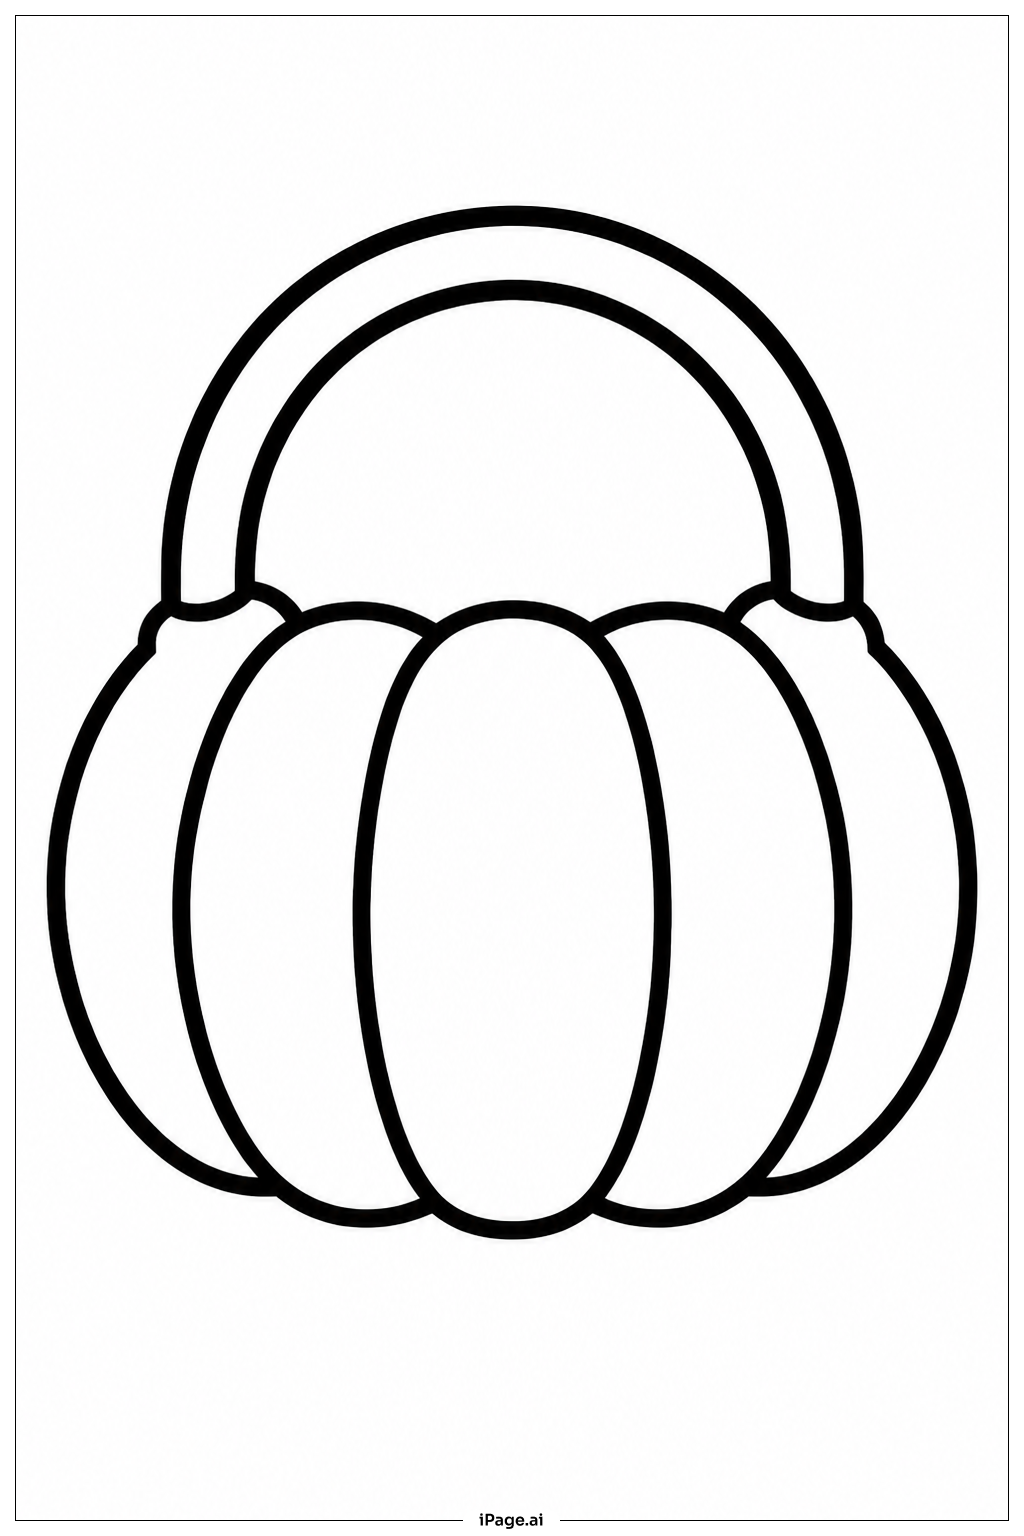
Coloring tips: How to color Pumpkin With Handle coloring page well?
Start by choosing your main pumpkin color. Classic orange is always a great pick, but you can also try yellow, red, or even a spooky purple for a fun twist. Use a darker shade of the same color to fill in the ridges, so the pumpkin looks round and full. For the stem, brown or dark green works well. The handle can match the stem or stand out with a metallic gold or deep bronze tone. Try adding a little yellow or white highlight along the top of each ridge to make the pumpkin look shiny. For the background, soft greens, warm yellows, or a dusky orange sky can set a cozy autumn mood. If you want to get creative, try a gradient effect by blending two colors from top to bottom. Colored pencils, crayons, or markers all work great for this image. Take your time on the ridges — slow, careful strokes will give the best result.
Coloring challenges: Which parts are difficult to color and need attention for Pumpkin With Handle coloring page?
• Coloring the Ridges Evenly: The pumpkin has several vertical ridges running from top to bottom. Keeping your coloring neat inside each ridge without going over the lines can be tricky, especially where the ridges curve near the top and bottom. Take slow, careful strokes and follow the direction of each ridge for the best result.
• Creating Depth and Dimension: A flat pumpkin can look dull. To make it look round and three-dimensional, you need to use light and shadow. Apply a lighter color in the center of each ridge and a darker shade along the edges. This shading technique takes practice and patience, especially for younger colorists.
• Coloring the Curved Handle: The handle arches over the top of the pumpkin in a smooth curve. Staying inside the lines of a curved shape while keeping the color consistent is more challenging than filling in straight sections. Going slowly and using a sharp pencil or fine-tip marker can help a lot here.
• Blending the Stem and Handle Together: The stem and handle sit close together at the top of the pumpkin, leaving a small and somewhat tight space to color. Keeping the two elements visually separate while still making them look connected requires careful color choices and steady hands.
• Choosing a Cohesive Color Palette: With multiple parts — the pumpkin body, ridges, stem, and handle — picking colors that all look good together can be a fun but real challenge. Planning your palette before you start will save time and help the finished piece look polished and well thought out.
Benefits of coloring books: Advantages of drawing Pumpkin With Handle coloring page
Coloring this Pumpkin With Handle page offers a wonderful range of benefits for children and young artists. First, it helps build fine motor skills. Following the curved lines of the ridges and the arching handle trains small muscles in the hands and fingers, improving control and coordination. This is especially helpful for younger children still developing their pencil grip.
Second, it encourages creativity. Choosing colors, experimenting with shading, and deciding on a background all spark imaginative thinking. There is no single right answer, so kids feel free to express themselves confidently.
Third, coloring promotes focus and patience. The detailed ridges and tight spaces on this image gently push kids to slow down, concentrate, and work carefully — skills that transfer directly to school and everyday tasks.
Fourth, it introduces basic art concepts like shading, depth, and color harmony in a playful, low-pressure way. Kids naturally learn how light and shadow work just by trying to make the pumpkin look round.
Finally, completing a coloring page gives children a real sense of pride and accomplishment. Finishing this fun autumn-themed image is a small but meaningful win that builds confidence and a positive attitude toward creative work. It is a great seasonal activity for Halloween or fall-themed learning.