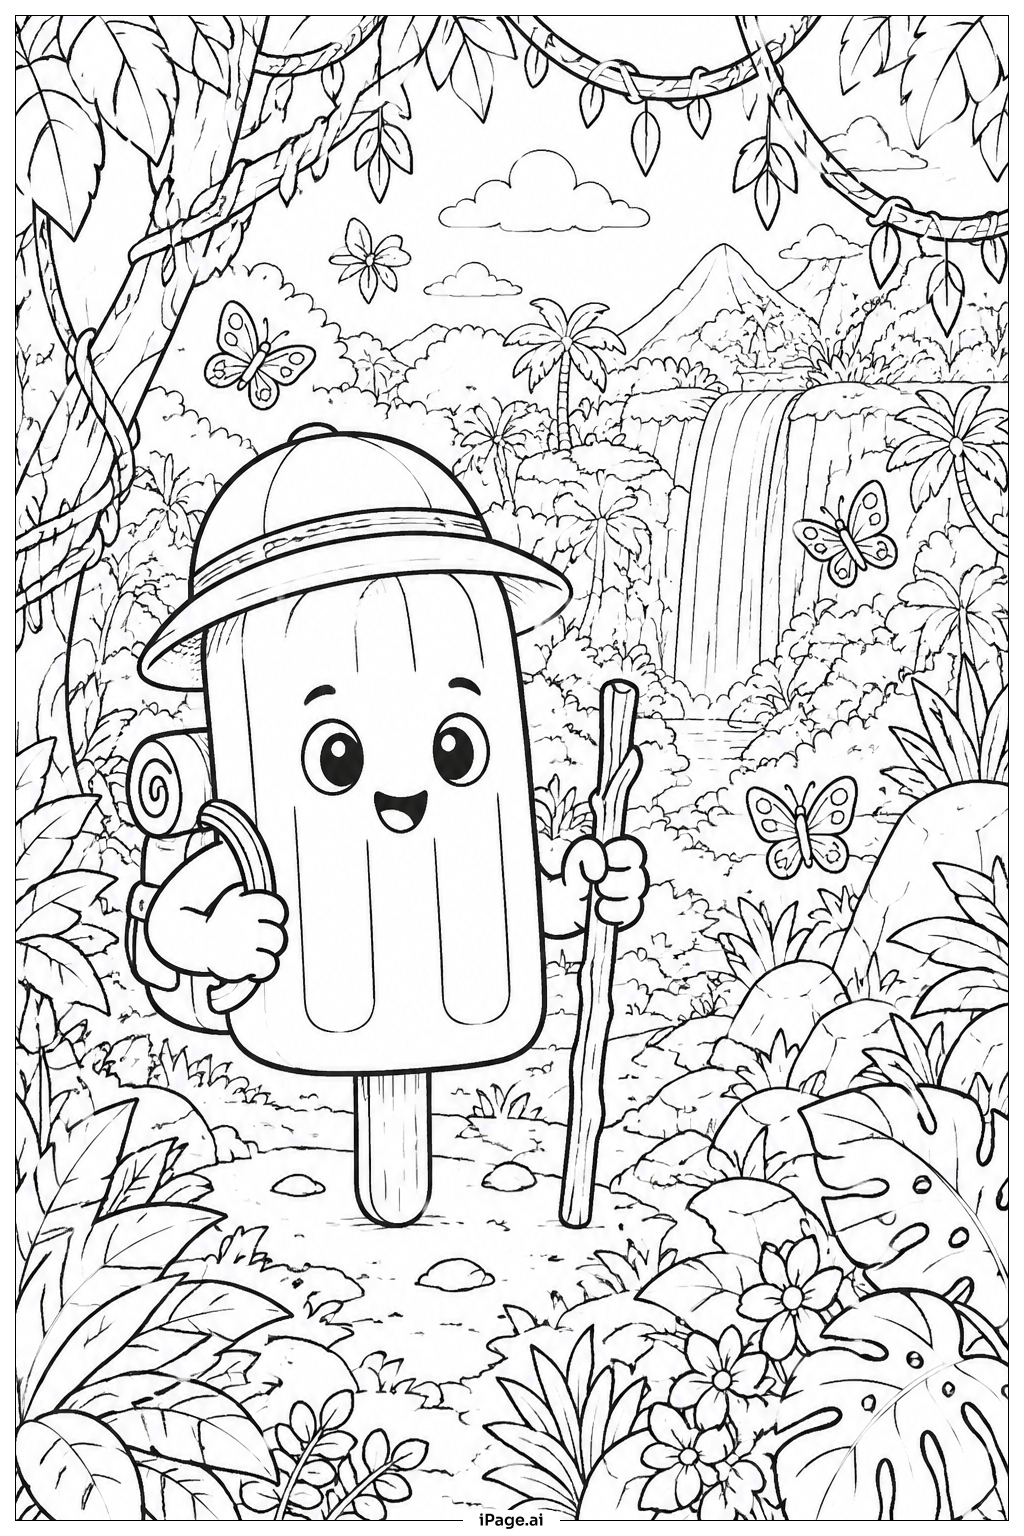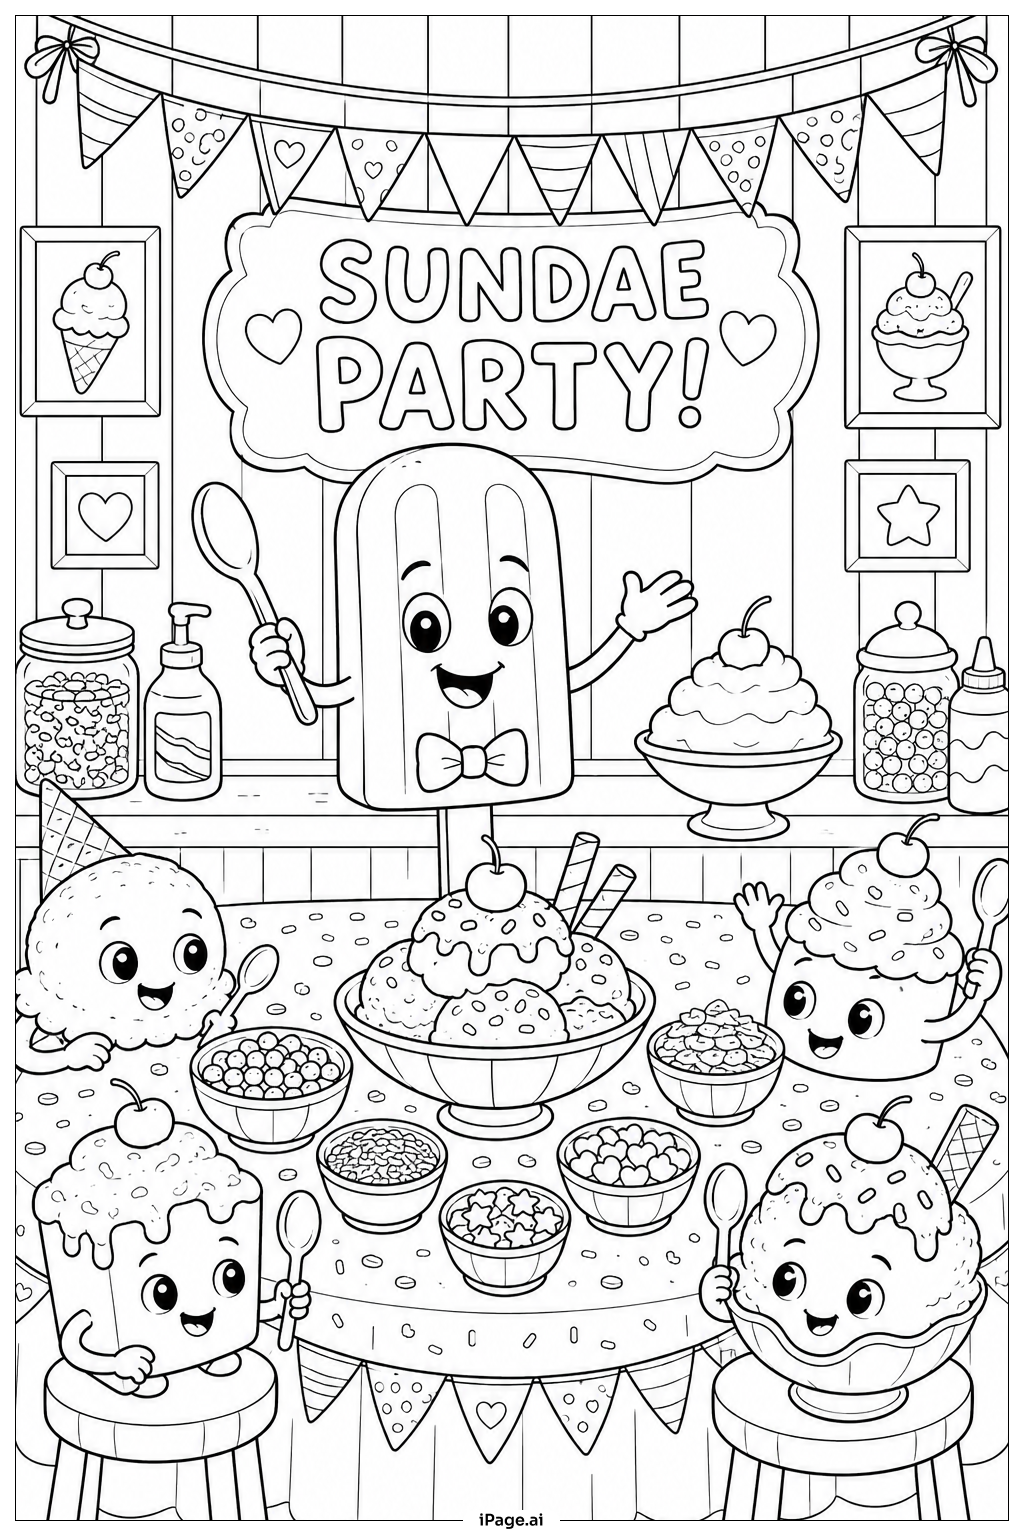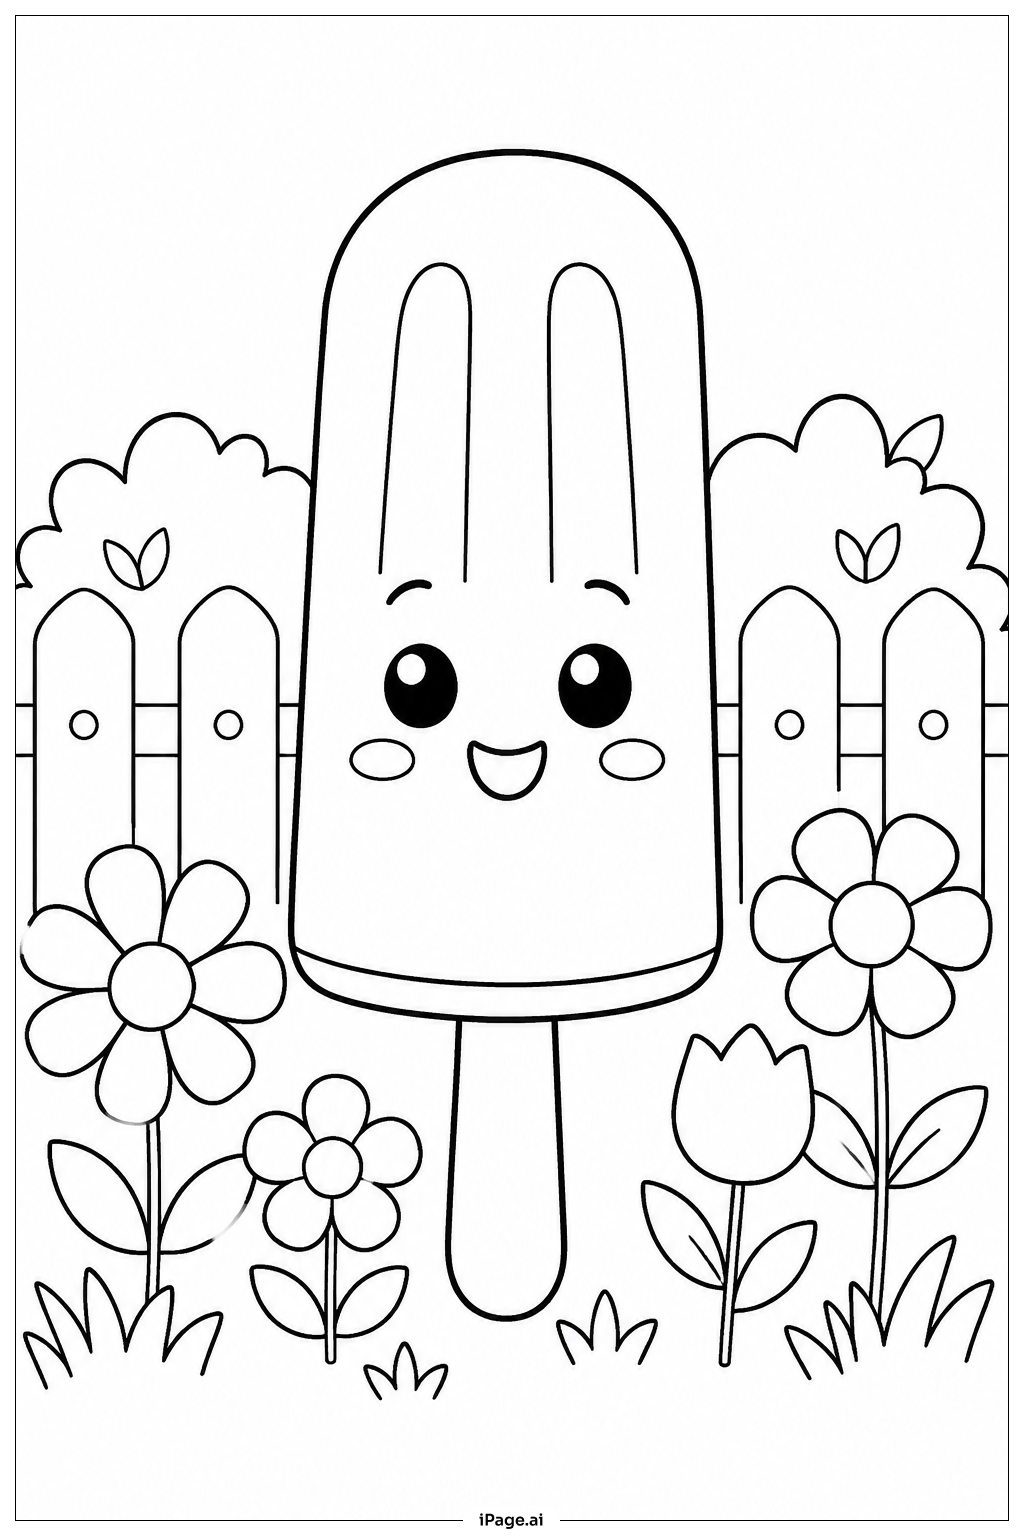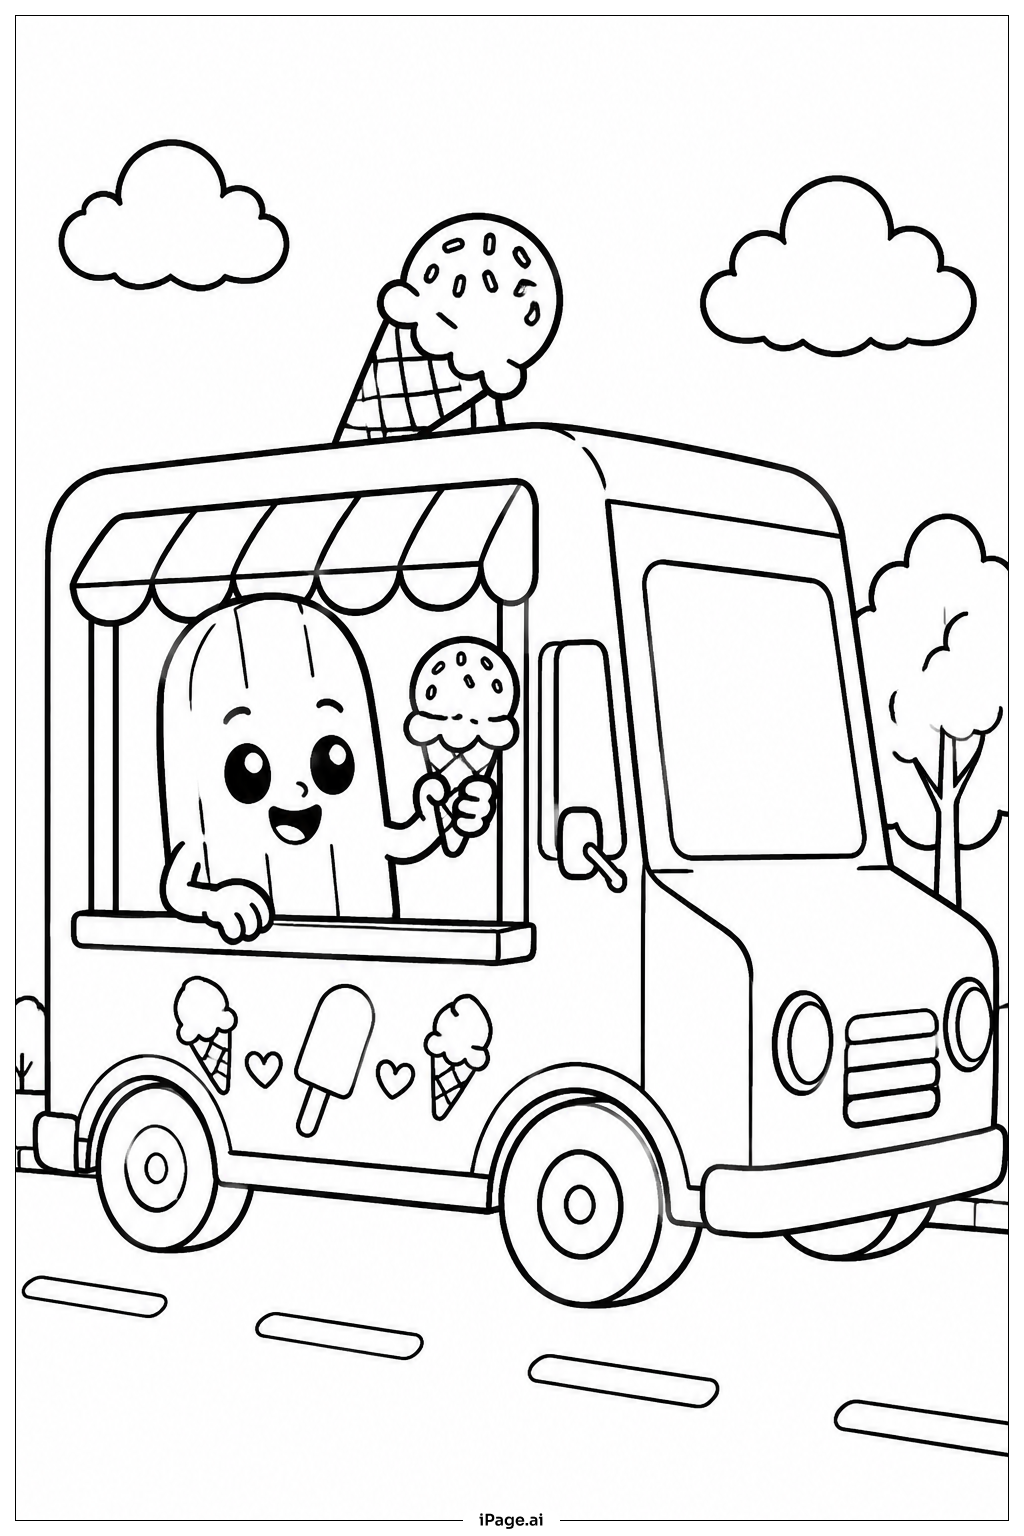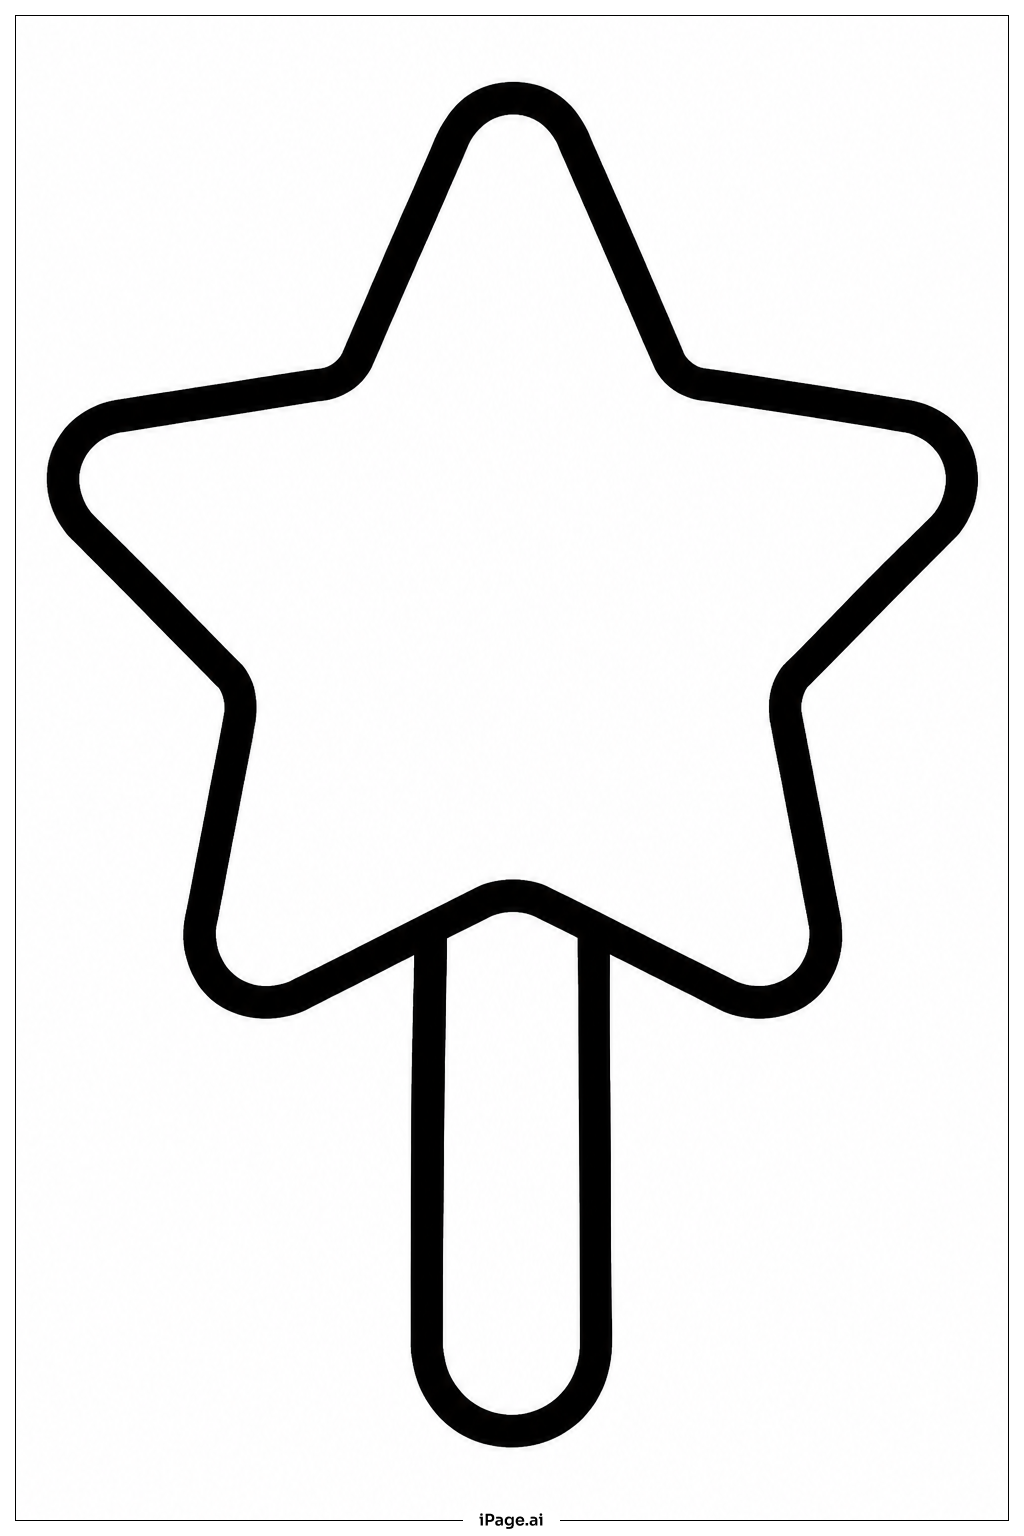
Coloring tips: How to color Star Popsicle coloring page well?
Start by choosing your favorite ice cream or popsicle color for the star body. Bright, fun shades like cherry red, lime green, sky blue, orange, or grape purple all work great. You can keep the whole star one solid color, or try a gradient effect by blending two shades — lighter in the center and darker near the edges. For the wooden stick, use a light tan or warm beige to make it look natural. The melting drip detail can be a slightly darker or lighter version of your main color, giving it a glossy, wet look. You can also add small highlight spots using white or a very pale tint to make the popsicle look shiny and cold. Do not be afraid to mix colors or experiment with fun flavors you make up yourself. This image is a great chance to practice blending and shading in a simple, enjoyable way.
Coloring challenges: Which parts are difficult to color and need attention for Star Popsicle coloring page?
• Staying Inside the Star Points: The five sharp points of the star shape can be tricky to color neatly, especially for younger children. Each point narrows at the tip, making it easy to accidentally color outside the lines. Using a sharpened colored pencil or a fine-tip marker will help you stay precise and keep each point clean and sharp.
• Coloring the Popsicle Stick: The wooden stick is long and narrow, which means there is very little room to work with. Keeping the color smooth and even without going over the edges requires a steady hand and a thin tool. Try using short, careful strokes going in one direction to fill it in neatly.
• Creating a Believable Drip Effect: The small melting drip on the side of the popsicle is a fun detail, but it can be hard to color in a way that looks realistic. To make it stand out, use a slightly different shade from the main body — either a bit darker or a touch lighter — so it reads as a separate element without clashing with the rest of the design.
• Blending Colors for a Gradient Look: If you want to give the star popsicle a gradient or multi-flavor look, blending two colors smoothly can be challenging, especially with crayons. Work slowly, layering light strokes of each color and overlapping them gently in the middle to create a soft transition.
• Adding Shine and Highlights: Leaving small white areas or using a white pencil to add highlight spots makes the popsicle look cold and glossy. Planning where to place these highlights before you start coloring is important, since it is hard to add them back once the area is fully filled in.
Benefits of coloring books: Advantages of drawing Star Popsicle coloring page
Coloring this Star Popsicle page offers a wide range of benefits for kids of all ages. The playful, food-themed design sparks imagination and creativity, encouraging children to dream up their own fun flavors and color combinations. Working within the star shape helps young colorists practice fine motor skills, hand-eye coordination, and pencil control — all of which are important for early development and school readiness. The clearly defined lines and open spaces make this image approachable for beginners, while the details like the drip and stick offer a gentle challenge for more experienced colorists. Choosing colors and deciding how to fill the page also builds decision-making skills and boosts confidence. The calming, repetitive motion of coloring helps children relax and focus, making it a wonderful screen-free activity. Completing the page gives kids a real sense of accomplishment and pride in their work. Overall, this sweet and simple design makes coloring both fun and rewarding.