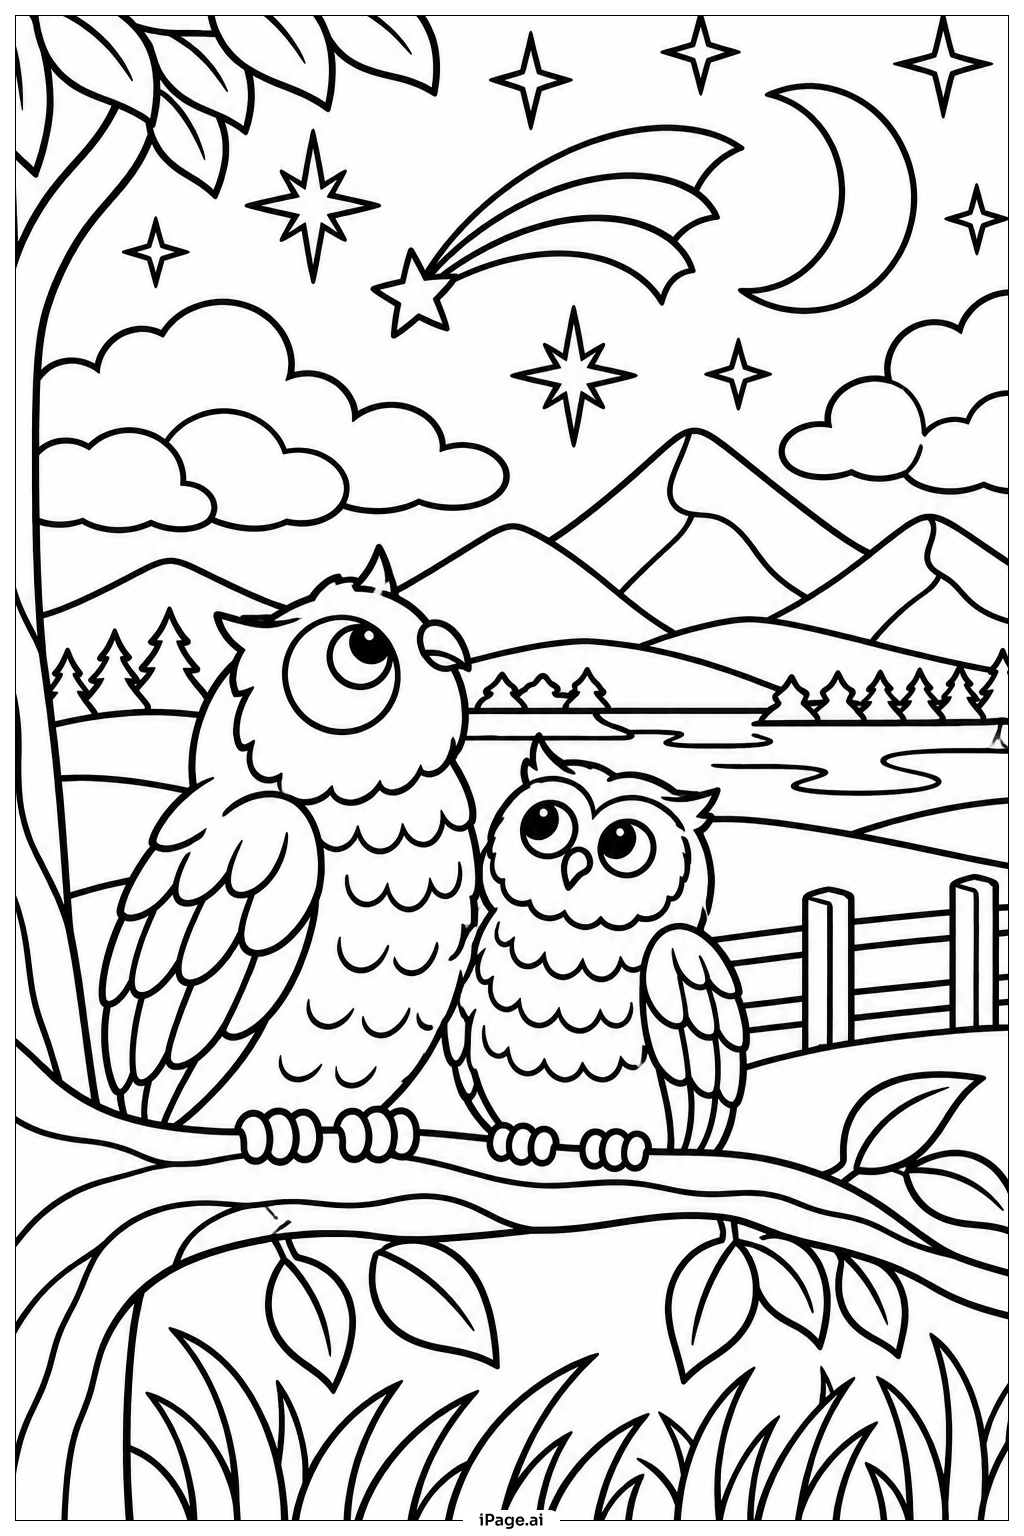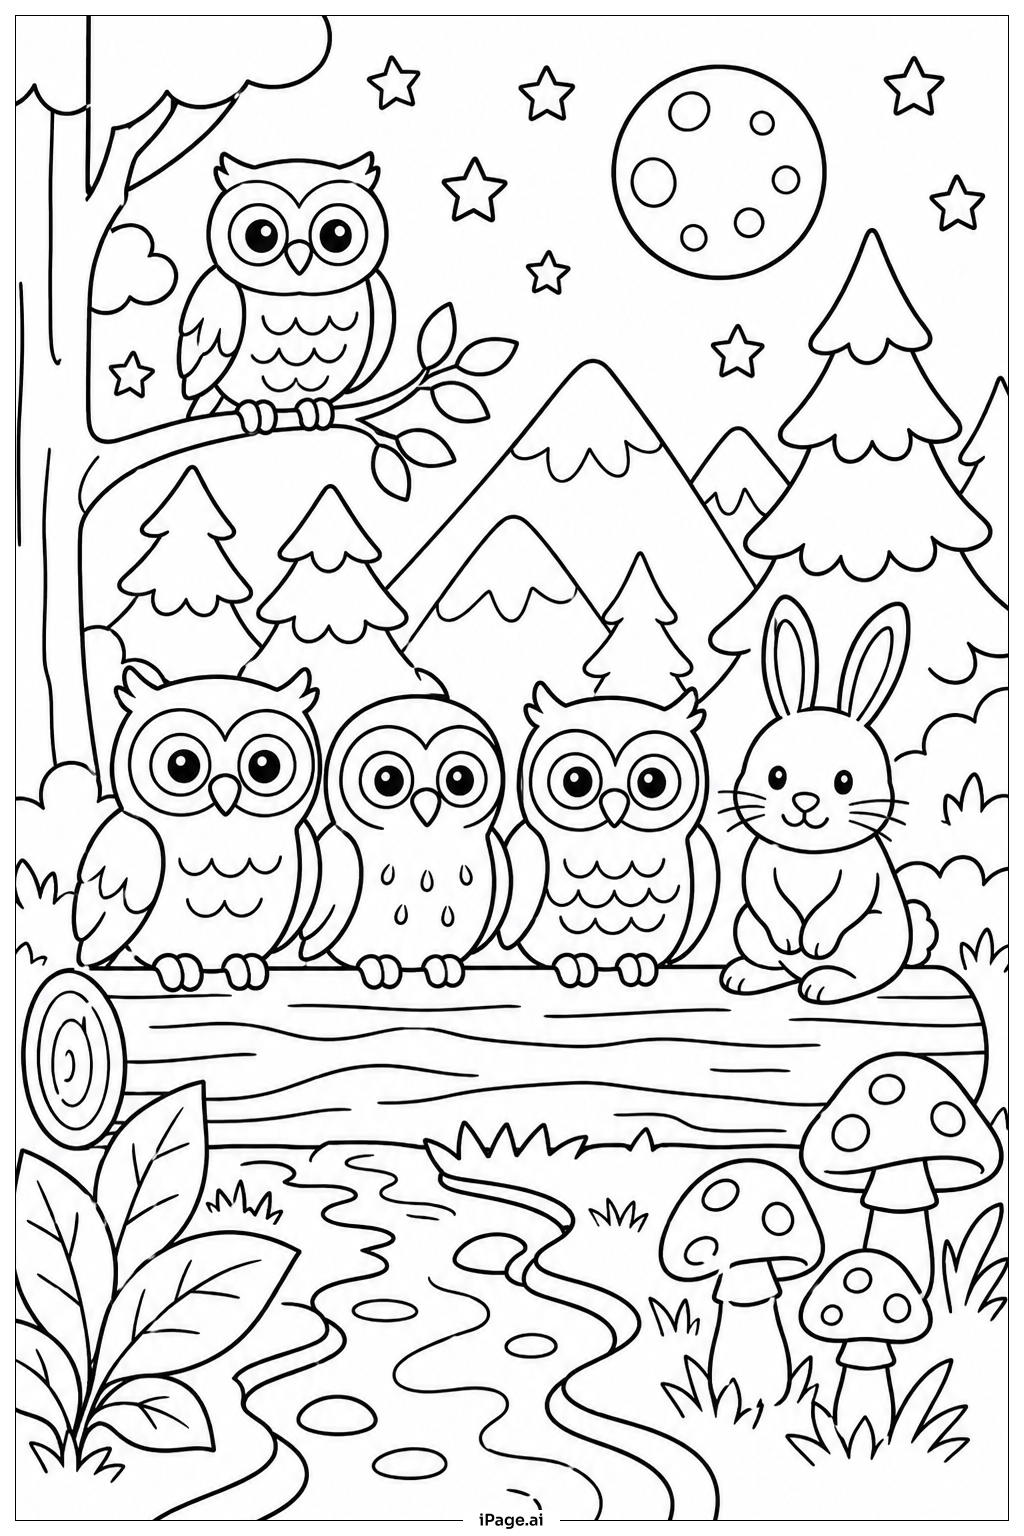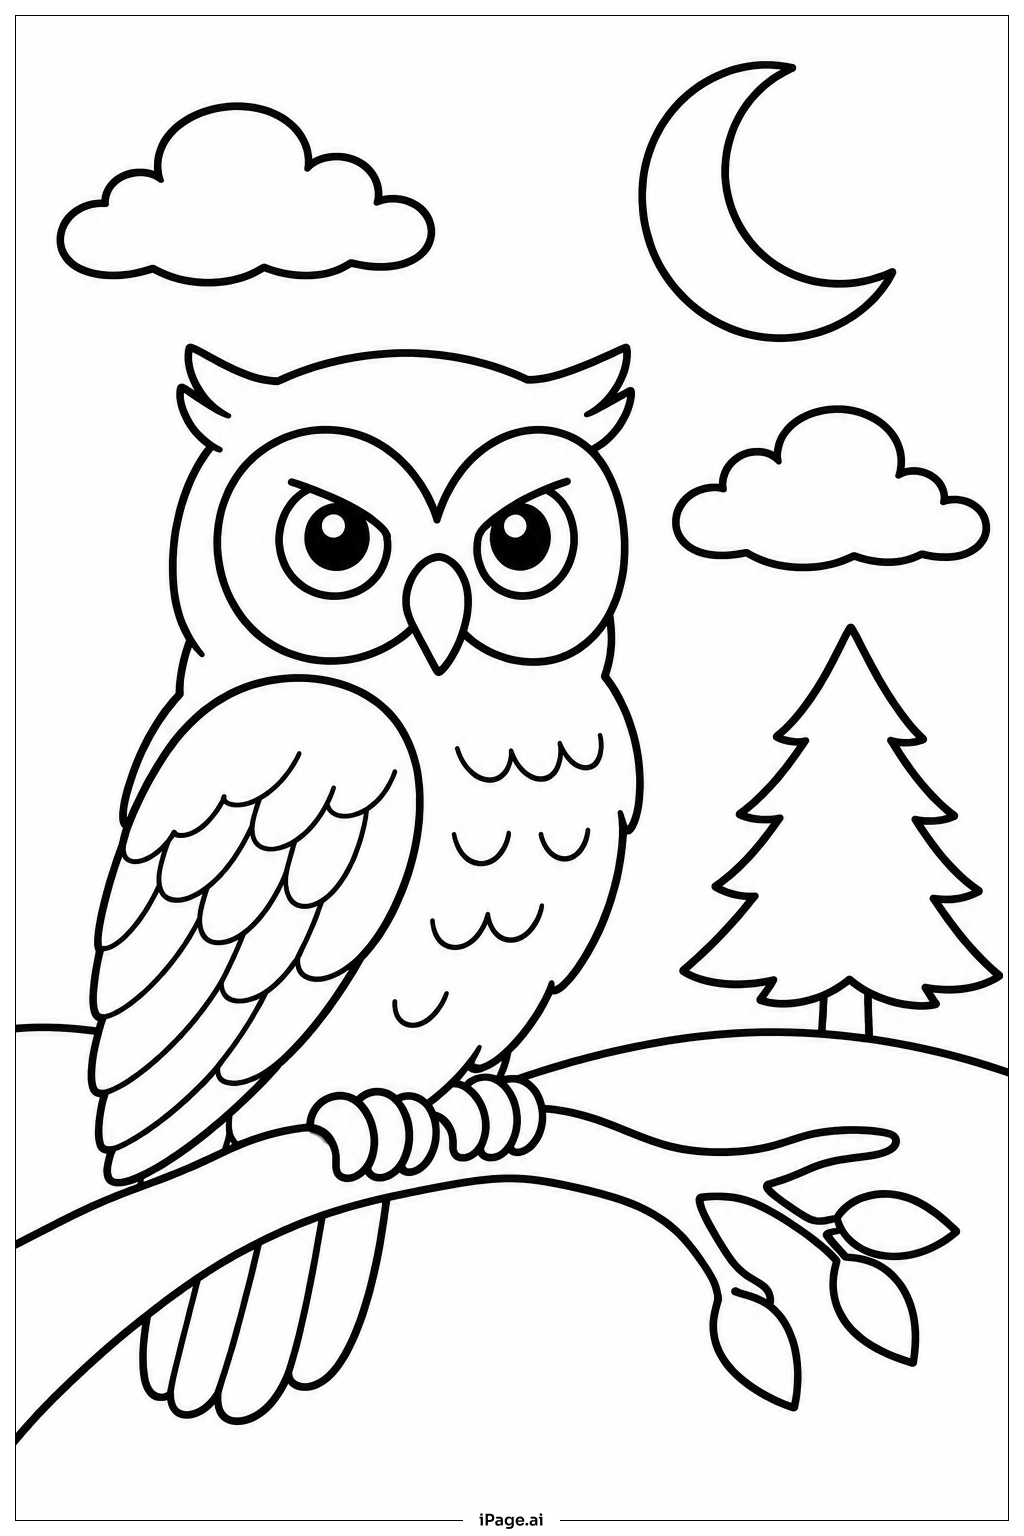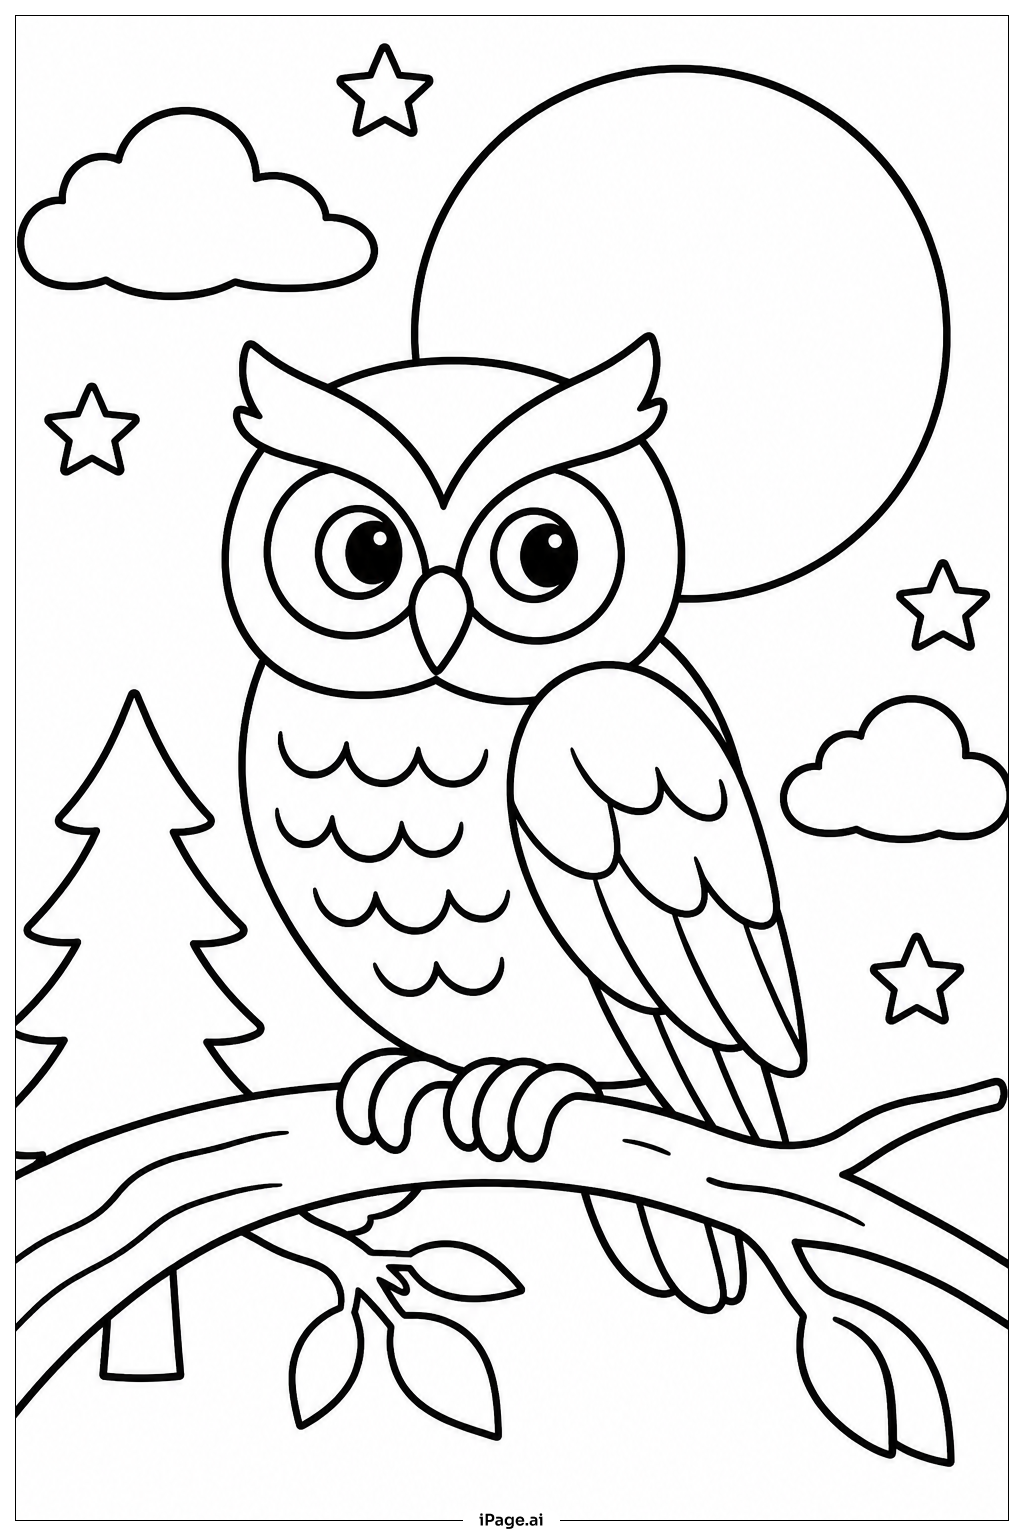
Coloring tips: How to color Owl With Moonlit Sky coloring page well?
Start with the owl's large eyes — try golden yellow or amber for an intense, glowing look. Use warm browns, tans, and creams for the feathers, layering different shades to give them depth and texture. The chest feathers can be lighter, like soft white or pale beige, while the wing feathers go darker toward the tips. For the moon, use a soft yellow or warm white with a faint glow around the edges. Color the night sky in deep navy blue, dark indigo, or purple, blending outward from the moon to create a natural gradient. Add tiny white or light yellow dots for the stars. The swirling clouds can be soft gray or pale lavender. The tree branch works well in dark brown or charcoal, with hints of green on any leaves. Feel free to add your own creative touches — maybe a splash of teal or violet in the sky to make the scene truly magical and your own.
Coloring challenges: Which parts are difficult to color and need attention for Owl With Moonlit Sky coloring page?
• Owl Feather Layering: The owl's feathers are the most complex part of this image. Each layer has its own pattern and direction, and coloring them realistically requires patience. You need to vary the pressure of your coloring tool to create light and shadow within each feather group. Using at least two to three shades of the same color family will help the feathers look three-dimensional rather than flat.
• Eye Detail and Glow Effect: The owl's eyes are a focal point of the image. Getting that glowing, luminous quality is tricky. You need to leave a small highlight spot uncolored or use a very light color there, then build up intensity toward the outer edge of the iris. Blending smoothly from the pupil outward takes a steady hand and careful color transitions.
• Night Sky Gradient: Filling in the sky requires a smooth gradient from deep dark tones near the edges to softer, lighter tones around the moon. Achieving a seamless blend without visible streaks or patches is one of the hardest techniques, especially with colored pencils or crayons. Working in small circular strokes and layering gradually helps.
• Moon Glow and Contrast: The moon needs to look like it is actually glowing against the dark sky. Creating that soft halo effect around the moon while keeping the sky dark requires careful blending at the boundary. Too sharp a line will make it look unnatural, while too much blending can muddy the colors.
• Bark Texture on the Branch: The tree branch has detailed bark lines that need to be colored with varied pressure and direction. Using two or three shades of brown and following the grain of the bark will make it look realistic and tactile.
Benefits of coloring books: Advantages of drawing Owl With Moonlit Sky coloring page
Coloring this owl and moonlit sky scene offers a wide range of benefits for kids and adults alike. The intricate feather patterns on the owl help build fine motor skills and improve hand control, which is especially helpful for younger children still developing their grip and precision. Focusing on the detailed lines also trains concentration and patience, skills that carry over into school and everyday life. For older kids and teens, the challenge of blending sky colors and creating the moon's glow introduces basic art concepts like shading, gradient, and contrast in a hands-on and enjoyable way. The calming nature of the nighttime scene makes this a great coloring choice for winding down before bed or during quiet time. It encourages creative thinking as colorists decide how to interpret the sky, feathers, and lighting. The sense of achievement when the finished piece comes together builds confidence and pride. Whether you are a beginner or an experienced colorist, this image offers something rewarding at every skill level.