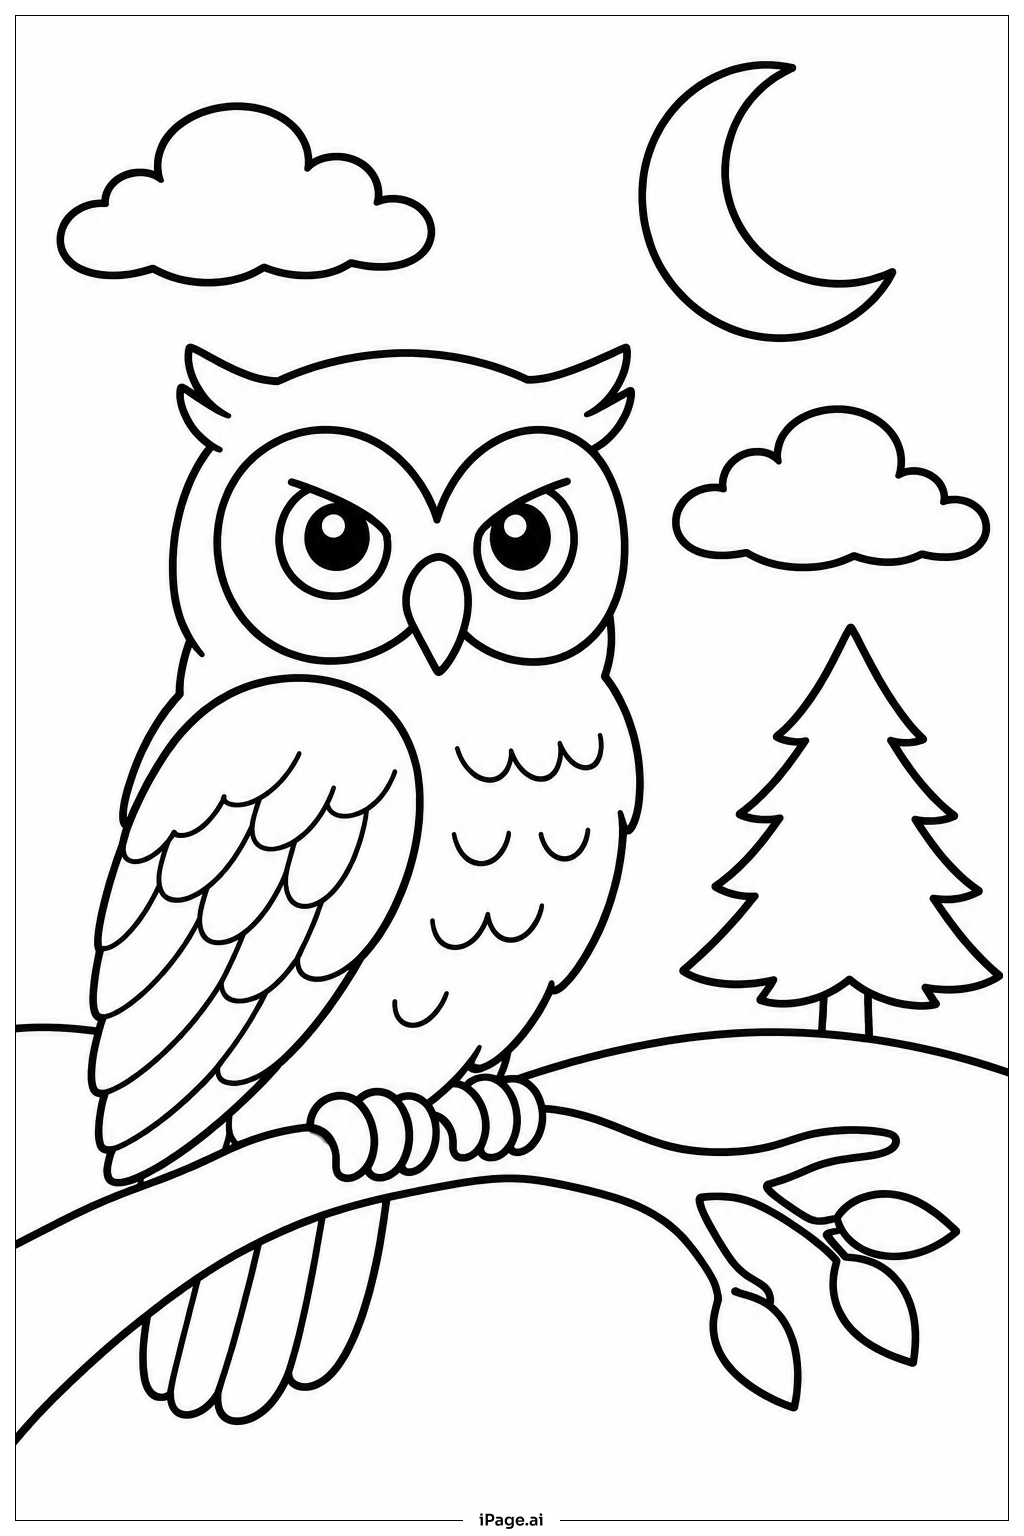
Coloring tips: How to color Owl At Twilight coloring page well?
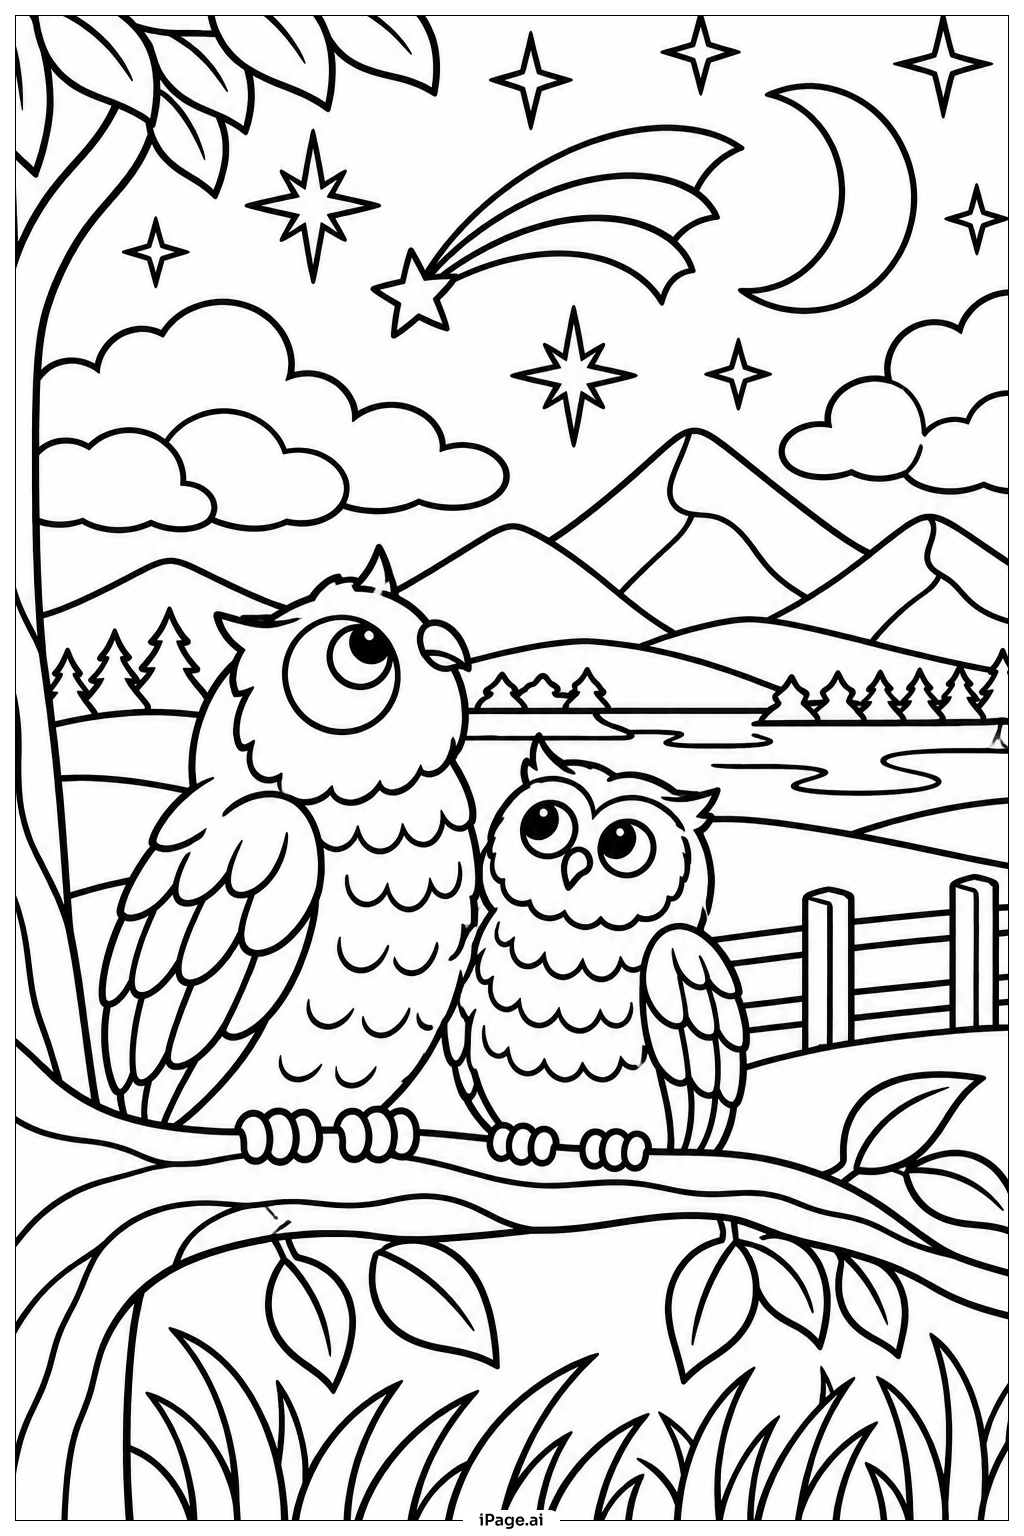
Start with the sky. Use deep blues and purples to create the twilight atmosphere. Blend from a lighter lavender near the horizon to a darker navy at the top. Color the full moon pale yellow or soft white, adding a gentle glow around its edges with light gray or pale blue.
For the owl, use warm browns, tans, and creamy whites. Layer different shades to bring out the feather texture. The chest can be lighter, while the wings and back use deeper brown tones. Add touches of orange or golden yellow around the face for a warm, glowing look.
Color the tree branches in dark brown or charcoal. Use deep forest greens or dark teal for the leaves. Keep the background tree silhouettes very dark, almost black, to create depth.
Finally, make the stars bright white or pale yellow. Adding a soft glow around the moon and stars makes the twilight scene feel truly magical. This image is great for both kids and Adults who love nature.
Coloring challenges: Which parts are difficult to color and need attention for Owl At Twilight coloring page?
• Feather Texture Details: The owl's feathers are drawn with many overlapping layers. Each layer has fine lines and patterns that need careful coloring. Going outside these small sections is easy to do. Using a sharp colored pencil or a fine-tipped marker will help you stay neat. Take your time with each row of feathers to keep the texture looking natural.
• Blending the Twilight Sky: Creating a smooth twilight effect in the background is tricky. The sky needs to shift gradually from lighter tones near the horizon to deeper shades at the top. Blending two or three colors together without creating harsh lines takes practice. Colored pencils work well here if you use light pressure and layer slowly.
• The Moon and Its Glow: Making the moon look like it is glowing requires a soft touch. The area around the moon should be slightly lighter than the surrounding sky. If you color that ring too dark too quickly, the glow effect disappears. Start very lightly and slowly build up color outward from the moon's edge.
• Small Star Details: The tiny stars scattered across the sky are small and close together. Filling them in with bright white or yellow without smudging the surrounding dark sky can be difficult. A fine-point white gel pen or a very sharp light-colored pencil works best for these tiny shapes.
• Contrast Between Foreground and Background: Keeping the owl and branch looking sharp against the busy twilight background requires strong contrast. If the background colors are too light or the owl colors are too pale, the image can look flat. Make sure the background stays noticeably darker than the owl's chest and face.
Benefits of coloring books: Advantages of drawing Owl At Twilight coloring page
Coloring this Owl At Twilight page offers a wide range of benefits for both children and Adults.
For kids, focusing on the owl's many feather details builds fine motor skills and hand control. Choosing colors for the sky teaches them how colors mix and change, sparking creativity and imagination. It also helps children learn about nature and nocturnal animals in a fun, hands-on way.
For older colorists, this page provides a calming, meditative experience. The repeated motion of filling in feather patterns and blending sky tones helps reduce stress and quiet the mind. It is a wonderful screen-free activity that promotes focus and mindfulness.
Working on the twilight sky encourages color theory thinking. Deciding how to blend blues, purples, and yellows to mimic a real sunset builds artistic confidence over time.
Completing the full image also gives a strong sense of accomplishment. Seeing a finished, beautifully colored scene is rewarding for colorists of any age or skill level.
Whether you are a young child picking up crayons for the first time or an experienced colorist with a full set of pencils, this page is a peaceful and enriching creative journey.