Coloring tips: How to color Mouse In Forest coloring page well?
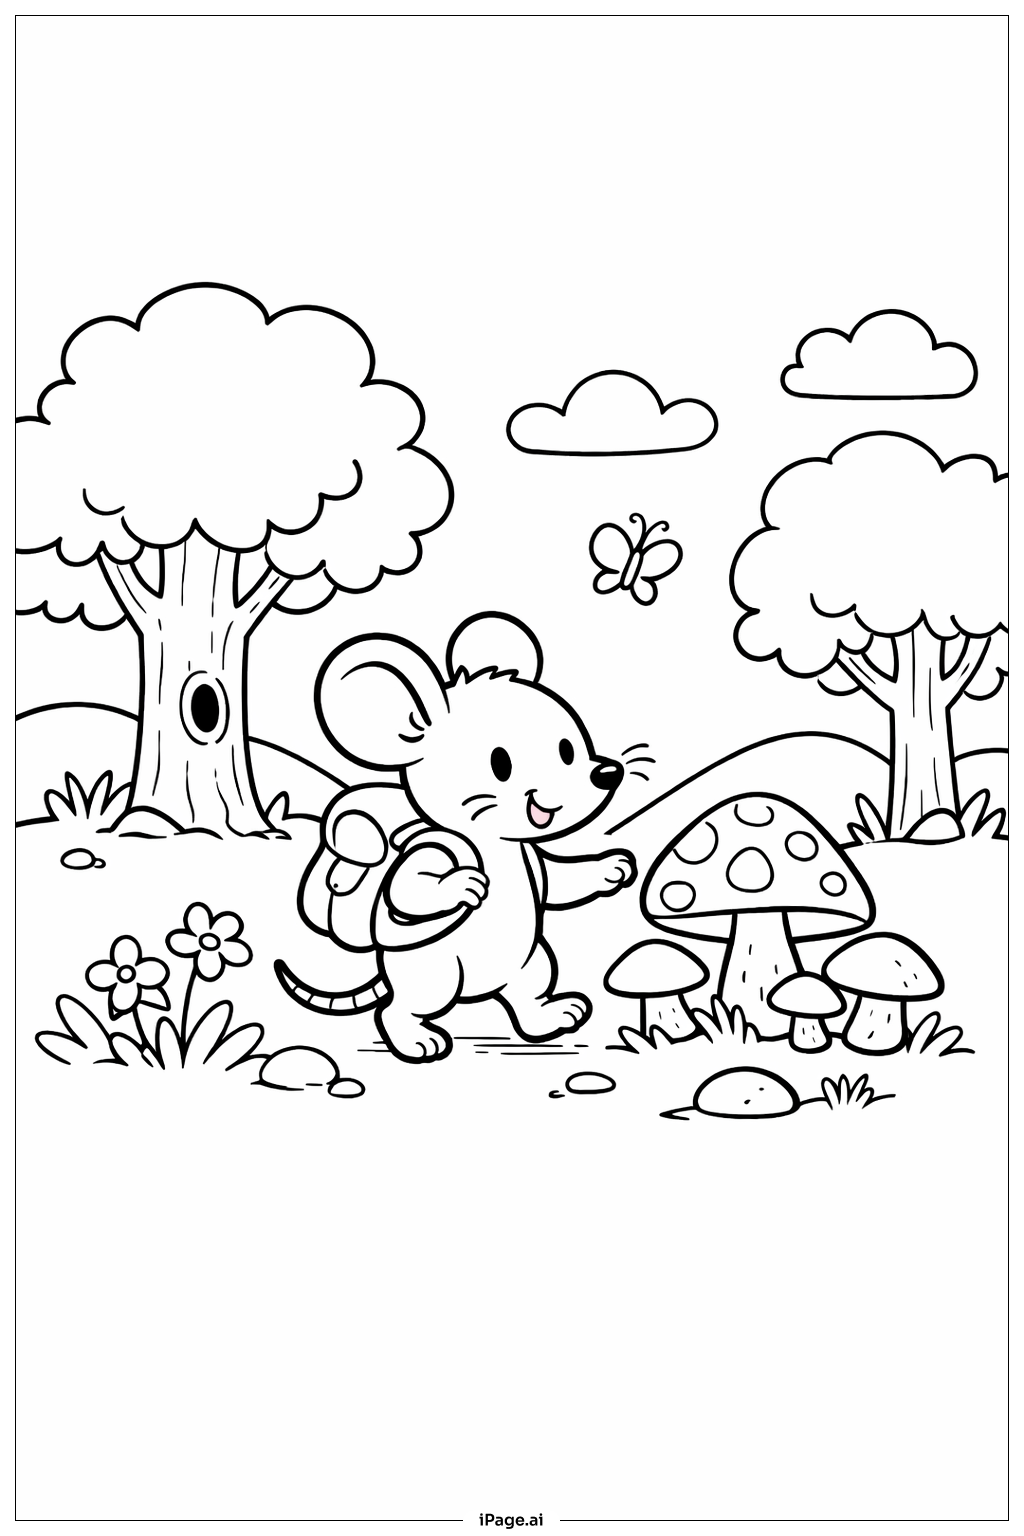
Start with the mouse itself. Use a soft gray or warm brown for its body and a light pink for the inner ears, nose, and paws. The tail can be a slightly darker shade of the body color to add depth. For the forest floor, use earthy tones like tan, brown, and dark green for the grass and moss. The mushrooms look great in red, orange, or purple caps with white spots. Color the tree trunks in rich brown and dark gray. Use many shades of green for the leaves — bright greens for fresh leaves and yellow-green for older ones. Add pops of color with the small flowers, using yellow, white, or pink petals. The acorns and pinecones work well in golden brown. Feel free to add your own creative touches, like a glowing sunset sky peeking through the trees or colorful butterflies in the background. There are no strict rules — just enjoy the process!
Coloring challenges: Which parts are difficult to color and need attention for Mouse In Forest coloring page?
• Mouse Fur Texture: The mouse's body has subtle curves and soft rounded edges that suggest a fluffy coat. Capturing this texture with colored pencils or crayons requires gentle layering and blending. Using light circular strokes can mimic the look of fur, but it takes patience to avoid flat, uneven coloring across the body.
• Small Facial Details: The mouse's face includes tiny features like eyes, a small nose, and delicate whiskers. These details are very small and close together, making it easy to color outside the lines. A fine-tipped colored pencil or marker works best here. Young colorists may find this the trickiest part of the whole image.
• Overlapping Forest Elements: The forest floor is packed with overlapping items — roots, leaves, grass, pebbles, acorns, and flowers. Keeping each element a distinct color while staying inside the lines can be challenging, especially where shapes overlap or interlock. Planning your color choices ahead of time helps avoid confusion.
• Tree Bark and Root Shading: The tree trunks and roots have ridged, uneven surfaces with many curved lines. Adding shading here to create a realistic, three-dimensional look is difficult. Alternating between light and dark brown tones along the ridges can help, but requires a steady hand and good color control.
• Mushroom Cap Patterns: The mushrooms feature detailed cap surfaces with spots or gill lines underneath. Coloring these consistently while keeping the patterns clean requires careful attention. Using a base color first, then adding spots or shading on top, is the recommended approach for clean and appealing results.
Benefits of coloring books: Advantages of drawing Mouse In Forest coloring page
Coloring this Mouse In Forest scene offers a wonderful range of benefits for kids and adults alike. For younger children, following the outlines of the mouse's round body, tiny ears, and small facial details helps build fine motor skills and hand-eye coordination. Choosing colors for the trees, mushrooms, and forest floor encourages creative thinking and color recognition.
For older kids and teens, the detailed forest setting provides a satisfying challenge. Working through the layered textures of bark, leaves, and grass helps develop patience and focus. It also builds an understanding of how light and shadow work in natural scenes.
For adults, this peaceful woodland image offers a gentle way to unwind and de-stress. The repetitive, focused nature of coloring has been shown to reduce anxiety and promote a calm, meditative state of mind.
The nature theme itself is also quietly educational. Children naturally become more curious about forest ecosystems, woodland animals, and plant life while engaging with the scene. This can spark conversations about nature and the environment.
Best of all, finishing the page gives a real sense of accomplishment. Whether you are four or forty, seeing a completed, colorful image is genuinely rewarding. It is a simple, screen-free activity that anyone can enjoy at their own pace.