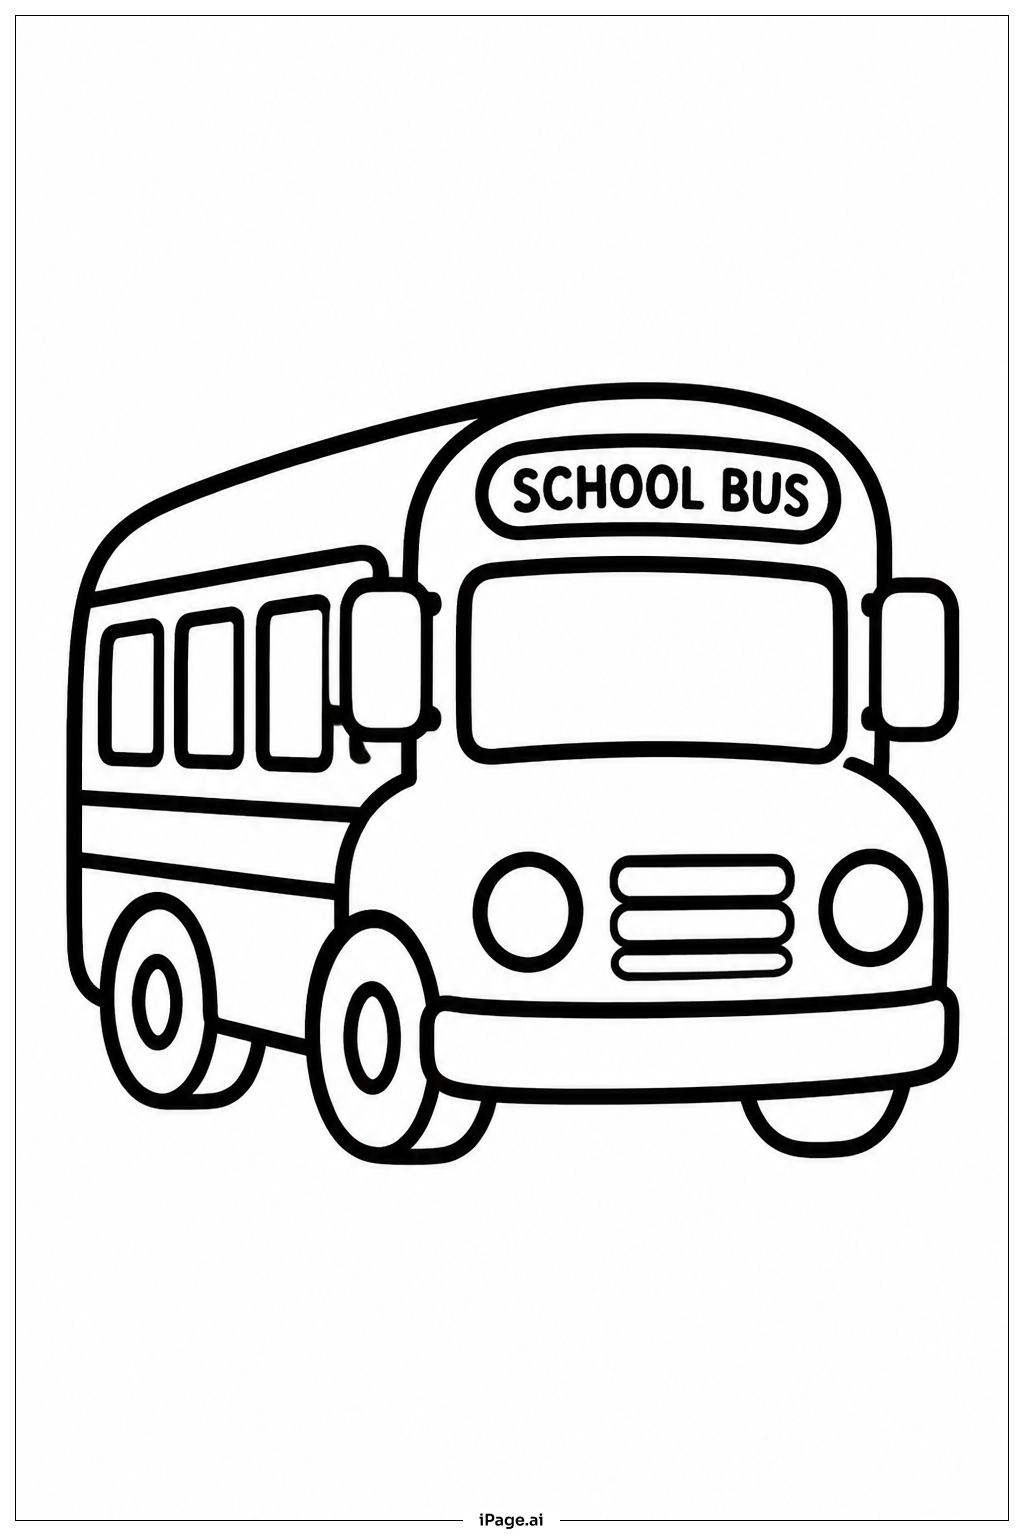
Coloring tips: How to color Tiny School Bus Toy coloring page well?
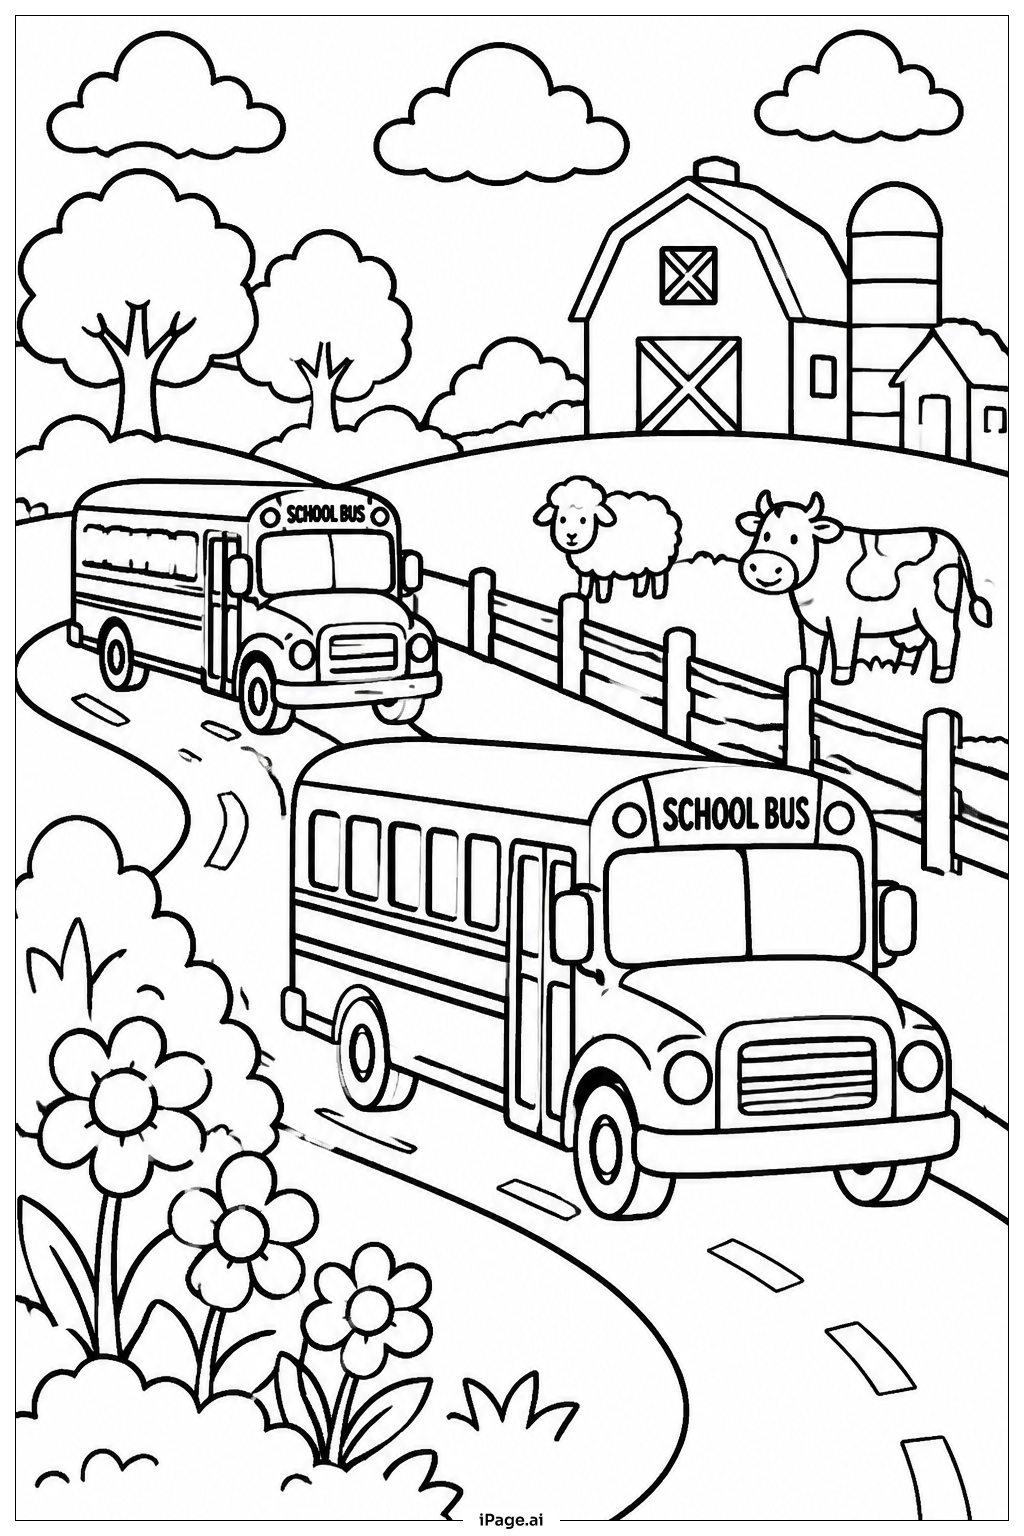
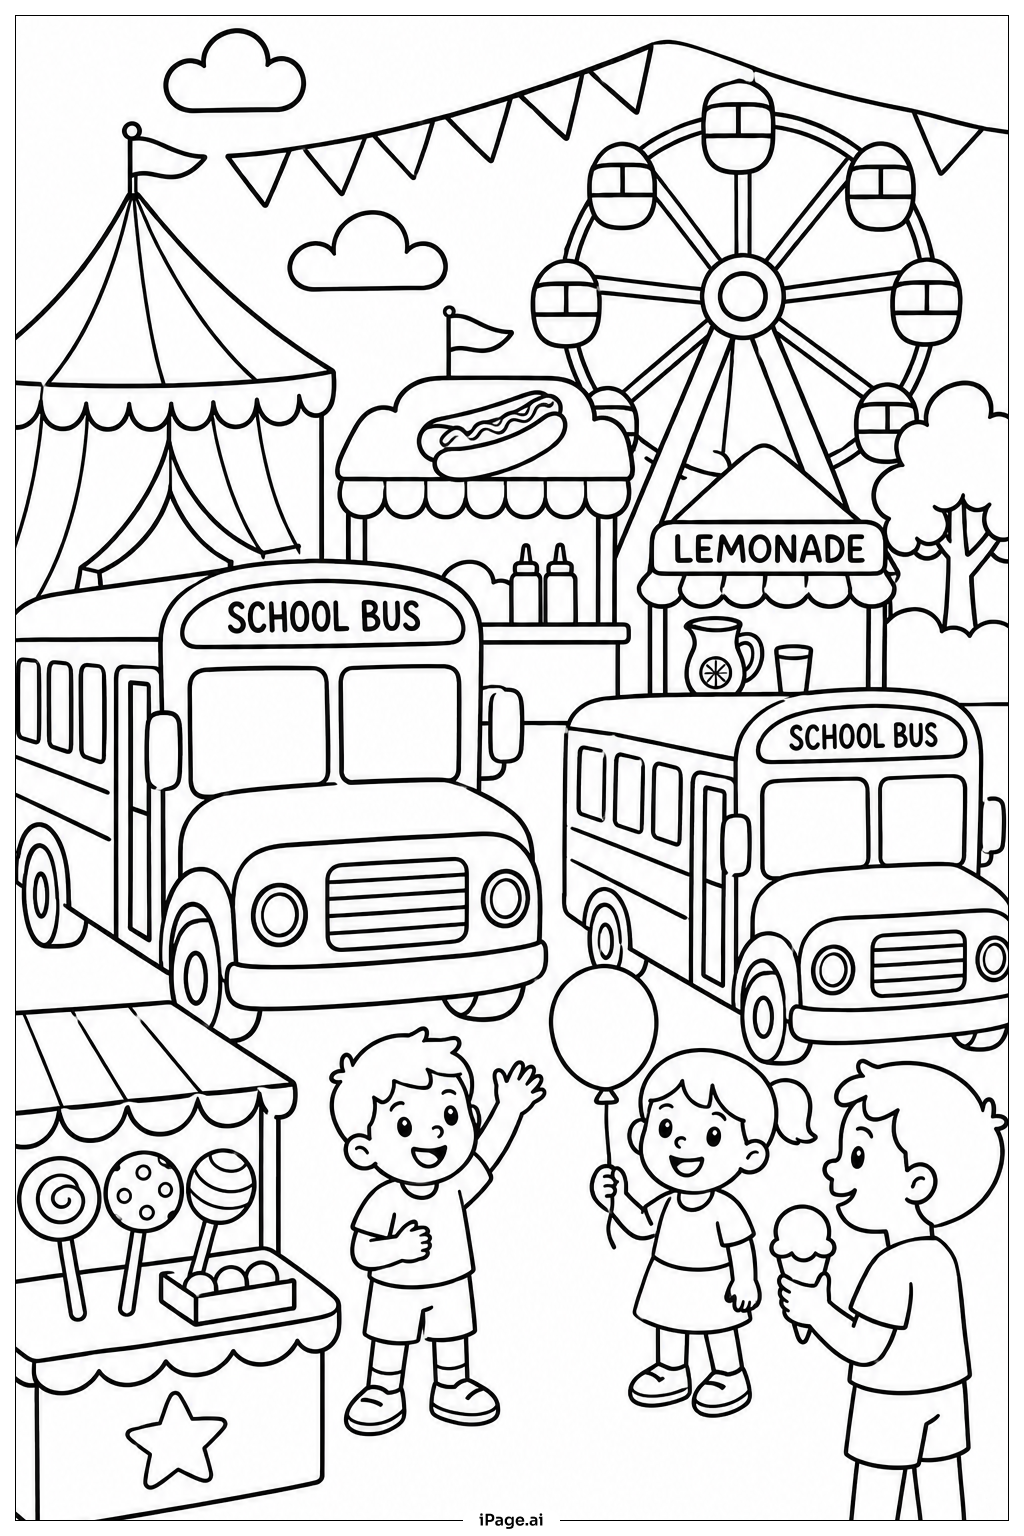
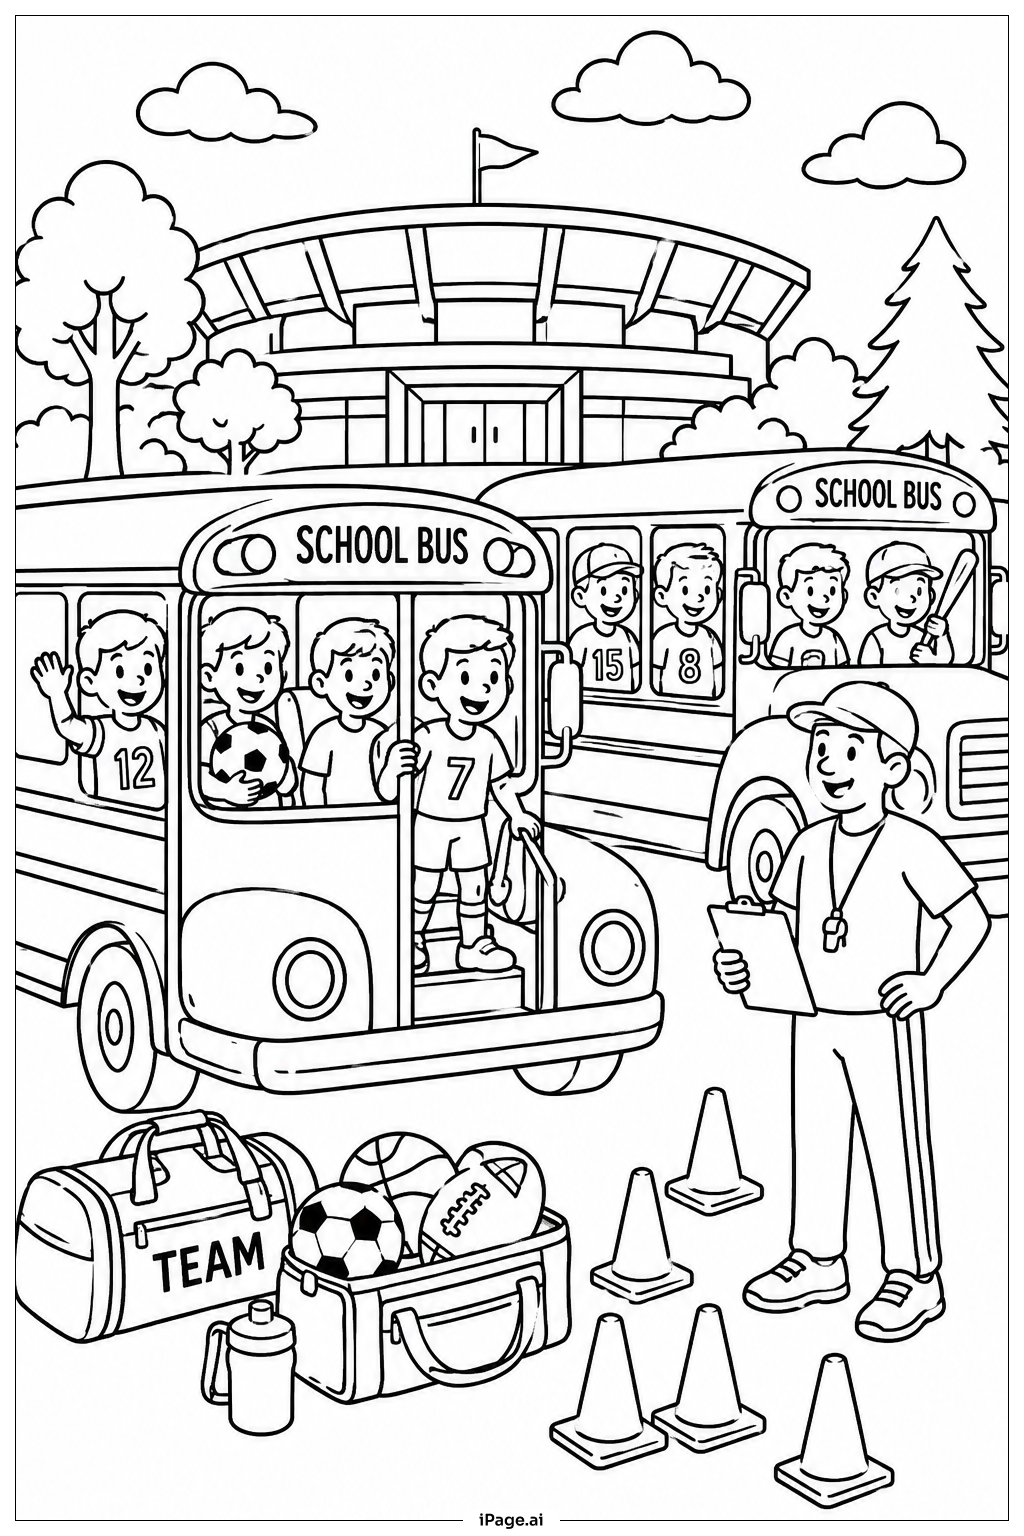
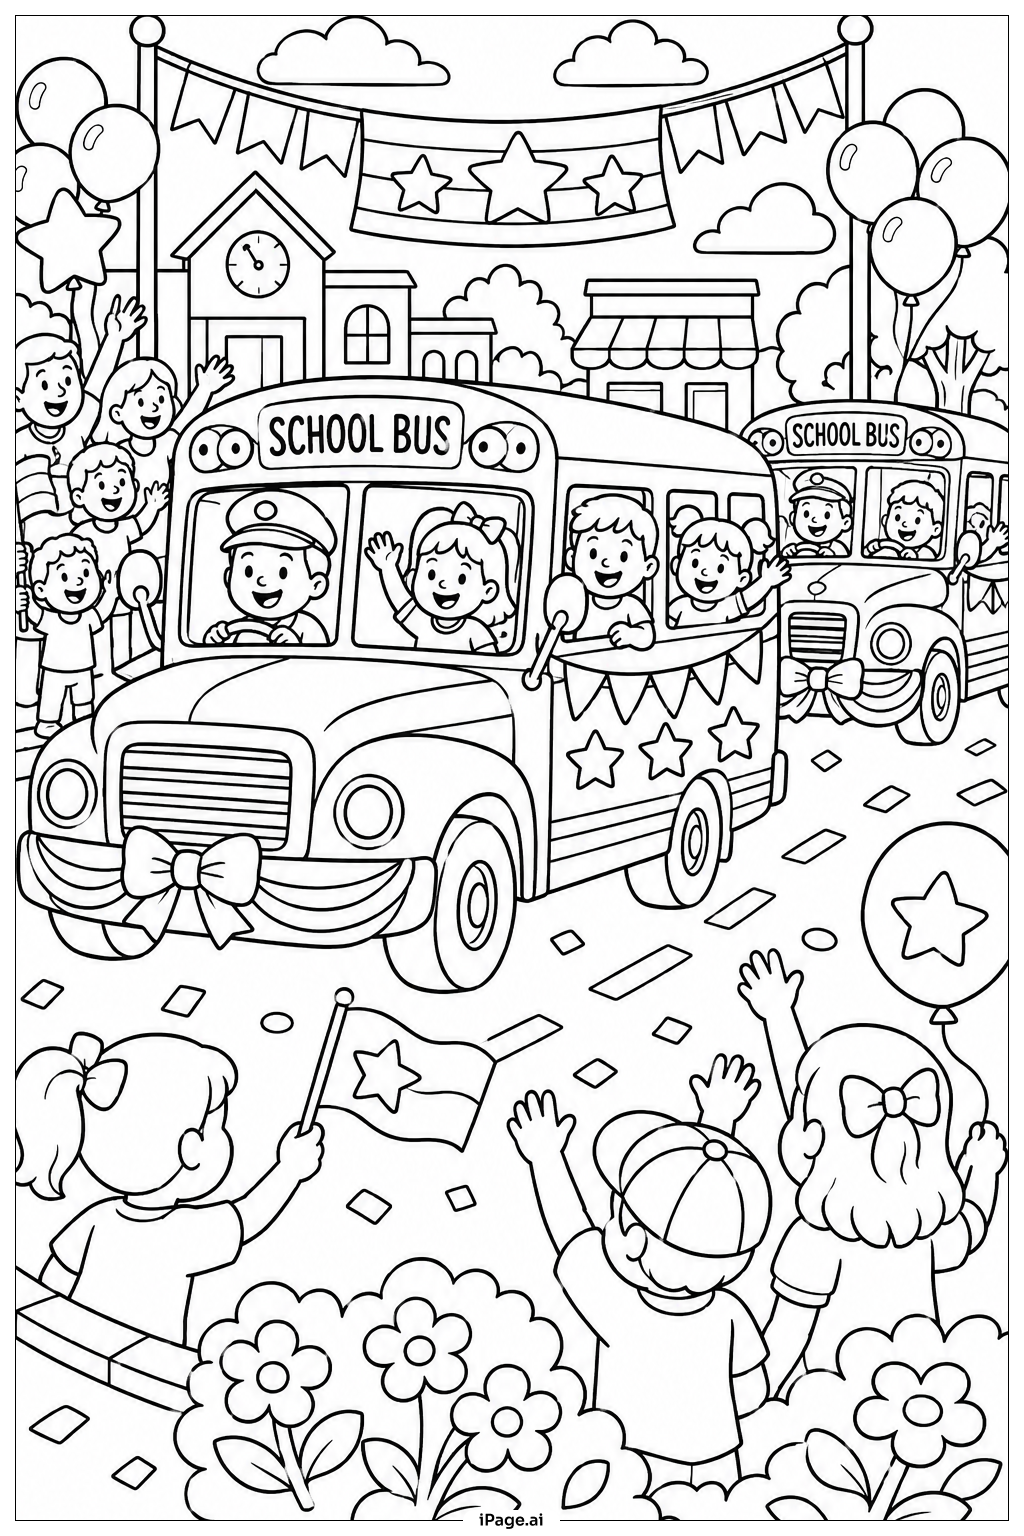
Start with the bus body using a bright, classic yellow — this is the most iconic school bus color and will make your picture pop. Use a slightly darker yellow or gold for the shadowed areas along the lower body to add some depth. Color the wheels dark gray or black, and add a silver or light gray shine to the hubcaps. Fill the windows with light blue to suggest glass, or leave them pale white for a clean look. The front grille and bumpers look great in silver or gray. Use black or dark brown for the outline details and door edges. Add a red stop sign detail on the side if you like. Feel free to personalize the bus with fun patterns or stickers on the body — stripes, stars, or dots all work beautifully. For a playful toy feel, try giving the wheels a slightly shiny look by leaving a small white highlight spot. Keep your colors bold and even for the best result.
Coloring challenges: Which parts are difficult to color and need attention for Tiny School Bus Toy coloring page?
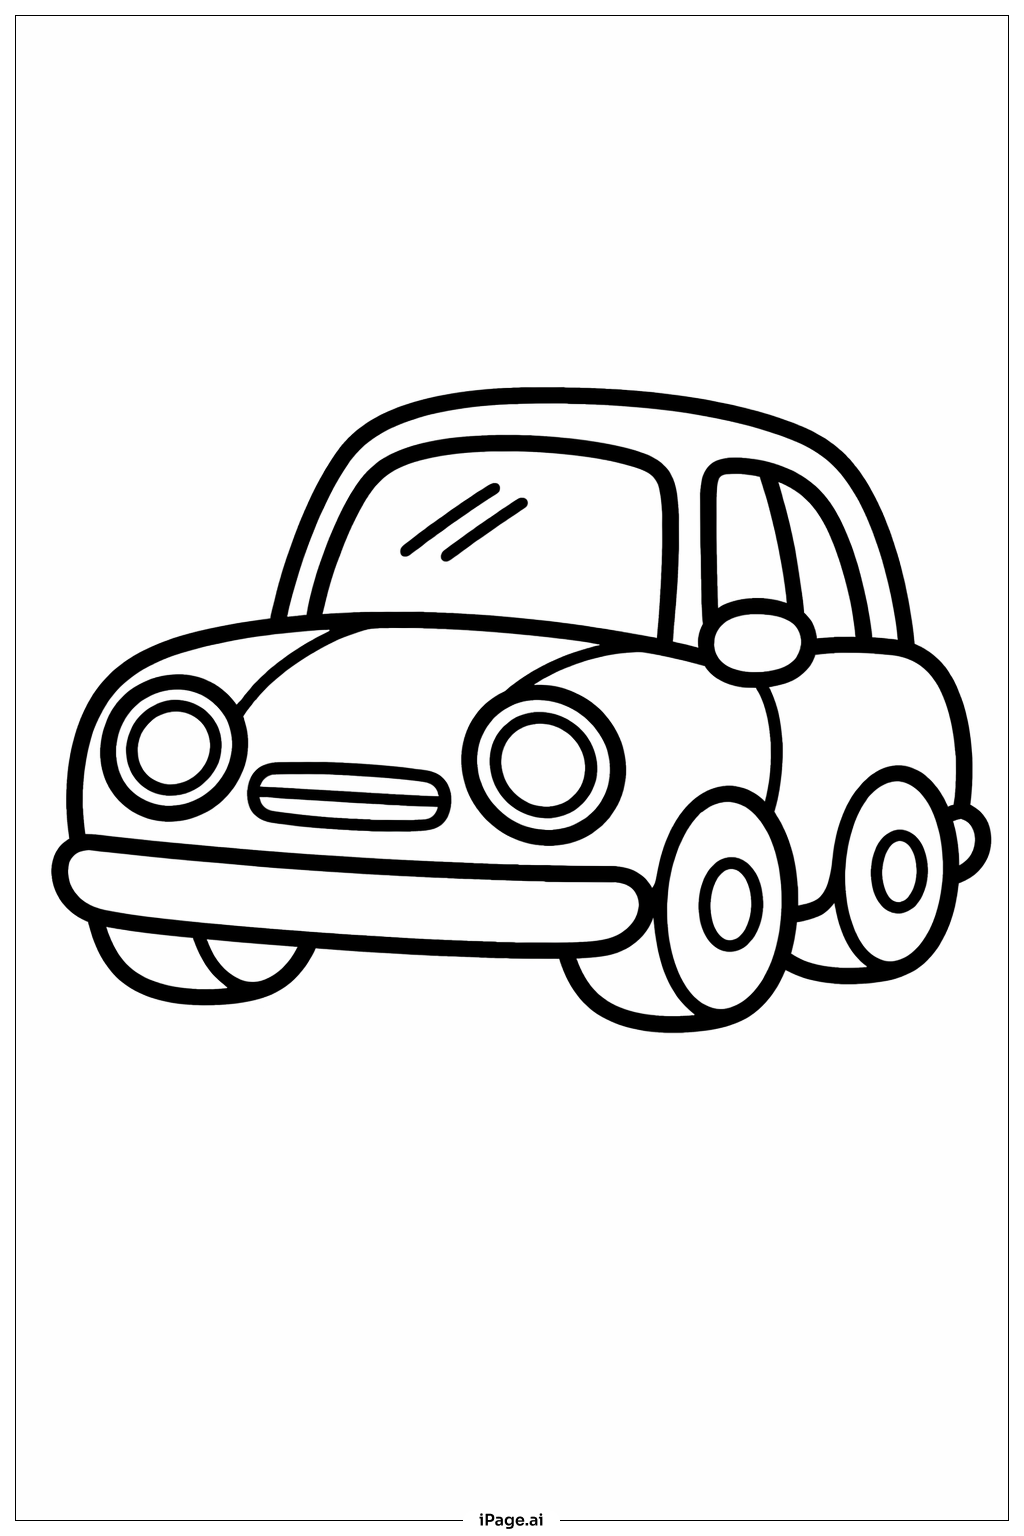
• Small Window Sections: The bus has several small, closely spaced windows along its side. Staying inside the narrow window frames without bleeding color into the body panels can be tricky, especially for younger colorists. Using a fine-tip marker or a sharpened colored pencil will give you the most control in these tight spaces.
• Wheel and Hubcap Details: The round wheels contain smaller circular hubcap designs inside them. Coloring two layers of circles — the outer tire and the inner hubcap — without mixing the colors requires a steady hand and patience. Try outlining each section lightly before filling it in.
• Body Panel Curves: The toy bus has gently curved body lines and panel edges that follow the rounded shape of the vehicle. Blending or shading along these curves to suggest a three-dimensional, toy-like surface can be challenging. Using short, light strokes that follow the curve helps create a smooth, natural look.
• Front Grille and Bumper: The front of the bus contains a grille with multiple small segments and a bumper bar. These tiny repeated shapes are closely packed together, making it easy to accidentally color over the dividing lines. A thin marker or the very tip of a pencil works best here.
• Keeping Yellow Bright and Even: Yellow is a notoriously difficult color to apply evenly, especially with colored pencils. Pressing too hard can make it look patchy, while pressing too lightly leaves it looking washed out. Apply multiple light layers, building up color gradually, to achieve a smooth, vibrant finish across the large bus body.
Benefits of coloring books: Advantages of drawing Tiny School Bus Toy coloring page
Coloring this Tiny School Bus Toy page offers a wide range of benefits for children and beginners alike. Working within the detailed outlines of the bus body, windows, and wheels helps build fine motor skills and hand-eye coordination. These are important skills for writing, drawing, and everyday tasks. Choosing colors and deciding where to place them encourages creative thinking and imagination. Kids can experiment freely — maybe their bus is purple or covered in stars — building confidence in their own ideas. Focusing on a coloring task also promotes concentration and patience. Staying inside the lines and working through each section one at a time teaches children how to approach a task step by step. The familiar, friendly subject matter — a school bus — makes this page especially appealing and emotionally engaging for young children. It can spark conversations about school, friends, and daily routines, turning a creative activity into a fun learning moment. For older kids, adding shading and blending techniques offers a gentle introduction to more advanced art skills. Overall, this page is a wonderful, low-pressure way to enjoy art and develop important developmental skills at the same time.