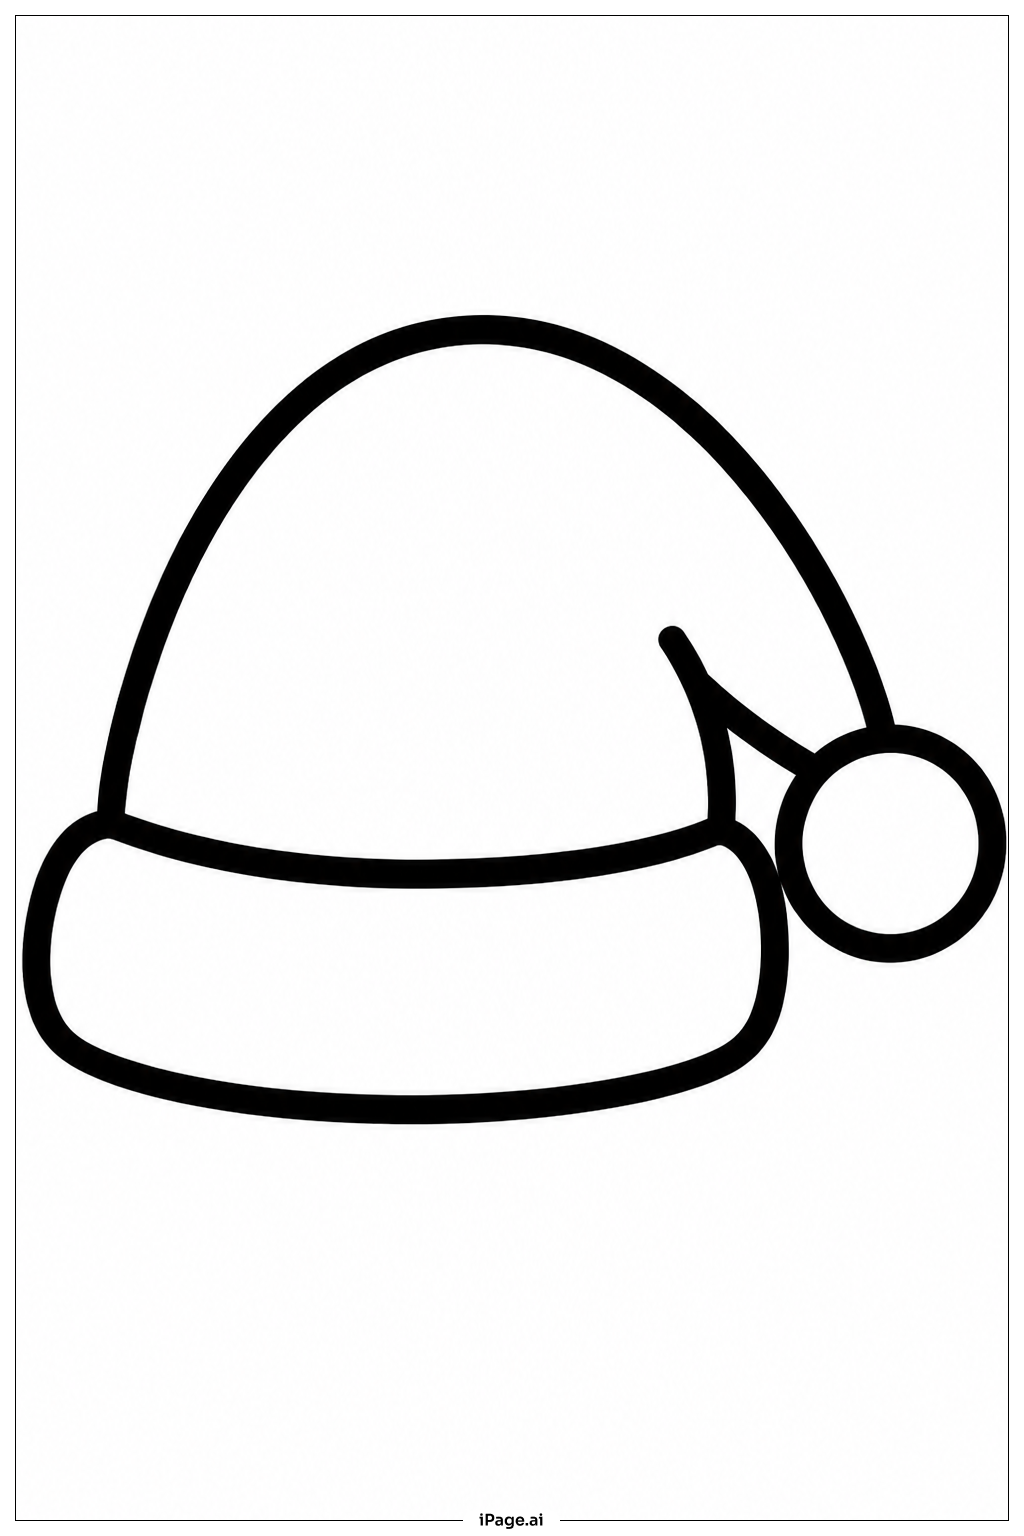
Coloring tips: How to color Santa Hat With Pom coloring page well?
Start with the main body of the hat. Traditional red is the classic choice, but you can try deep crimson, bright scarlet, or even a fun purple or green for a creative twist. Use smooth, even strokes to fill in the large cone shape. For the brim and the pom-pom, white is the traditional color. You can add light blue or lavender shading to give them a soft, fluffy look. To make the pom-pom feel round and three-dimensional, leave a small bright spot in the center and shade the edges with gray or light purple. Try adding subtle shadows along the inside fold of the hat using a darker shade of your main color. This gives the hat depth and makes it look more realistic. Feel free to add snowflakes, stars, or small patterns to the hat body for extra holiday fun. Colored pencils work great for blending, while markers give bold, bright results. Crayons are perfect for younger colorists who want easy, broad coverage.
Coloring challenges: Which parts are difficult to color and need attention for Santa Hat With Pom coloring page?
• Coloring the Large Hat Body Evenly: The hat body is a wide, open area that can be tricky to fill without streaks or uneven patches. Younger colorists may find it hard to stay within the lines and keep the color smooth. Using the same stroke direction throughout helps create a cleaner look. Layering light coats of color instead of pressing hard in one pass gives more even results.
• Making the Pom-Pom Look Fluffy: The pom-pom at the tip of the hat is round and soft, but showing that fluffiness in a flat drawing takes some skill. Coloring it in a solid flat white can make it look dull. The challenge is adding gentle shading around the edges using gray or pale blue to create the illusion of volume and texture, while keeping the center bright to suggest the lightest part of the fluff.
• Adding Depth to the Floppy Tip: The hat droops at the top, creating a curved fold. Showing this three-dimensional shape requires shading along the inner curve using a slightly darker version of the hat color. Without this step, the hat can look flat and lifeless. This technique is more advanced and may require some practice for younger children.
• Keeping the Brim Clean and Distinct: The thick white brim sits right next to the red hat body. Coloring up to that border neatly without bleeding color over the edge is a common challenge. Using a sharp pencil tip or a fine marker to outline the boundary first, then filling inward, can help keep the separation clean and crisp.
Benefits of coloring books: Advantages of drawing Santa Hat With Pom coloring page
Coloring this Santa Hat With Pom page brings a whole range of great benefits for kids and families alike. First, it builds fine motor skills. Carefully filling in the hat body, the trim, and the pom-pom helps young colorists practice hand control and pencil grip, which supports writing skills too. Second, it encourages creativity. Choosing colors, deciding where to add shading, or decorating the hat with fun patterns gives children the freedom to express themselves in a low-pressure, joyful way. Third, it introduces basic art concepts like shading, contrast, and color blending in a simple and approachable format. Children naturally experiment with light and dark tones to make the hat look three-dimensional. Fourth, it supports focus and patience. Staying within the lines and completing the image from start to finish builds concentration and a sense of accomplishment. Fifth, it connects children to the magic of the holiday season. Coloring a festive Santa hat sparks imagination, storytelling, and excitement about Christmas. It is a wonderful quiet activity for the whole family to enjoy together, making warm holiday memories one color at a time.