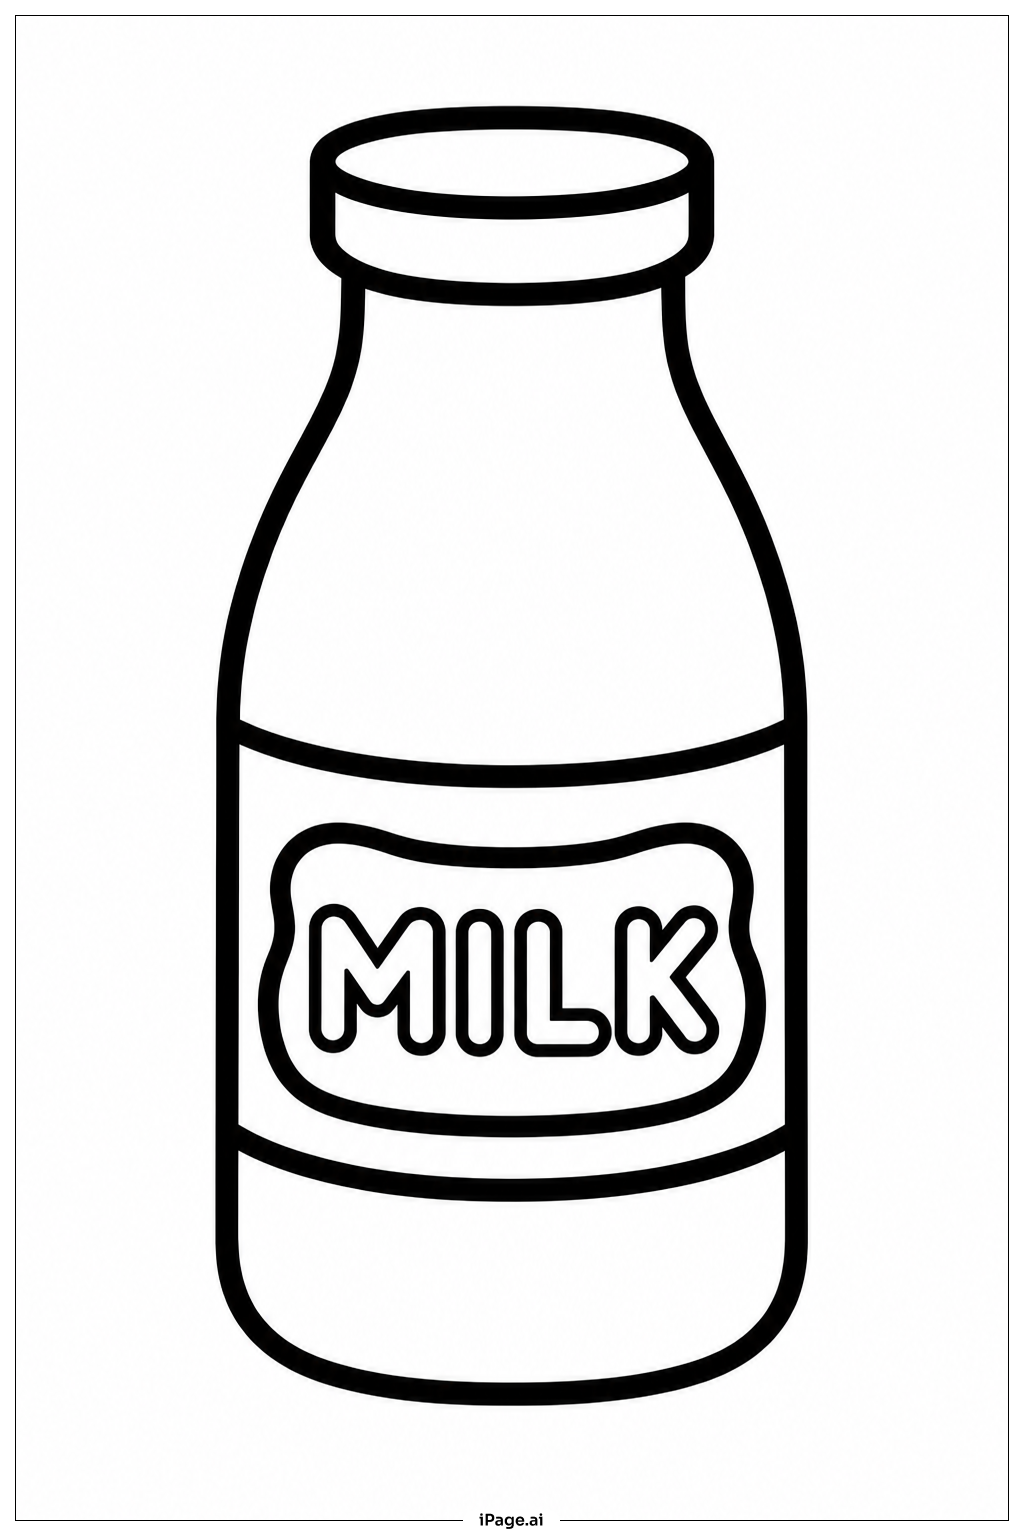
Coloring tips: How to color Bottle Of Milk coloring page well?
Start with the liquid inside the bottle. Use a soft, creamy white or a very light ivory to fill the main body of the milk. You can leave a small highlight area uncolored or use white to suggest the glassy shine on the bottle surface. For the bottle outline and cap, try a light gray or pale blue to give it a cool, clean glass look. The bottle cap can be colored red, gold, or silver to make it stand out. For the label, use a bright color like yellow, blue, or green as the background, then add details like dots or stripes with contrasting colors. If there is a straw or any decorative element, use fun colors like pink or orange. Keep the background simple — a light sky blue or plain white works well to keep the milk bottle as the star of the page.
Coloring challenges: Which parts are difficult to color and need attention for Bottle Of Milk coloring page?
• Bottle Transparency Effect: One of the trickiest parts of coloring a glass milk bottle is making it look transparent. You need to use lighter shades and leave highlight spots uncolored or very lightly colored to suggest that the glass is see-through. Blending white with very pale blue or gray near the edges can help create this glass-like effect without making the bottle look solid and flat.
• Label Details: The label on the front of the bottle has a small surface area with fine outlines. Coloring within these tight spaces without going over the borders takes a steady hand. Using a fine-tipped colored pencil or a thin marker works best here. Choosing colors that contrast with the bottle body will help the label pop and look neat.
• Cap and Rim Accuracy: The bottle cap and the narrow rim at the top of the bottle are small sections that require careful coloring. Filling in these tiny areas cleanly can be challenging, especially for younger children. Slow, short strokes and a sharpened pencil tip will give the best results in this section.
• Color Consistency for White Milk: Since milk is white, it can be tempting to leave the inside of the bottle completely blank. However, a completely empty space can look unfinished. Adding a very light wash of cream, pale yellow, or the faintest blue gives the milk a realistic and complete appearance without losing the white feel.
• Background Balance: Choosing a background color that complements the bottle without overpowering it is a subtle challenge. Too dark a background can make the bottle hard to see, while too bright a color may clash with the soft tones of the milk.
Benefits of coloring books: Advantages of drawing Bottle Of Milk coloring page
Coloring a milk bottle image is a wonderful activity for children and beginners alike. It helps develop fine motor skills as kids carefully fill in the small sections like the cap, label, and bottle rim. These focused movements strengthen hand muscles and improve pencil control, which supports better handwriting over time.
This image also encourages color recognition and creative thinking. Choosing the right shades for the glass, the milk inside, and the label teaches kids to think about how colors work together and how to represent real-life objects with color.
For younger children, the simple and familiar shape of a milk bottle makes it easy and approachable. It builds confidence when they see a finished, recognizable result. For older kids and teens, the challenge of creating a glass or transparent effect adds an exciting layer of artistic skill to practice.
Beyond the creative side, coloring a food-themed image like this can spark conversations about nutrition and healthy eating habits. It connects art with everyday life in a meaningful way. Most of all, it is a calming, screen-free activity that helps children focus, relax, and enjoy the process of creating something with their own hands.