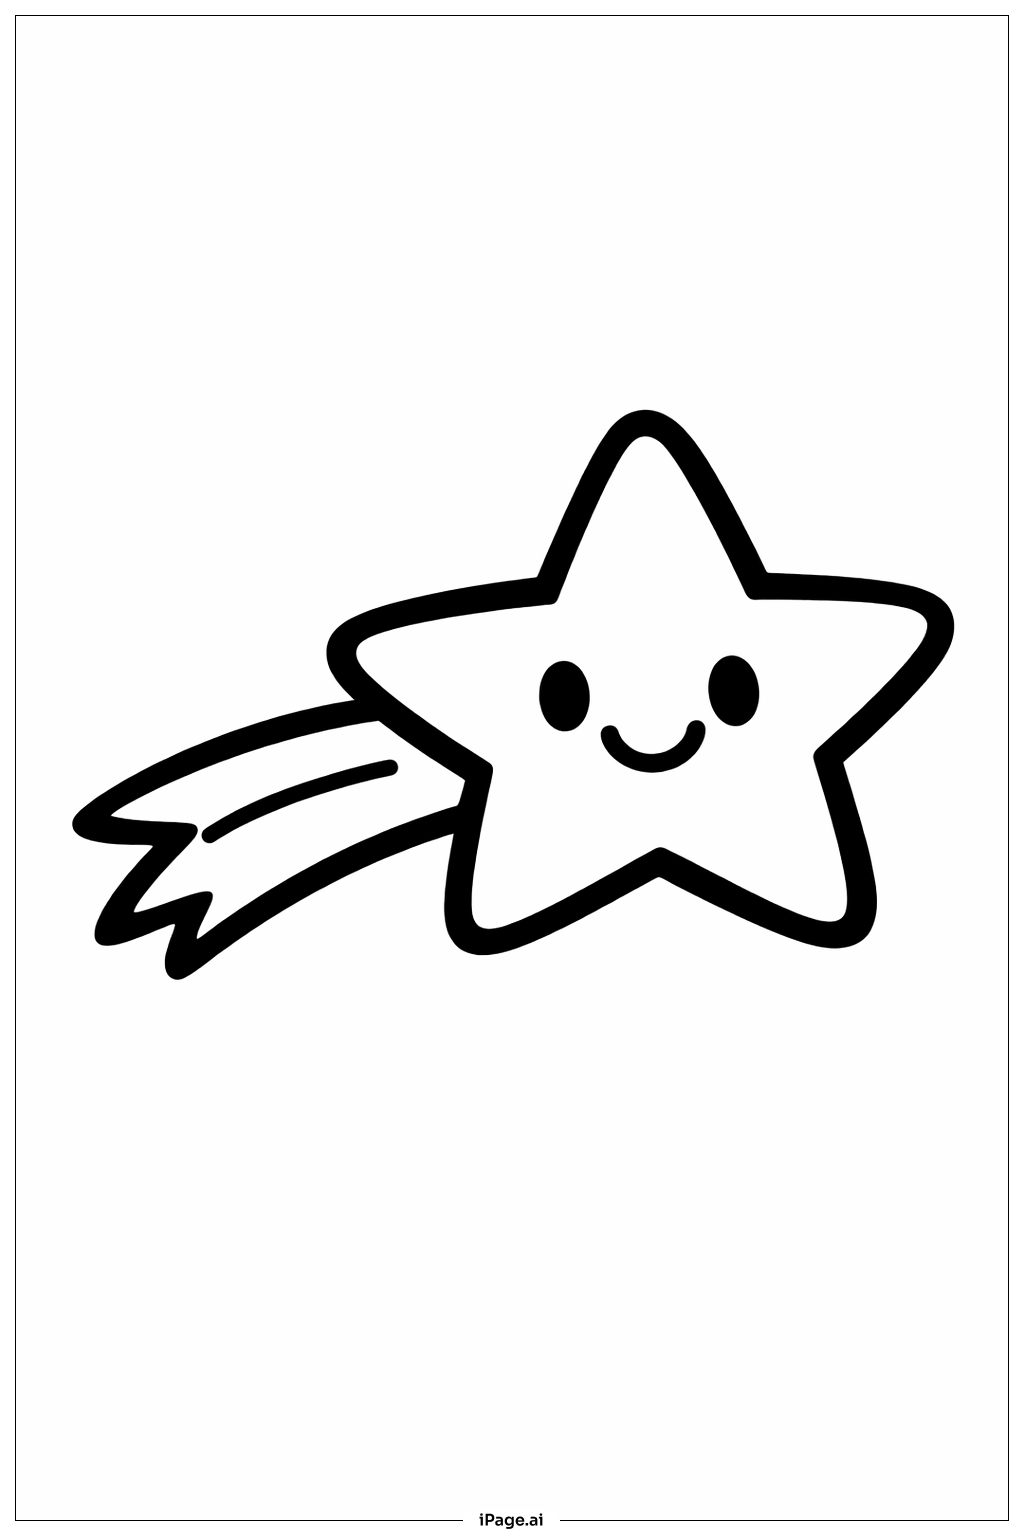
Coloring tips: How to color Cute Shooting Star coloring page well?
Start with the star's body using a bright yellow or warm golden color to make it glow. You can add a soft orange or peach tint along the edges to give it a warm, shining look. For the smiling face, use light pink for the rosy cheeks and a soft brown or black for the eyes and mouth. The flowing tail looks great in a gradient — try blending yellow into orange or even soft purple and pink for a dreamy effect. The tiny sparkles around the star can be colored white, silver, or light yellow. The background sky is a great place to get creative — try a deep blue or purple to make the star really pop. You can also add a little light glow effect by using lighter shades right around the star and darker shades further away. Have fun mixing colors to make this shooting star feel magical and full of energy!
Coloring challenges: Which parts are difficult to color and need attention for Cute Shooting Star coloring page?
• Facial Details: The star has a small, expressive face with tiny eyes, a smile, and rosy cheeks. These features are compact and close together, making them tricky to color neatly. Use a very fine-tipped colored pencil or marker to fill in each area without overlapping into neighboring sections. Take your time and work slowly for the best result.
• Flowing Tail Gradient: The long sweeping tail of the shooting star looks best when colored with a smooth gradient that shifts from one color to another. Blending two or more colors seamlessly can be difficult, especially for younger colorists. Practice on a separate piece of paper first, and use light pressure to layer colors gradually.
• Tiny Sparkle Details: The small sparkles and mini stars scattered around the main star are very small shapes. Staying inside the lines of these tiny elements requires steady hands and precise control. Sharpened pencils work best here, and it helps to rest your hand on the paper for more control.
• Background Contrast: Choosing a background color that makes the star stand out without clashing is a challenge. Dark blues, purples, or deep teals tend to work well, but applying a solid, even background color over a large area can be hard to do smoothly without streaks or uneven patches. Use broad, sweeping strokes and layer the color gradually.
• Overall Color Harmony: Keeping all the colors in the image looking balanced and cohesive takes planning. With so many small elements — the star body, tail, sparkles, face, and background — it is easy for the colors to feel mismatched. Try picking a simple color palette of two or three main colors before you start.
Benefits of coloring books: Advantages of drawing Cute Shooting Star coloring page
Coloring this cute shooting star page brings a wide range of wonderful benefits for kids and beginners alike. First, it helps build fine motor skills. Carefully coloring inside the small sparkles, facial features, and flowing tail trains hand muscles and improves pencil control — skills that are useful in school and everyday life. Second, it encourages creativity. Choosing colors for the star's body, tail, and background gives colorists the freedom to express their own imagination and personal style. There is no wrong answer, and every finished page is unique. Third, it introduces basic color theory. Experimenting with gradients on the tail or picking contrasting background colors teaches young artists how colors interact and complement each other in a fun, hands-on way. Fourth, it supports focus and patience. Staying inside the lines and blending colors carefully requires concentration, helping children practice sitting still and working through a task from start to finish. Fifth, it is simply relaxing and fun. The cheerful, whimsical design of a smiling shooting star creates a joyful coloring experience that lifts the mood and sparks a sense of wonder. It is a perfect activity for unwinding after a busy day.