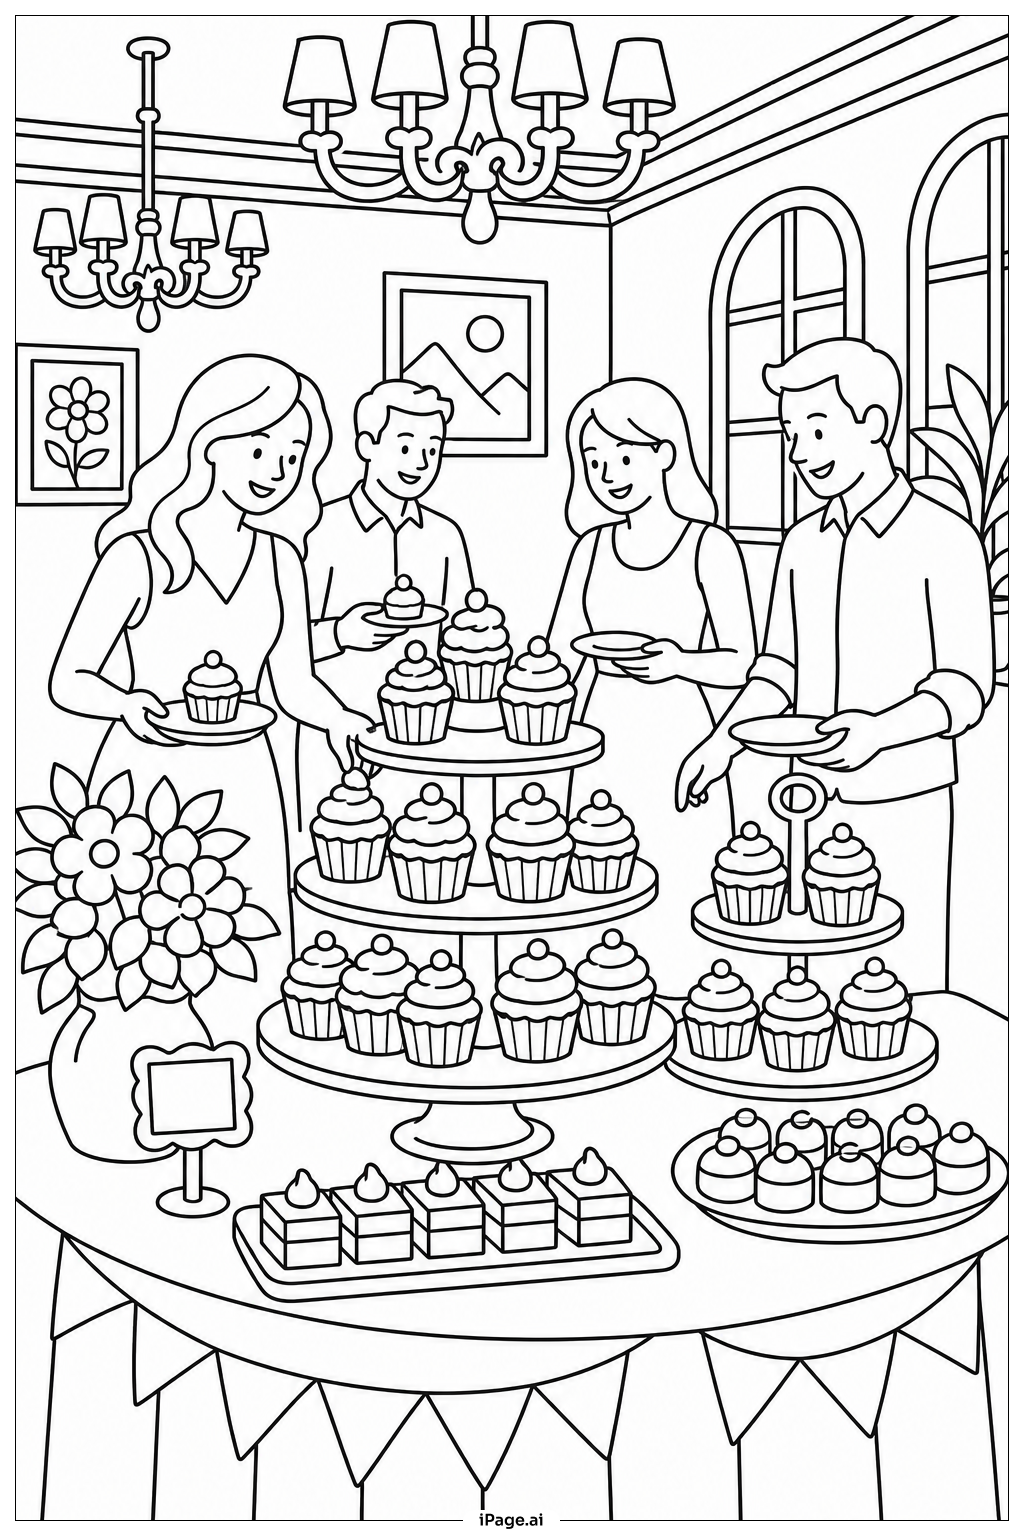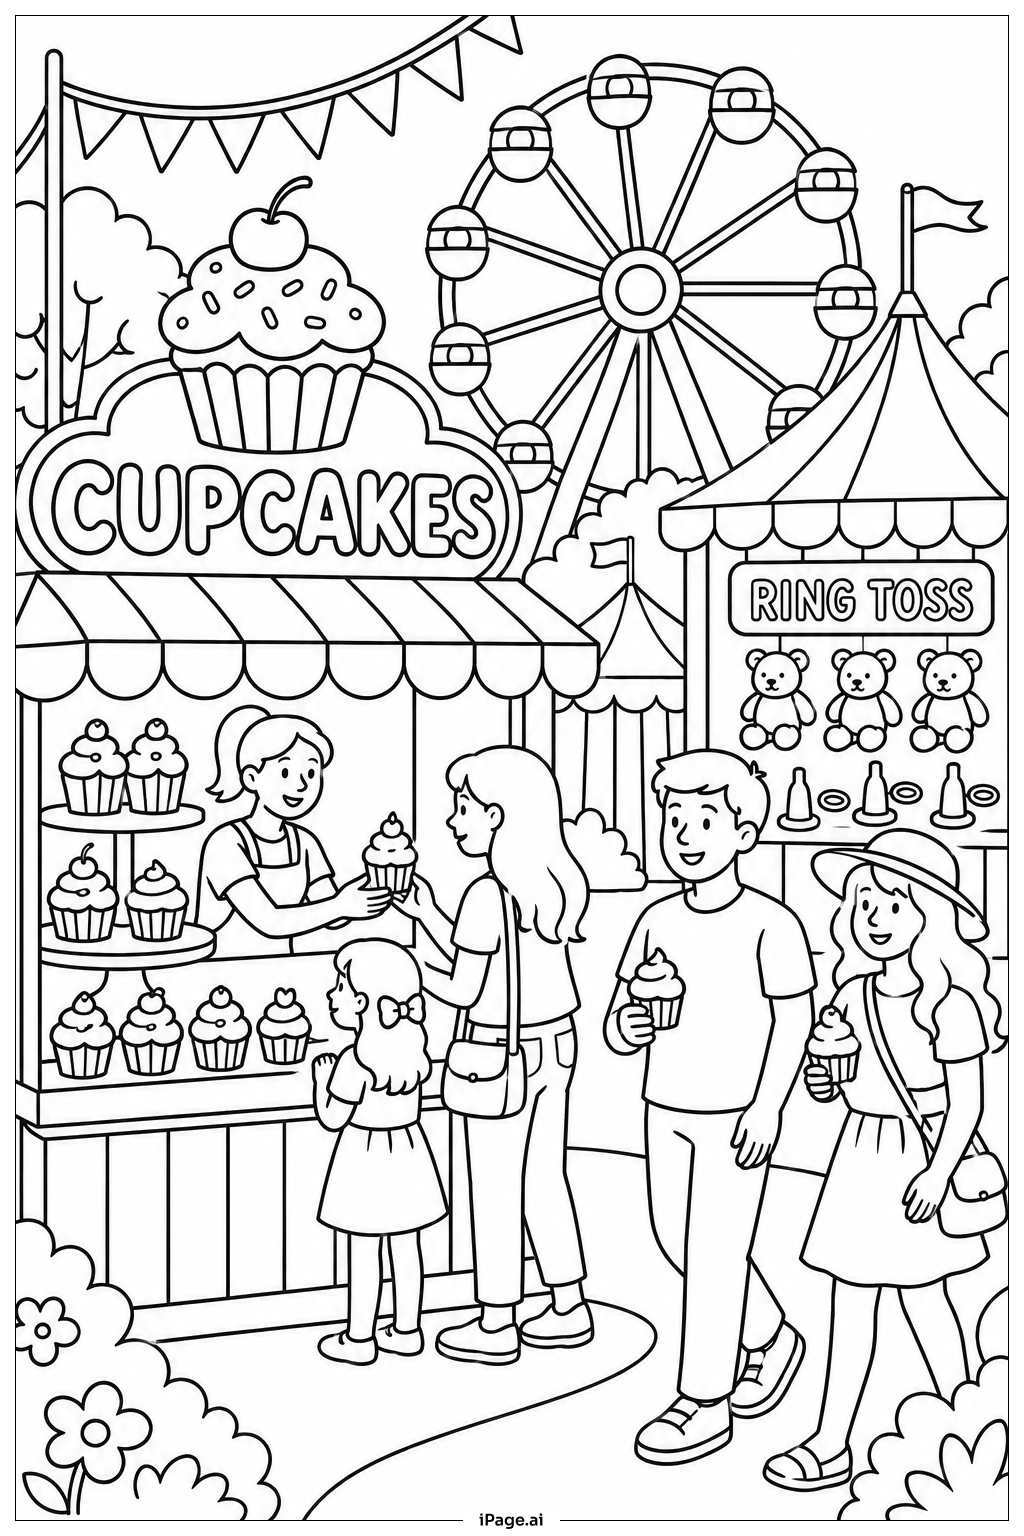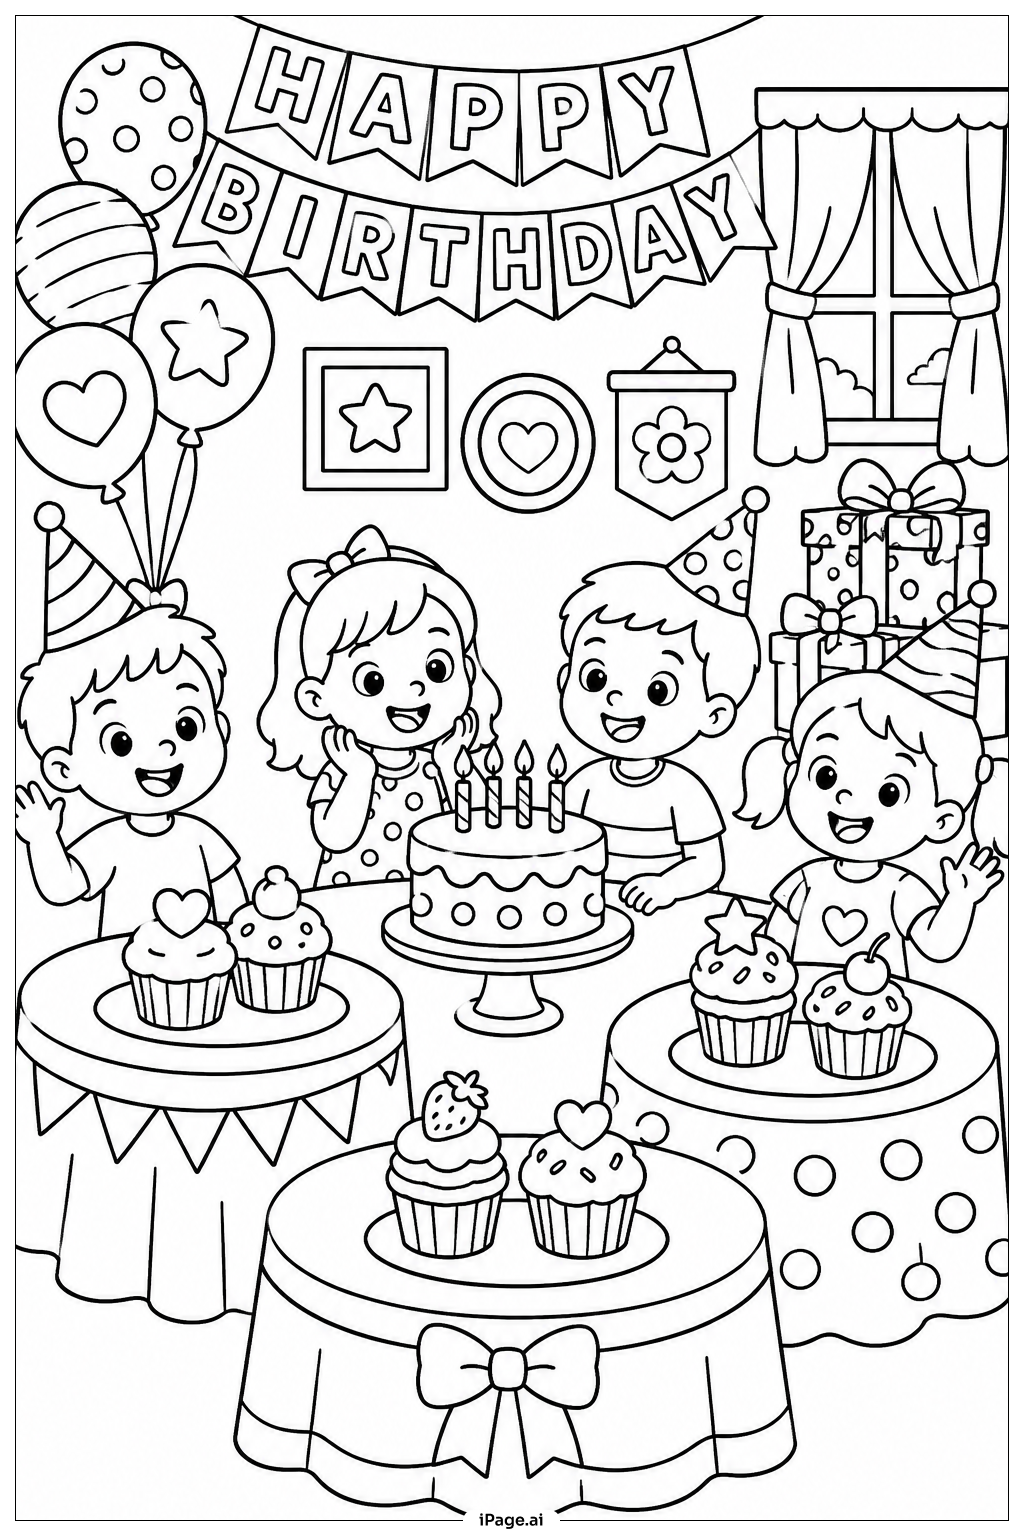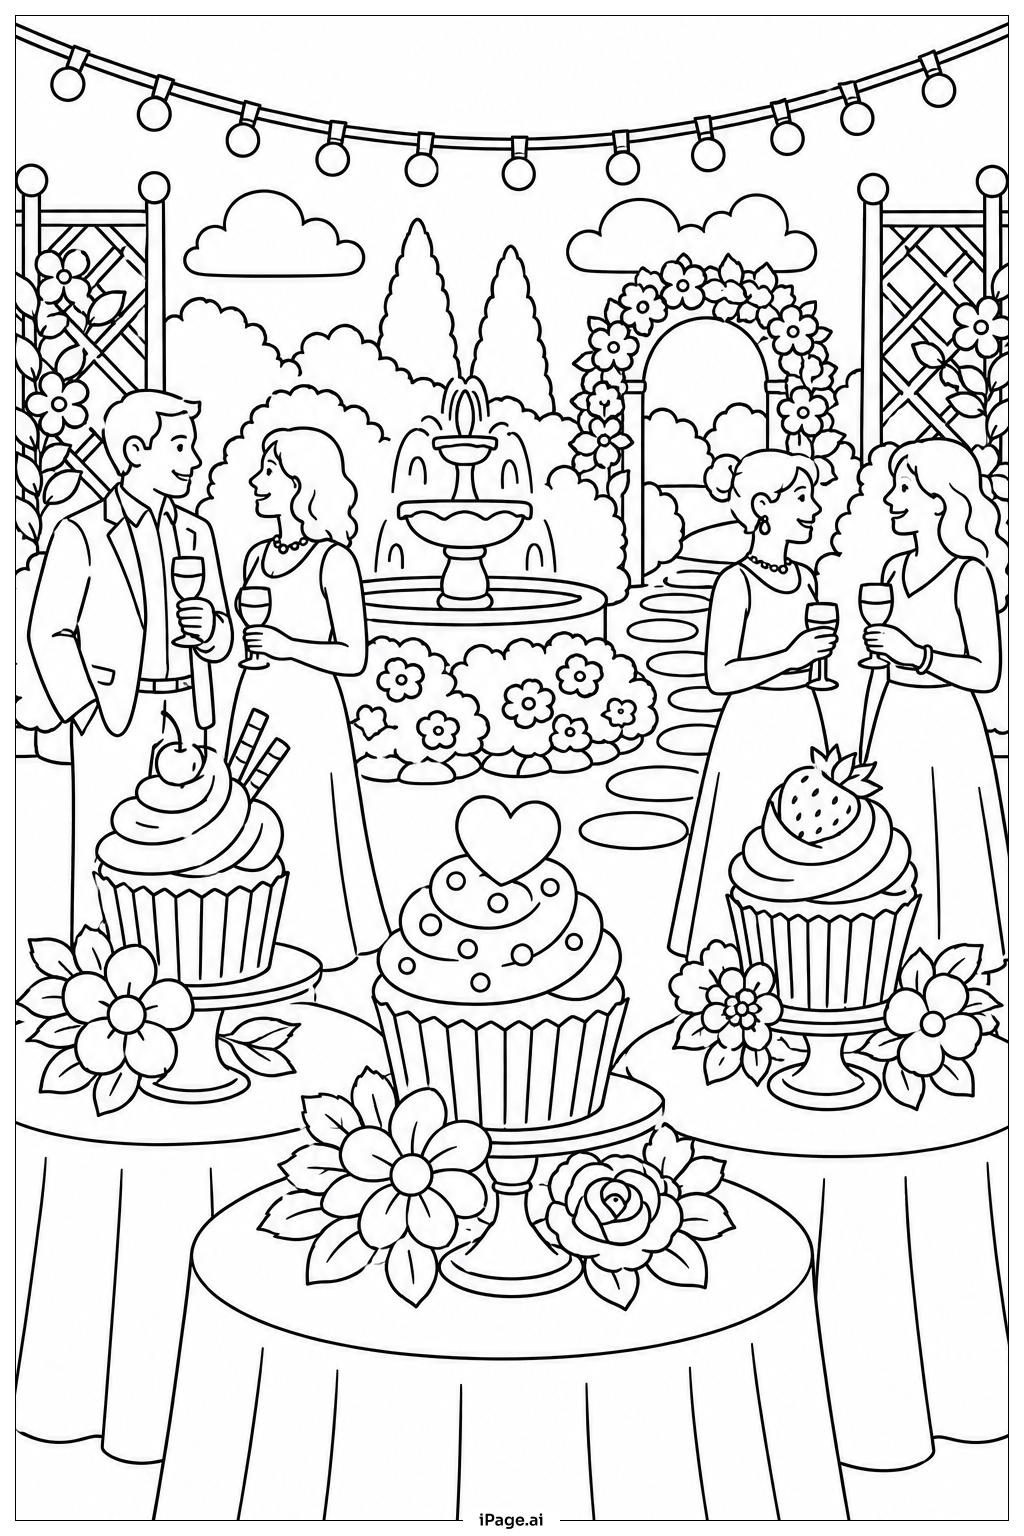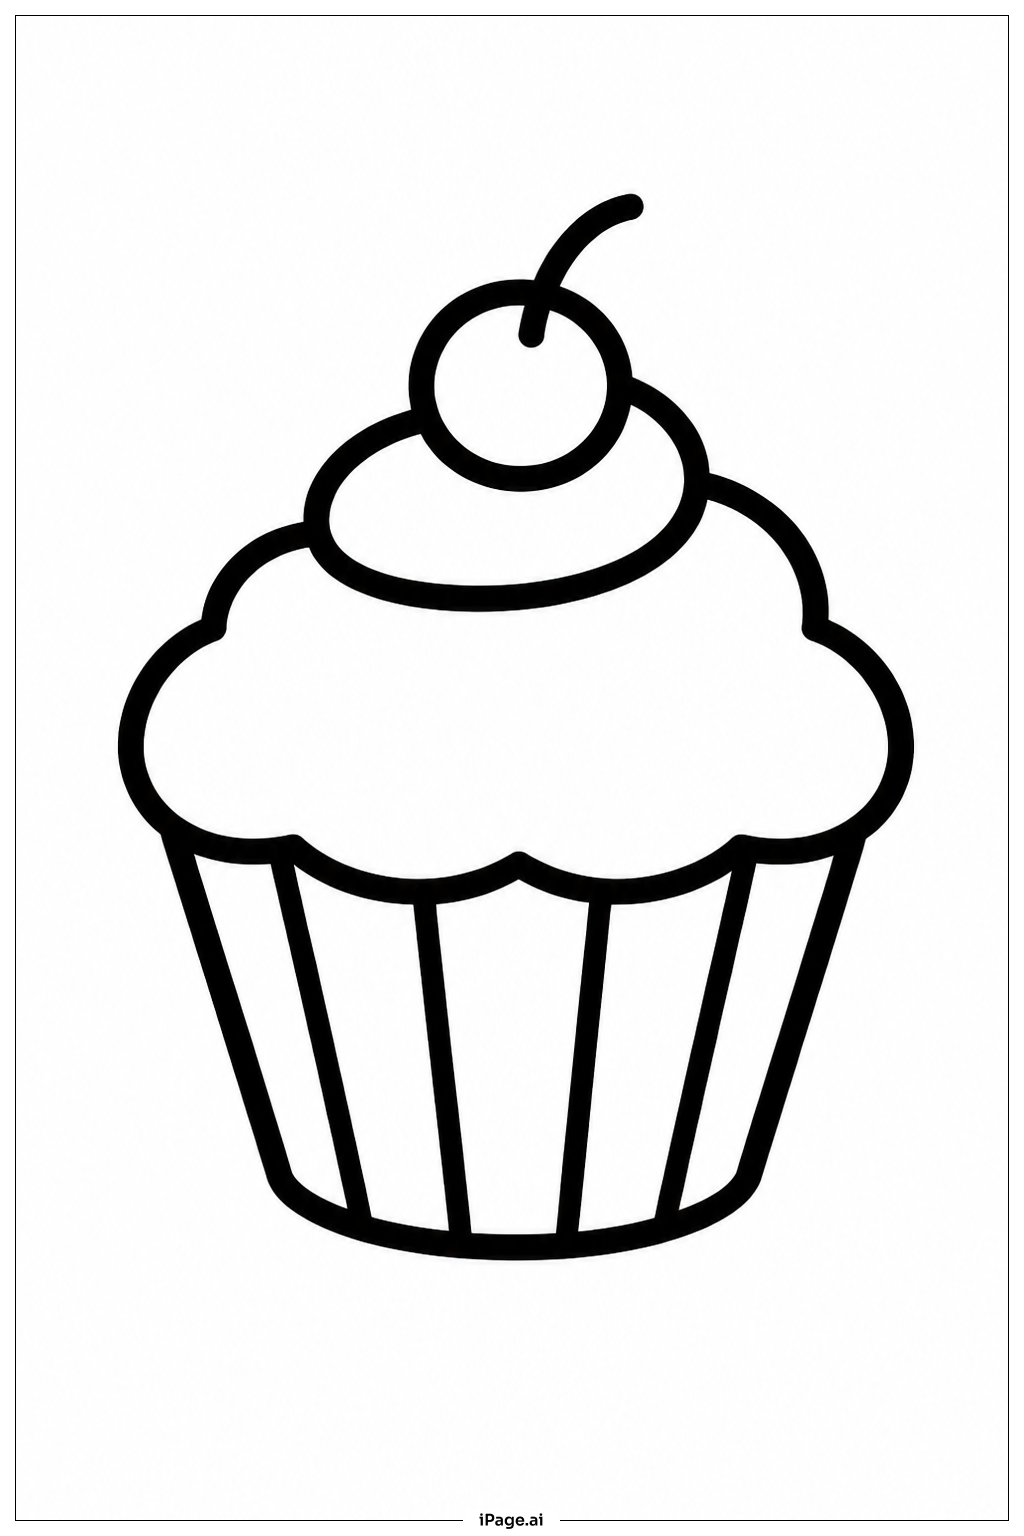
Coloring tips: How to color Cupcake With Wrapper coloring page well?
Start with the wrapper at the bottom. Use light colors like yellow, pink, or light blue to fill in the base. Add a slightly darker shade along the ridges to give the wrapper a three-dimensional feel.
For the frosting, pick soft and creamy colors like white, lavender, light pink, or mint green. Follow the swirl lines with your coloring strokes to make the frosting look fluffy and real. Add a touch of a deeper shade along the edges of each swirl to create shadow and depth.
The topper, like a star or cherry, can be colored in bright red, gold, or any fun color you love.
Feel free to add dots, swirls, or small patterns on the wrapper to make your cupcake extra special. There are no rules here — use your favorite colors and make it your own sweet creation!
Coloring challenges: Which parts are difficult to color and need attention for Cupcake With Wrapper coloring page?
• Frosting Swirl Curves: The frosting on top of the cupcake is made up of flowing, rounded swirl lines. Staying inside these curved lines without going over the edges can be tricky, especially in the tight inner sections of the swirl. Take your time and use a sharpened pencil or fine-tipped marker for the smaller areas.
• Wrapper Ridge Details: The paper wrapper has many thin vertical ridges running closely together along its sides. Coloring each ridge individually without smudging into the next one requires a steady hand and a thin coloring tool. Alternating between two similar shades can help each ridge stand out clearly.
• Creating Depth and Shadow: Making the cupcake look three-dimensional is one of the biggest challenges. The frosting and wrapper both need light and dark areas to look round and realistic rather than flat. Try using a lighter color in the center of each frosting swirl and a darker shade near the edges to add a soft shadow effect.
• Small Topper Details: The decorative element on top, such as a tiny star, berry, or sprinkle, is quite small. Coloring a small shape neatly while keeping it distinct from the frosting around it takes patience and precision. Use a very fine tool and work slowly to stay within the lines.
• Blending Transitions: If you want a professional look, blending one color smoothly into another on the frosting can be challenging. Practice gentle, circular strokes and layer colors gradually to achieve a soft, gradual transition without harsh lines.
Benefits of coloring books: Advantages of drawing Cupcake With Wrapper coloring page
Coloring this cupcake page is a fun and rewarding activity for kids of all ages. Here are some of the great benefits it brings:
It builds focus and concentration. Staying inside the small ridges of the wrapper and the curves of the frosting swirl requires careful attention, which helps children practice patience and steady hand control.
It develops fine motor skills. Using colored pencils or markers to fill in the detailed lines of the cupcake strengthens the small muscles in the hands and fingers. This skill is important for writing and other everyday tasks.
It sparks creativity. There is no single right way to color a cupcake. Children are free to pick any colors they like, mix shades, and add patterns to the wrapper. This freedom encourages imaginative thinking and personal expression.
It teaches color theory in a playful way. Choosing which shades to use for the frosting and wrapper introduces basic ideas about light, shadow, and color combinations in a hands-on and enjoyable way.
It provides a calming, screen-free activity. Sitting quietly and coloring helps children relax and unwind. It is a peaceful way to spend time that also results in a finished piece of art they can feel proud of.