Coloring tips: How to color Beach Ball With Shells coloring page well?
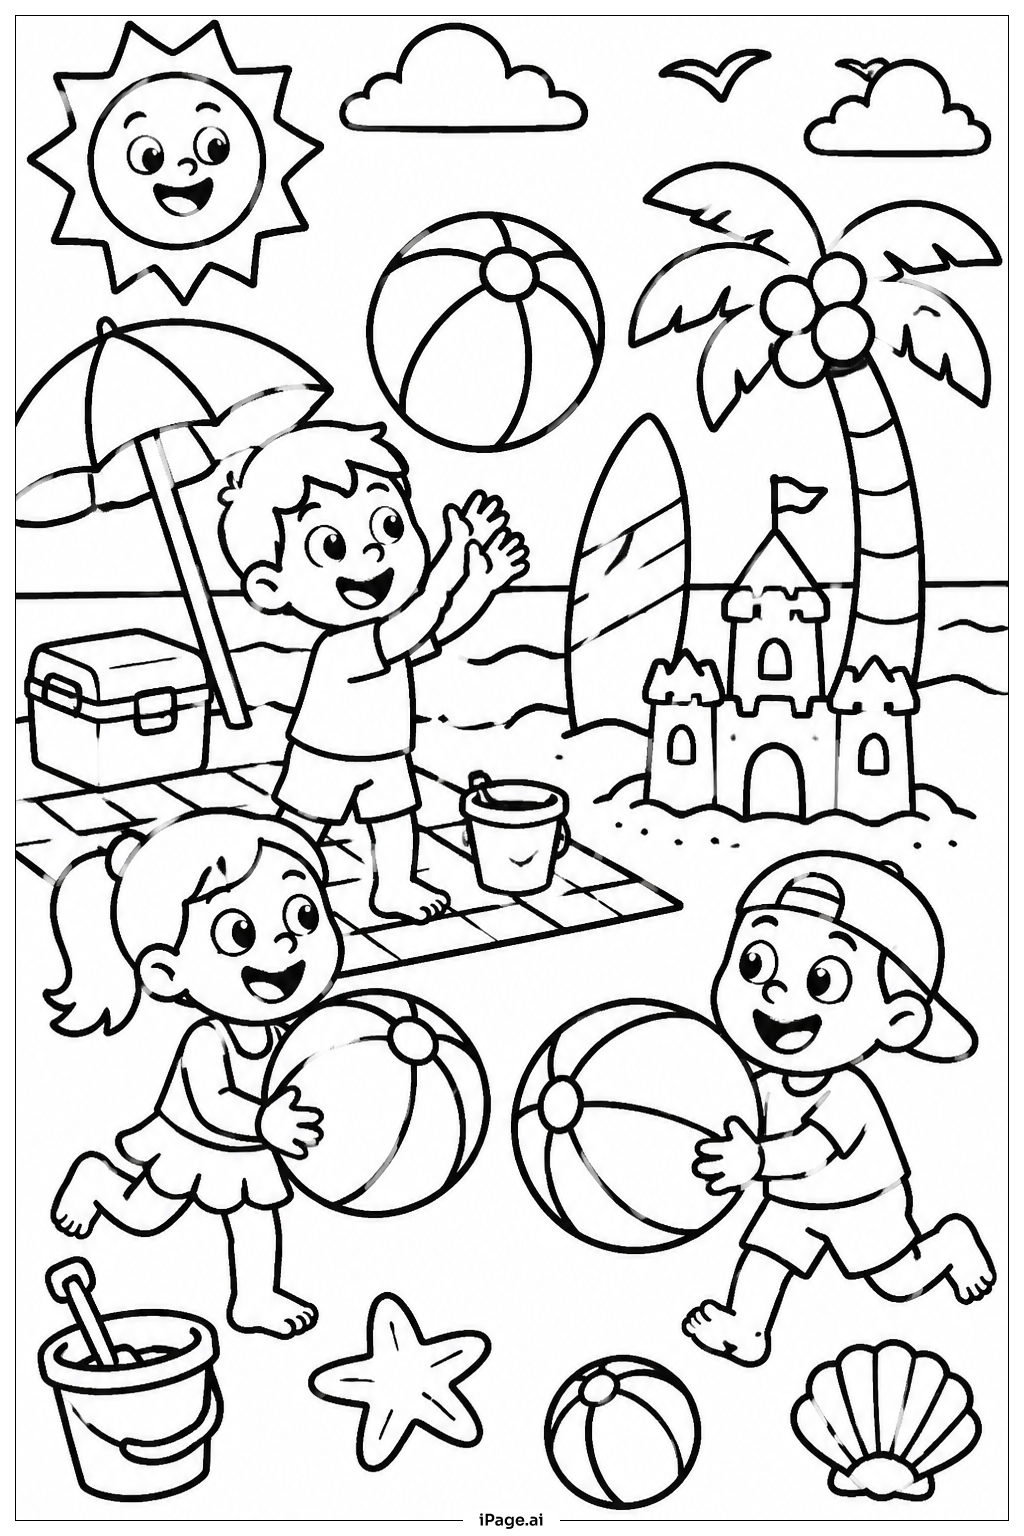
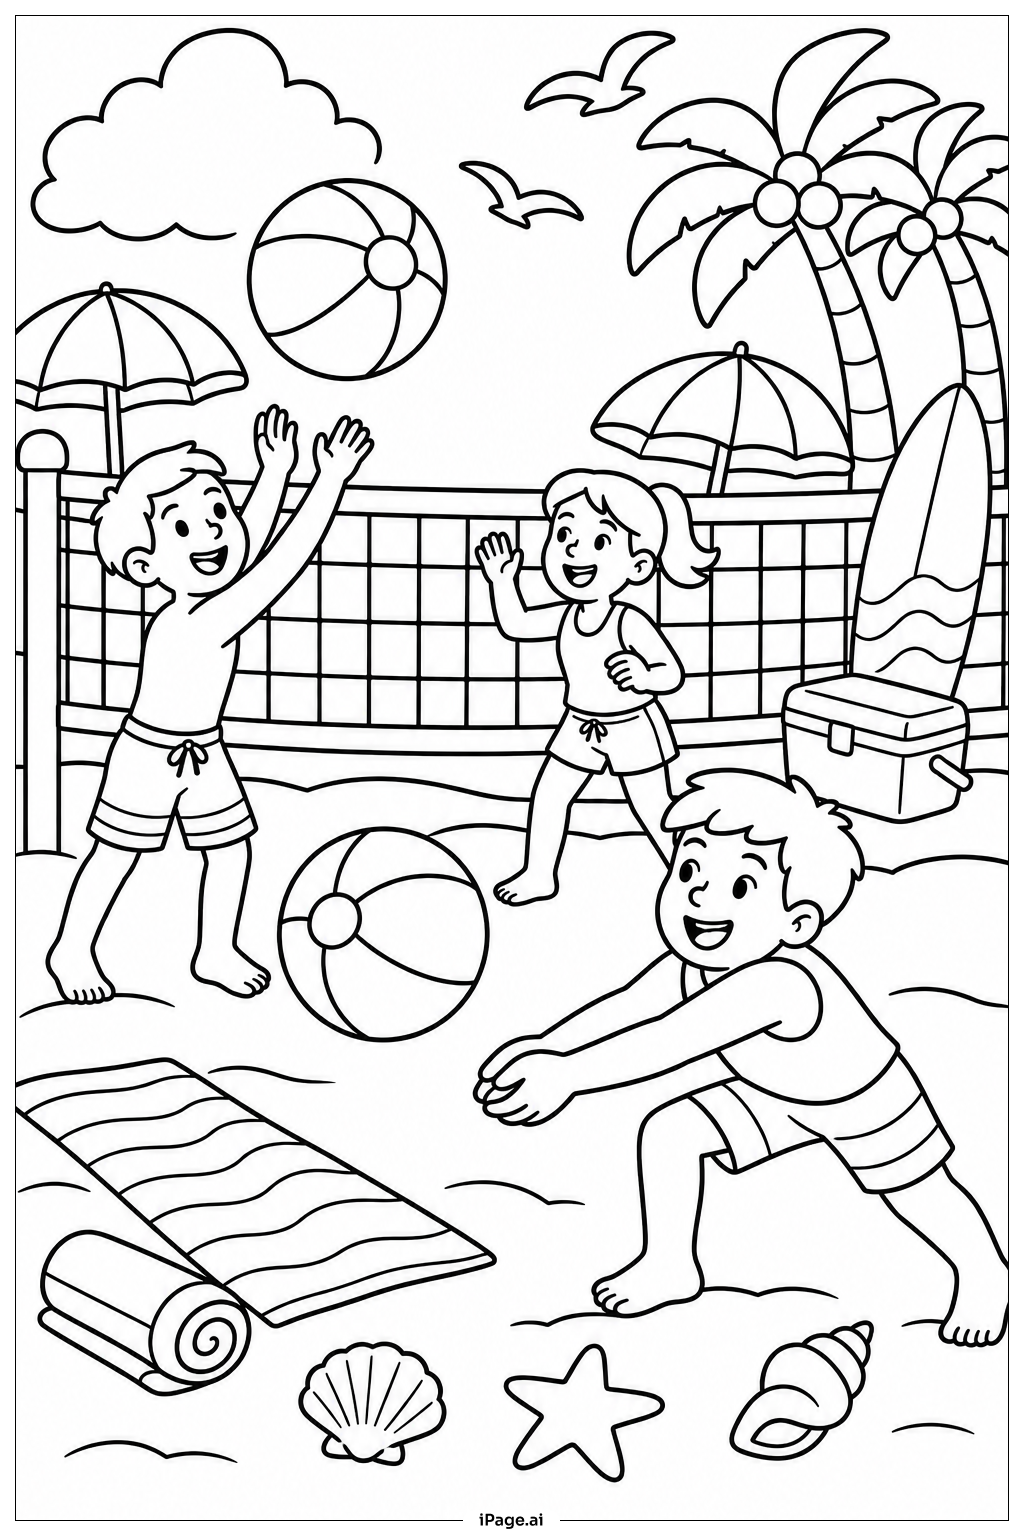
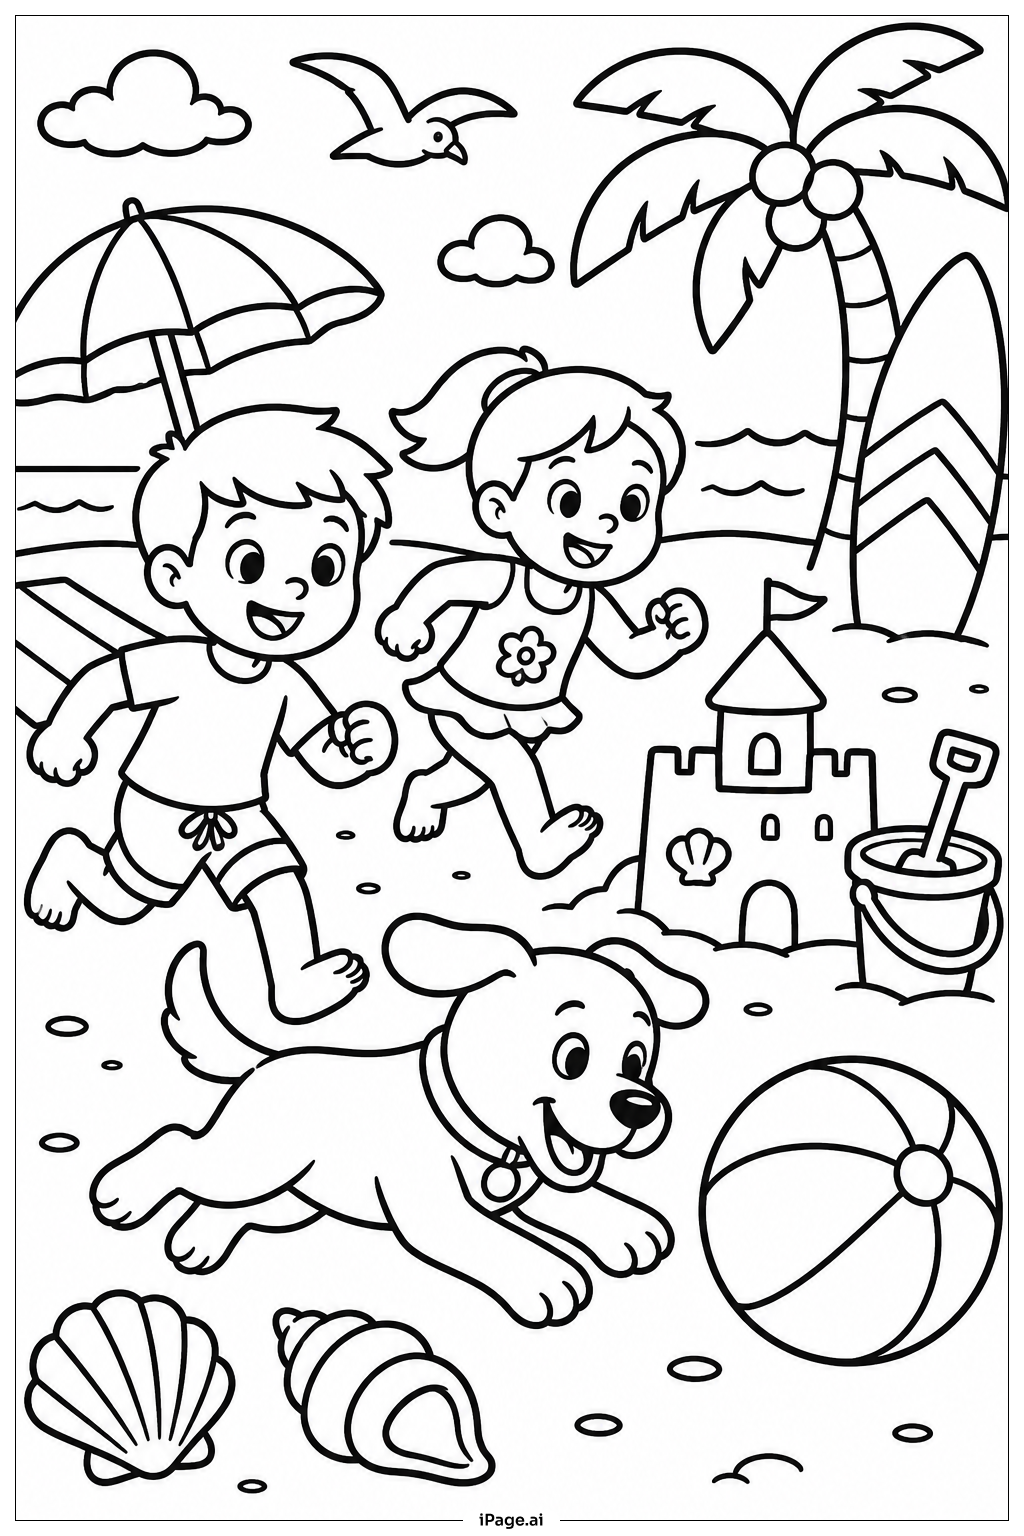
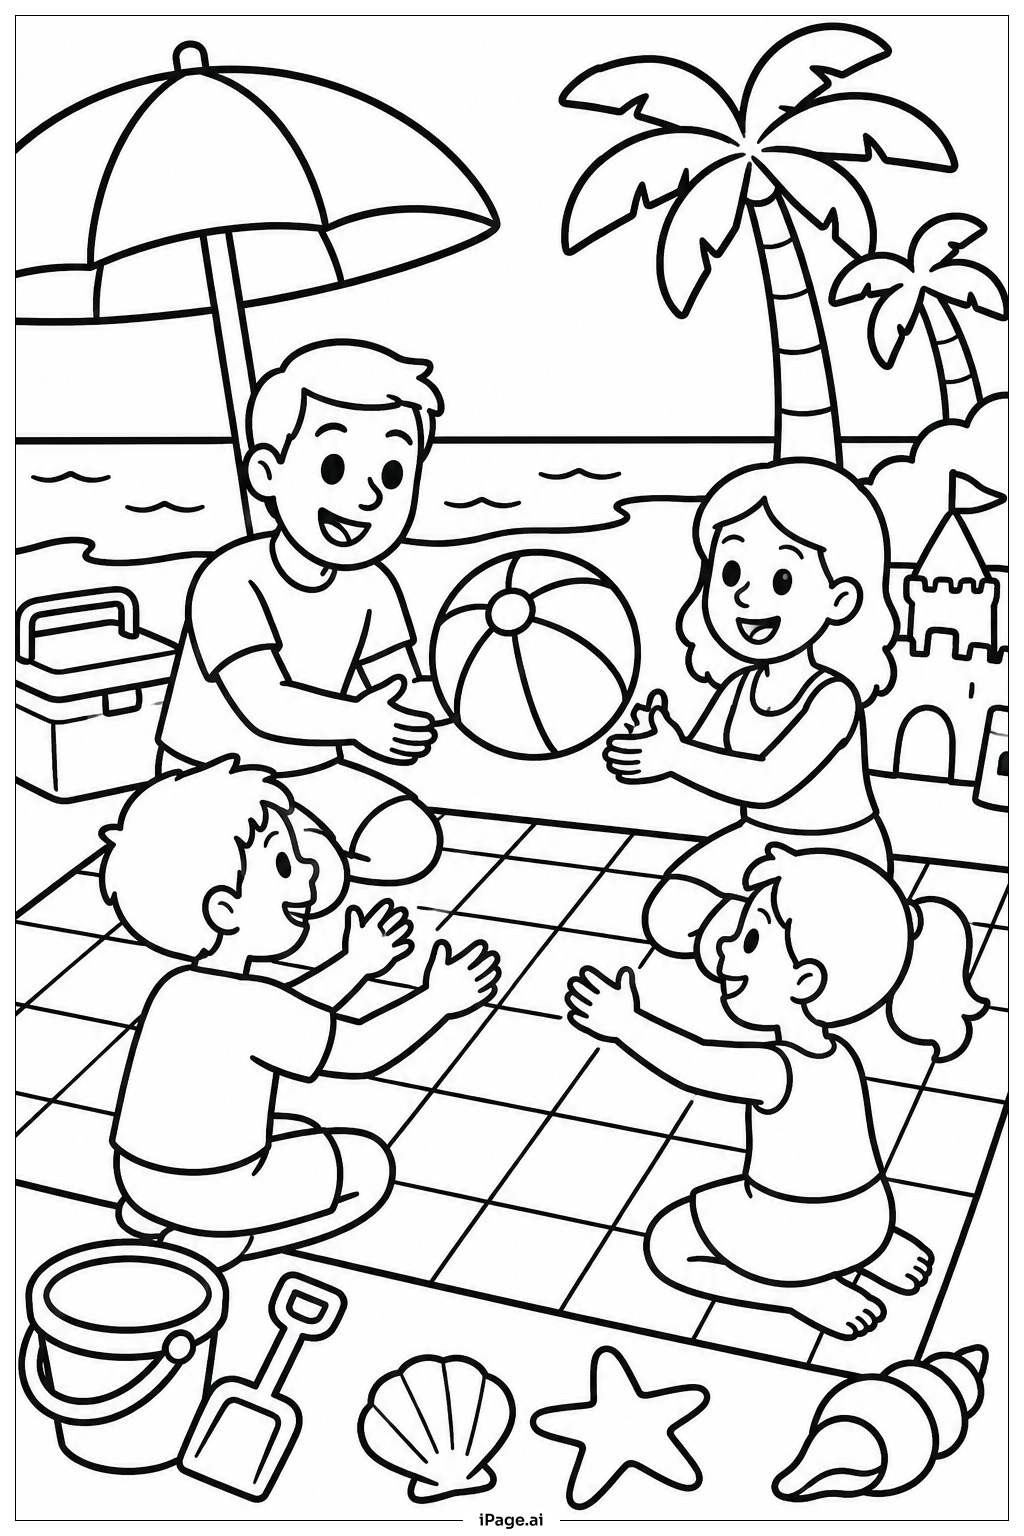
For this Beach Ball With Shells image, try bright and bold colors for the ball itself—red, yellow, blue, and green can make it pop. You can color each segment of the ball with a different vibrant hue to create a fun, classic beach ball look. For the shells, consider soft sandy tones like light browns, creams, pale pinks, and subtle oranges to make them look natural yet beautiful. Adding white highlights or shadows with a slightly darker shade will make shells appear more three-dimensional. Use light blue or turquoise tones for the water in the background to add freshness and contrast with the warm sand. Feel free to experiment with patterns on the shells, such as dots or stripes, to make the coloring more creative and personal.
Coloring challenges: Which parts are difficult to color and need attention for Beach Ball With Shells coloring page?
• The Beach Ball has curved sections that require careful coloring to stay within the lines and keep the color blocks neat and separate.
• The shells differ in shapes, including spiral and scalloped edges, which may be challenging to color precisely without overlapping the lines.
• The details inside some shells might be small and require attention to color the tiny areas evenly.
• Balancing vibrant colors for the ball with more muted, natural shell tones can be tricky to ensure the whole picture looks harmonious.
• Adding shading or highlights to both shells and the ball takes practice and patience to create depth without smudging or blending unintentionally.
Benefits of coloring books: Advantages of drawing Beach Ball With Shells coloring page
Coloring this Beach Ball With Shells image helps improve fine motor skills, especially when coloring inside the curves and small shell details. It encourages creativity by allowing choice in colors and designs for each shell and ball segment. This activity also promotes focus and patience as kids slow down to stay within the lines and add shading. Moreover, coloring natural beach elements can increase awareness and appreciation of seaside nature, stimulating imagination. Lastly, completing a bright, joyful picture like this offers a sense of accomplishment and happiness.